HOW do you call 911 while covering a suspect with your handgun and lighting him up with your nondedicated weak-hand light? What if you need to perform immediate action or a tactical reload with a non-mounted light in your off hand? Sticking your light under your arm is for the range, not for a gunfight, and leaves it unavailable for immediate emergency use.
First a note on mounted handgun lights: employing one does not eliminate the need for best techniques, tactics and practices for employing an unmounted light. Using a dedicated light unit on your duty weapon or bedside gun is great. You are already well prepared for the fight. But even the best of them break, and batteries do tend run down, normally on Murphy’s time frame. I’ve even had to use a handgun light that broke off as an unmounted light.
Further, your concealed or off-duty handgun is probably small and does not accommodate a light mount. Finally, there are innumerable occasions when you wish to illuminate something or someone but not cover down on them or it.
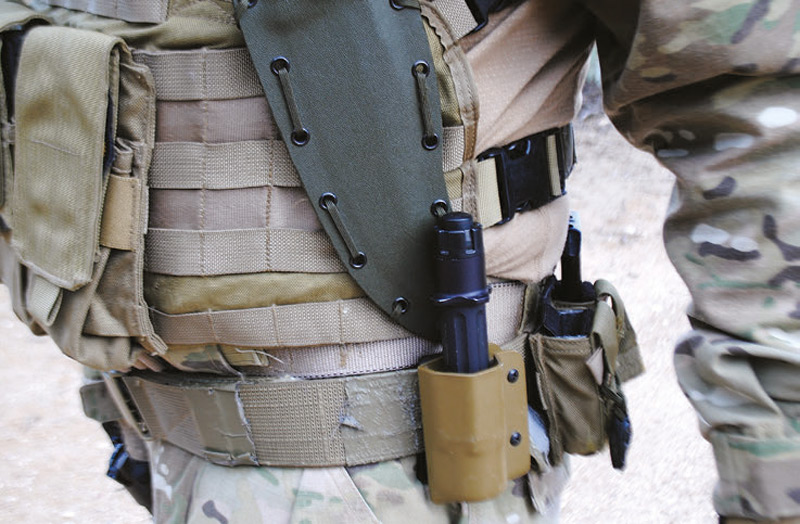
Today, any good tactical light will utilize an end button system, be secured in a downward-facing pouch so it won’t illuminate the operator at an inopportune time (Murphy again), and incorporate a flattened or squared bezel or handle so as not to roll off when placed on an uneven surface such as a cruiser hood.
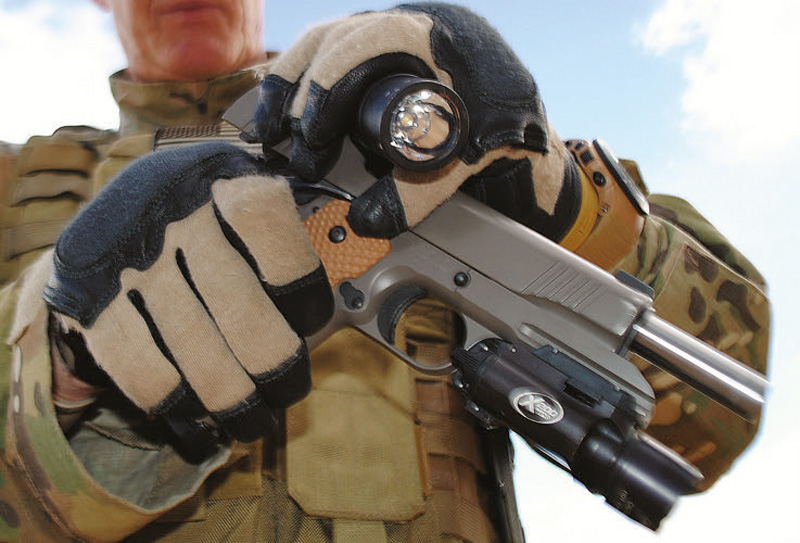
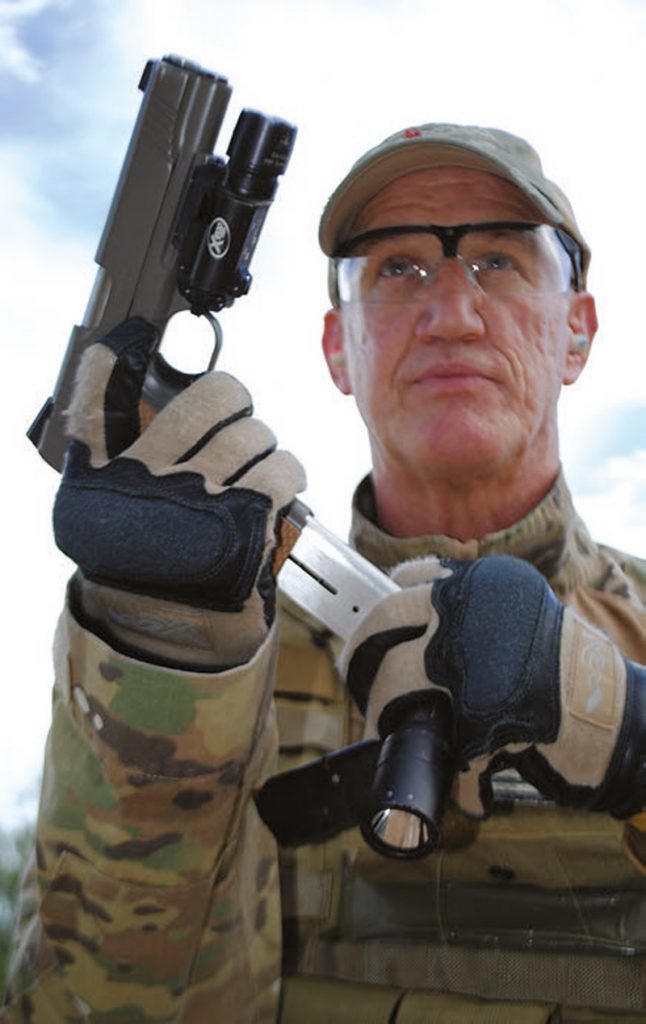
PRACTICAL TECHNIQUES FOR HANDHELD LIGHTS
Having justified the continued need for unmounted lights, a look at the most combat practical techniques is in order. Having presented a variety of tactical light techniques to tens of thousands of military, police and civilian handgun operators over the years, I have found the majority overwhelmingly prefer two. These two are situation dependent: proactive versus reactive.
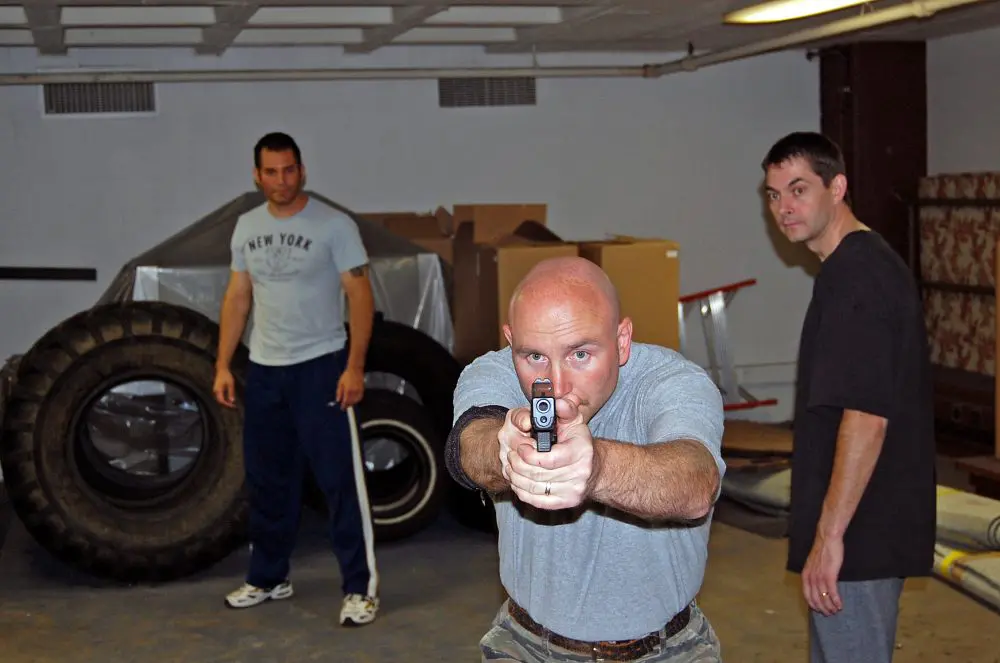
For proactive scenarios, such as searches, raids and entries, the twohanded Harries technique—wrist pressed to wrist in a Weaver-style hold— works great. Just make sure to employ an expansive circular movement with both the gun and light hands coming to this hold so as to avoid flagging your light-bearing hand.
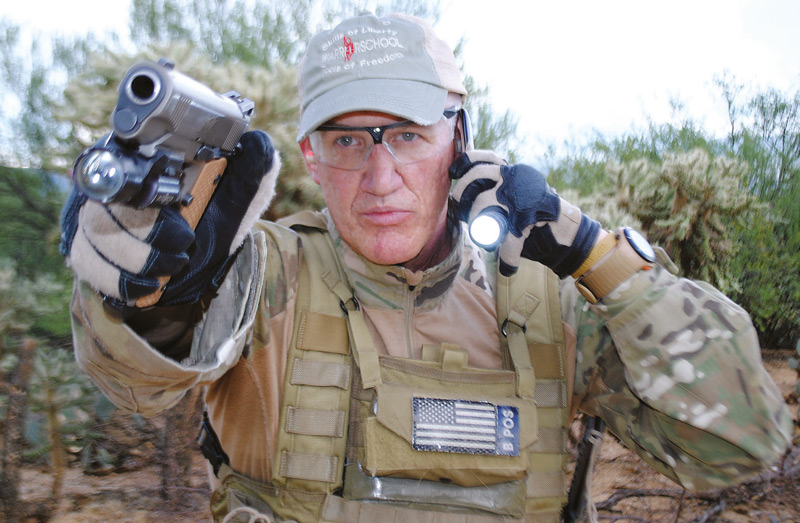
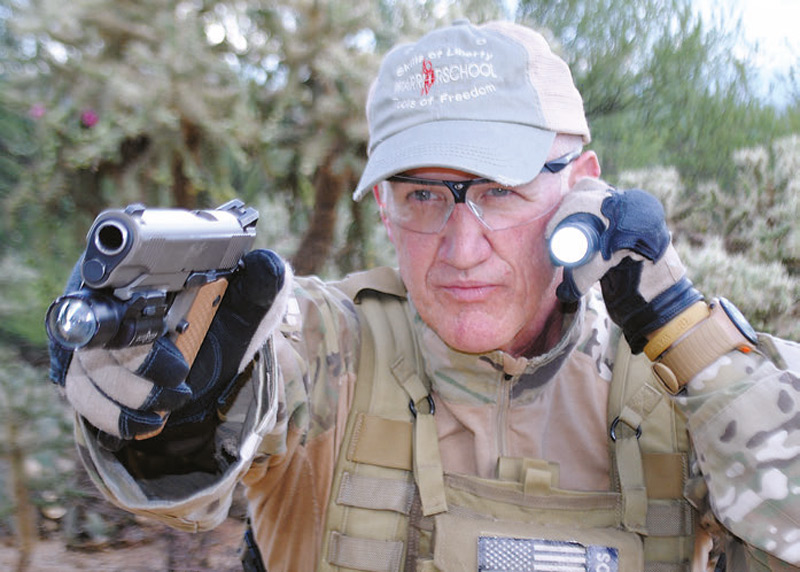
For reactive scenarios, pull the light in tight in a bent arm hold just above the off-side shoulder and off the head while utilizing a slightly inward canted onehanded firing hold. This is how cops hold their lights. It allows the light to be held handless and tucked between the shoulder and jaw while writing citations and such.
The light should be held just above, not on, the shoulder and most certainly not over the shooter’s head. Scenarios have long shown that reactive shooting at the light works well. Holding your light slightly off your body and tilting the beam inward will most likely cause the enemy to shoot at your light, and thus wide and high.
Of the two techniques, the reactive is the most versatile, because it allows the hands to operate independently as well as far apart. If the scenario is proactive, you will have time to utilize a mounted handgun light.
UNIVERSAL FLASHLIGHT GRIP
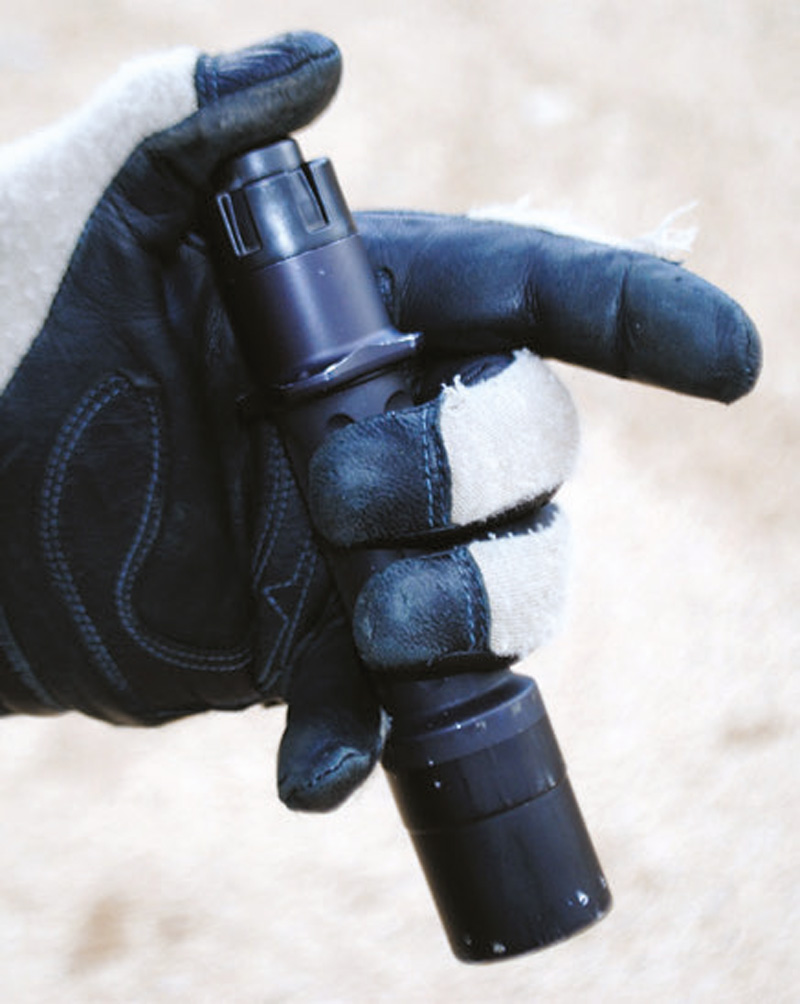
But to return to the reactive hold: A simple additional technique makes this hold into a universal flashlight grip. Draw your light in your non-firing hand. Ensure the light lies diagonally across your palm, button to thumb side and the beam toward the little finger. Cradle the button side in the web of your hand between your thumb and index finger. Now bend your little finger so that the beam end of the light is trapped between your little and ring fingers.
It may seem a bit uncomfortable at first, but give it a chance. I employ it regularly with my oft broken and arthritic digits without difficulty. No longer will you waste time stashing your light under your arm or in your pants, where the beam highlights you. Additionally, gloves make no difference. You can utilize the universal grip barehanded or gloved.
Now you will be able to perform critical tactics such as immediate action, speed reloads or even tactical reloads with your light in your hand and still at the ready.
When performing immediate action (slap, rack, re-acquire), the light body can help seat the magazine as well as strip a stovepipe malfunction (brass up ended in the ejection port). By definition a speed reload must be performed speedily, since the enemy is closing with you. There is no time to holster your light, and now you won’t have to. Perform as always.
The tactical reload takes a bit more care, but it’s performed during a lull in the action when the operator has more time and can take additional care. To perform a tactical reload, simply maintain the magazines at 45-degree angles to ensure clarity of which magazine is going where.
The universal grip has even more advantages. With a bit of practice, you can hold the light and speak into your cell phone while still covering down on a suspect. This may be the most important advantage of the universal light grip. Now you can move, shoot, communicate— and illuminate!
An added bonus is that you can use this hold as a pain-compliance, comealong defensive tactic against a wrist grab or even a strike to the bridge of the nose. Just place the light body against the wrist bone or bridge of the nose.
A quick flash of light to the suspect’s eyes, combined with a wrist come-along, can be a seamless problem solver.
