Whether the shooter uses a 100- yard, 50/200 meter or 36-yard zero doesn’t matter as long as it is correctly applied to the gun and accounted for when engaging a target. Each zero has its champions and besmirchers, however, regardless of which is used, there are some tips that can help a shooter gain and maintain that all-important zero.
Table of Contents
PENCILS OUT
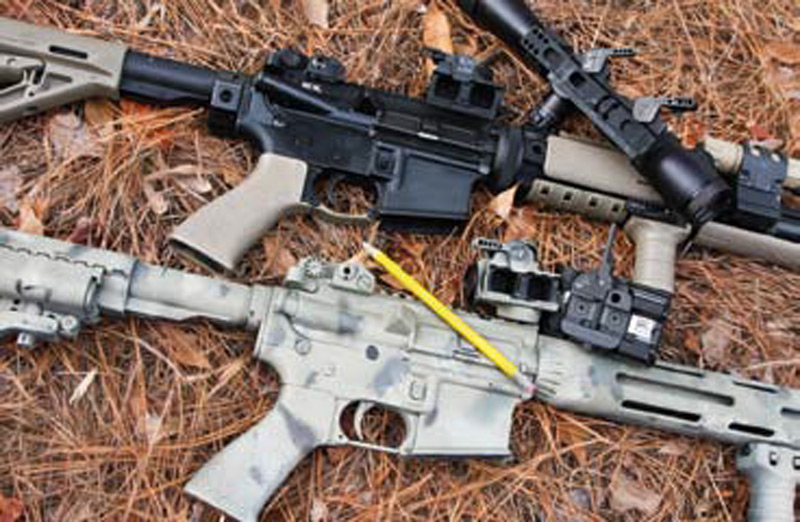
Memory is a fickle mistress and not to be trusted. If a shooter cares about his zero, the first requirement is to (gasp!) break out a paint pencil and mark up that safe queen. For those with unenlightened armories, a lead pencil will do the trick and hold up for a decent amount of time, even through rain and rough handling, but must be occasionally checked and reapplied.
Several things can and should be marked. Once the zero is confirmed, adjustments can be witness marked by running a line across the adjustment wheel/ screw to the body of the sight or optic. Then all the shooter has to do is glance to make sure the line is solid and not broken, to avoid the old “Did I or didn’t I?” question that inevitably comes up with sight adjustments.
This is a technique that existed for years among service rifle competitors, with different color-coded lines representing the starting point zeros for the 200-, 300- and 600-yard lines. Toward the tail end of the iron sight era, the technique began to move to tactical units, and it still works on optics.
Don’t put the pencil away yet.
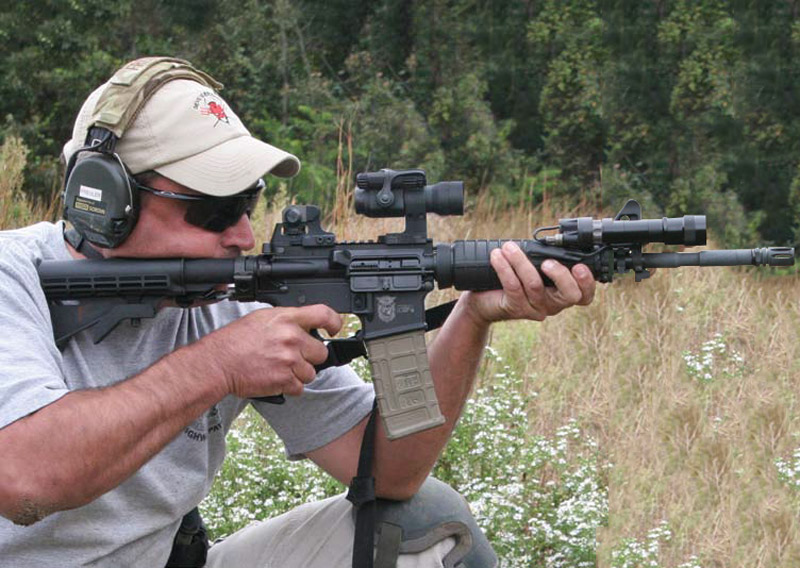
If using an optic, mark the location where the forward edge of the mount meets the flat-top rail. For those who use multiple optics based upon mission profiles, this will prevent headaches down the road. The more optics you mess with, the harder it gets to remember which went where, and the hash mark protects the investment of your zeroing as long as you are using return-to-zero quickrelease mounts.
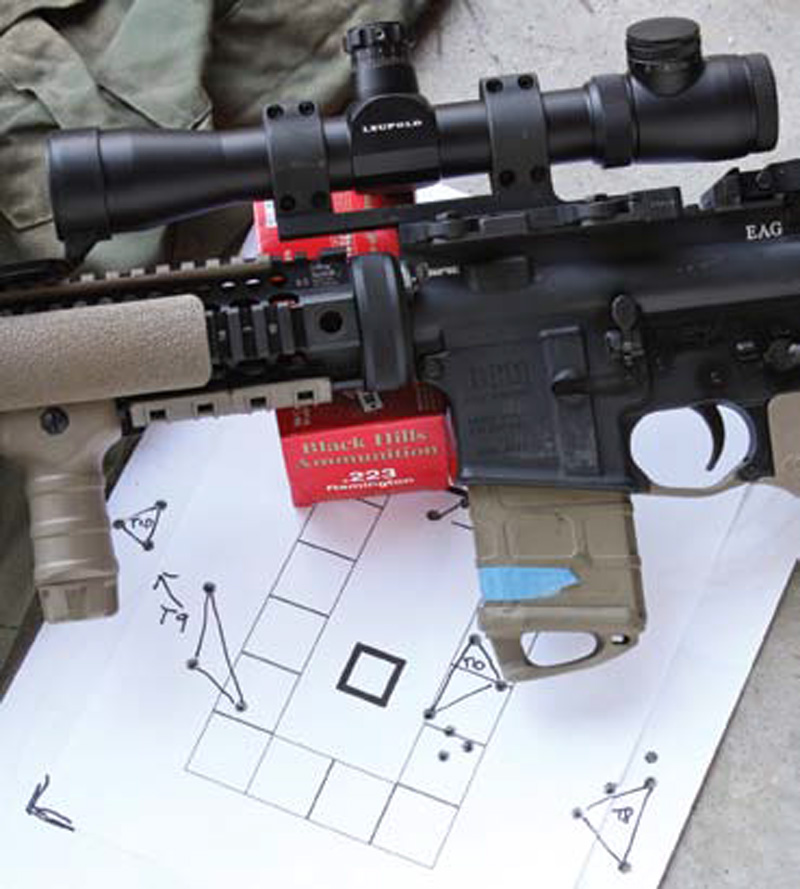
As an example (each rifle/optic combination may differ slightly), the shift of one rail space forward resulted in a little over an inch point of impact (POI) shift at 100 yards, while two rail spaces pushed impacts nearly three inches.
No one needs a three minute of angle (MOA) error heaped onto whatever variables ammo, wind, and air temperature are already dishing out. Without a mark, it can be very easy to miss a rail or two difference, especially with a collapsible stock that may or may not be in the same position as the last time you used that particular optic.
FOR TRAINERS
A key piece of advice for trainers is to ensure that shooters are comfortable with the eye relief on magnified optics from whatever position they will most often use. I have seen units spend precious range time and ammo chasing zeros from prone only to have the lads decide back at the forward operating base that the scope is too far away to see from standing due to eye relief issues, and move it several rail positions closer.
At that point the zeroing effort was wasted, particularly with the common thumbscrew-type mounts with inconsistent torque. Spend the time up front to ensure shooters have the correct eye relief and then get the zero, mark the knobs, mark the screws/hexheads if the mount uses them, and mark the rail location.
FOR SHOOTERS
For shooters who use the same optic(s) on multiple guns, there is another marking that needs to happen, this time in lead pencil. Once the sight is dialed in for a certain rifle and distance, write that on the mount. I like to pencil it in underneath the throw lever on LaRue mounts. This prevents the moment of doubt when you reach into the back of the safe to shoot long range with the Leupold and completely blank out on which rifle it was last shot on and where it is zeroed.
FOR ARMORIES
For organizations/armories, there is benefit in penciling the shooter’s name onto the optic and the rack number of the rifle it is zeroed for. If the two are separated for inventory or maintenance or any other reason, they can be rejoined later. And if the shooter diligently marked his rail location and zero, when the optic is replaced on the rifle, he can quickly verify that all is right in the world.
MORE NOTES … AND MARKS
Many magnified optics have the ability to focus the reticle at the eyepiece. This is best accomplished in a relaxed setting and, when executed correctly, does wonders for the clarity of the scope and the shooter’s ability to resolve the reticle on target to get the best possible hits. Once the shooter has gone to the trouble of getting the glass “right” for his vision, the marking theme applies. Run a witness mark across the tube to ensure that rough handling or some duffer doesn’t goon it up.
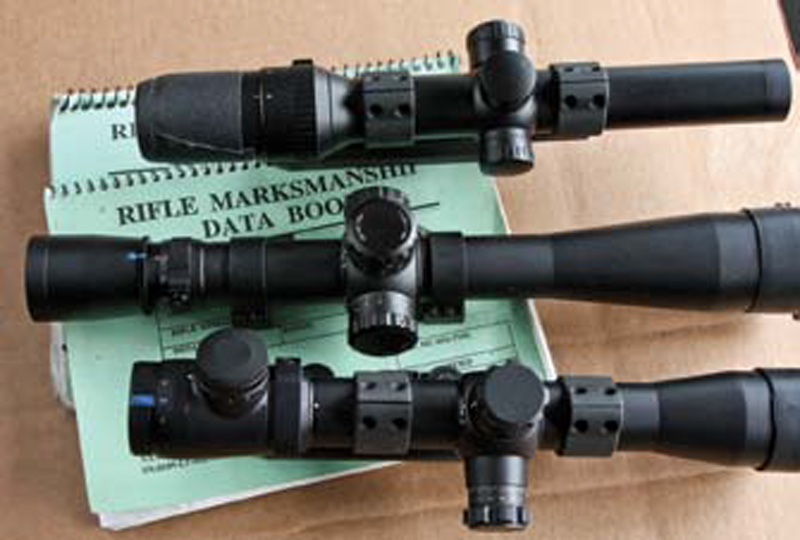
On some variable-powered scopes, shooters actually use gaffer’s tape to lock the focus in so that it doesn’t get inadvertently twisted out of corrected focus when rapidly running the magnification up or down.
While the shooter is in note-taking mode, all over the carbine there are two other items that may help in getting a zero and hits on target. Some optics and iron sights lack markings to remind the shooter which direction the adjustments move the point of impact, so it is pretty common for even very accomplished shooters to mark that next to the screw or on the front-sight housing. Most shooters have at some point gone the wrong way when dialing in adjustments and can appreciate the reminder.
The last item I routinely mark is the correct stock position on collapsible stocks. I have preferred settings for both slick use and when shooting with armor, and each are annotated on the tube. This may affect the zero less than the shooter’s ability to place the shot, but it’s a great visual fault check that the rifle is set up to fit.
When the rifleman is a little excited or distracted, it’s easy to overlook incorrect stock length and consequently wonder why the shooting is suffering. But in classes or training, one routinely sees shooters who spend the whole day with the stock a click or two off from ideal and only realize it when they are putting the weapon away at the end of the day.
IRONWORKS
The prevalent iron sight in use on the AR family remains the A2 pattern, and the large knobs beg to be accidentally bumped out of zero, thus the witness marks recommended above. When the M16A2 was standard issue, it was commonplace to see rifles where the elevation wheel had gotten traction on a grunt’s gear and spun, running the zero to 600 yards or better. Of course with that much dope on the gun, the dope behind was hapless to hit targets in the normal 0 to 300 bracket. One might think that the rear aperture run all the way up like that would be obvious, but it happened enough to suggest otherwise.
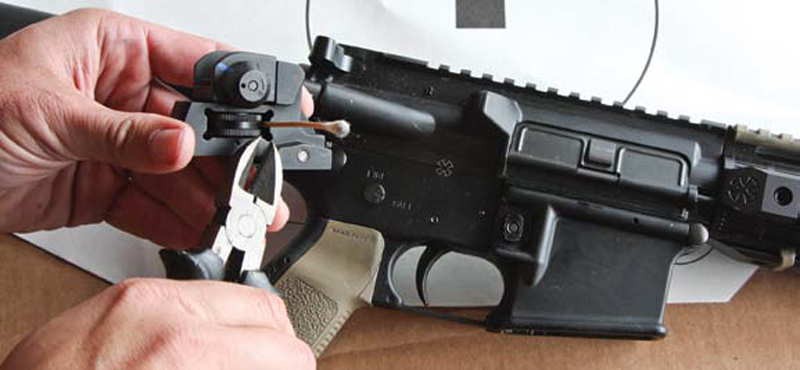
The cure for this is to “chock” the elevation wheel once the chosen zero is applied. I have seen coffee stirrers and Q-tip handles used equally well jammed into the space between the elevation drum and the sight housing to provide resistance. Once it is there, the shooter verifies zero one last time and then trims the excess material. Depending on fit, there may be enough play to allow some adjustment, or the chock may have to be pulled out with a multi-tool before making any real elevation changes. If a user is restricted to A2-pattern sights (such as the issue patrol rifles of many organizations), it is a good way to protect the zero.
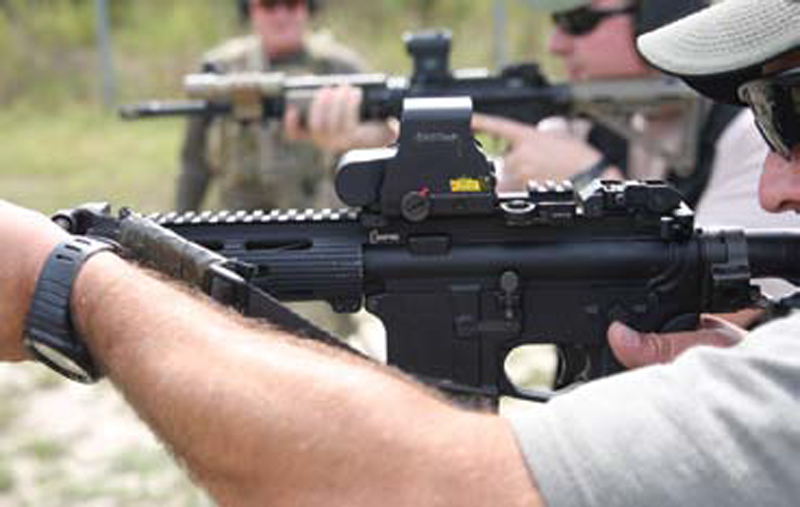
In many circles, irons are becoming increasingly redundant to a non-magnified red dot sight. If this is the case, resist the temptation to zero the irons with the red dot off the rifle. There is enough of a perception difference when looking through the rear aperture and onward through an Aimpoint tube or EOTech window that the shooter may apply a slightly different sight alignment and get a point of impact shift from a zero that was applied with the dot removed from the gun.
There is value in confirming the iron zero both through the optic and with it removed if the shooter thinks that in the event of primary optic failure, he will remove the optic and continue mission.
LEFT … LEFT … LEFT
A rifle user must look at how he shoots from a variety of positions and determine if a zero offset is in order. Many shooters, particularly with ARs, have two trigger presses: their deliberate benchtextbook- fingertip-straight-to-the-rear used when zeroing, and the more angled pressure with more finger through the guard that they actually shoot from under most field or snap conditions.
If a shooter (right handed) is consistently hammering out good groups at 9 o’clock when shooting from standing or kneeling, traditional thinking would be to castigate them and admonish better classic trigger press. If it is consistent and a persistent problem, it may be better to consider if the weapon is a fighting carbine that is likely to be used aggressively from unsupported positions and apply an offset to the zero.
For a right-handed shooter applying a slight offset, say an inch or two right at 50 yards, he can make a significant difference in the ability to hit center from the hind legs. This still allows precise hits from prone or supported out to 200 yards without compensation. Further, a shooter may find it easier to favor right slightly from prone to a long shot than to shade right at speed and under stress on 50-yard standing targets.
Ideally a shooter could apply the same zero from all shooting positions while breaking the shots perfectly regardless of speed or stress, but many shooters consistently push their shots a little (or a lot) left unless shooting supported with no time limit. An offset zero is unconventional, but works well for some shooters.
IT MOVED!
All zeros are a living thing. Data books and ditties (“Sun’s up, sights up!”) exist because different conditions and factors can affect the actual point of impact relative to the point of aim. There’s a reason that both snipers and champion servicerifle shooters guard their data books so jealously.
It takes time and exposure to a wide variety of conditions to have a good idea of where the starting dope for a given distance, target and situation should be. Shooters are usually shocked at how much of a difference simply writing down how their rifle shoots under various conditions and with different loads, accessories or techniques makes in their ability to place the shot.
Notes to self in a data or gun book are a great way to capture the offsets with a certain rifle/optic/load at set distances when shooting urban or rollover prone, over hood horizontal, or other unusual positions. This allows the shooter to get a little more precise than “hold high to the magazine side” when the situation demands it.
If a professional user routinely works with a partner or buddy within a small team, it is also critical to know and note the difference between his and your zero. Braying of the uninformed aside, there is generally a difference even between experienced shooters. Variances in height, build, visual acuity, hand size, et al factor in to give as much as several inches shift at 50 meters.
I have shot with some guys enough to know that when I borrow their carbine, I have to hold off by a full 4 MOA dotwidth to be close. This could be good information to know when things are going down the tubes and the threat isn’t aware of the “average” engagement distance.
Being able to shoulder a rifle and know that the shot is on mark as the weapon recoils is a great confidence booster. These points should help the shooter keep that edge after the zero is applied.
