Before we delve into this maelstrom, a definition is necessary. “Jam” is something you put on your English muffin. It is often used on some errornet forums by people who spend way too much time not interacting directly with other human beings. It is too broad in definition to be useful, and we’ll not use it at all.
We also do not use the military acronym SPORTS (see below), nor do we follow what is written in FM 3-22.9. It is flawed and has been for years, likely because it is low priority and would not look good on a PowerPoint presentation.
Neither do we use the Forward Assist. Never. We have been doing this for a few days, and have never, ever observed a situation where pushing on that useless appendage would have made anything better.
What follows is how we teach it. It is not the only way—but it is “a” way. There are many ways to reduce a malfunction, some of which may be better suited to use on manicured flat ranges when cottonball clouds float in an impossibly blue sky, than what are useful at night, when you are cold, hungry and scared, and people are shooting at you. Many variations on the theme also exist. I lay no claim to any of this. I learned from people a lot smarter than I, and I merely use what I consider to be useful.
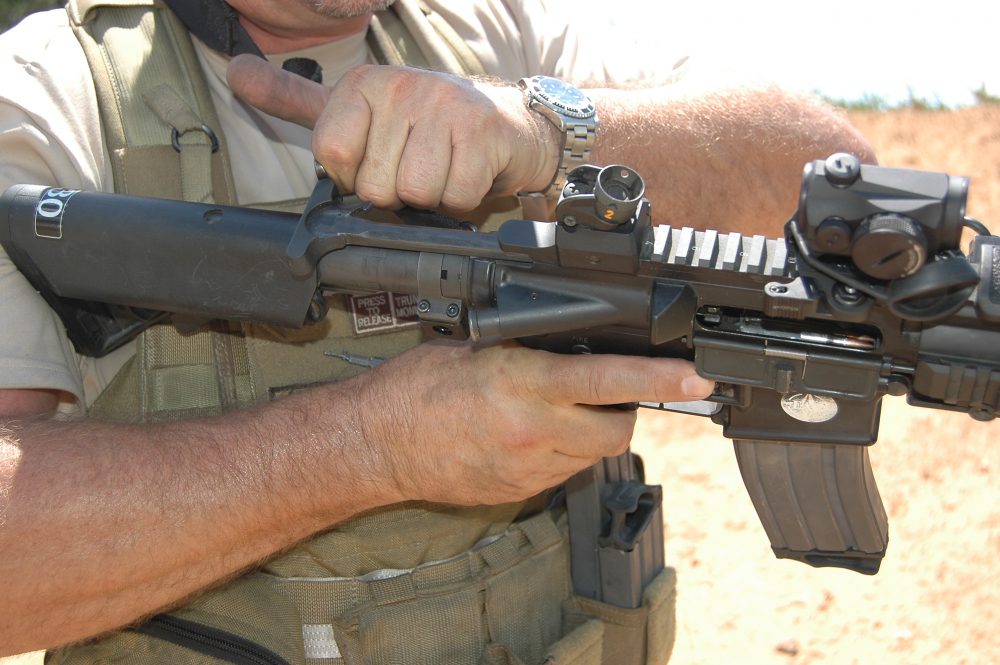
Table of Contents
THE MALFUNCTION: A BETTER DEFINITION
A malfunction is a stoppage in the cycle of operations. This stoppage can take many different paths, and we codify each one and break them into two broad categories: those that can be reduced with Immediate Action and those requiring Remedial Action.
Immediate Action is non-diagnostic—immediate being the operative word. Remedial Action requires additional effort, intended to correct or improve deficient skills in a specific subject. Breaking malfunctions down into types allows us to reduce the malfunction efficiently.
We have observed that most people, when faced with a malfunction, pull the magazine out, look at the magazine, look at the gun, and then reinsert the mag into the well, apparently hoping to clear the problem by osmosis. You need to do better than that if you want to continue the fight.
Inefficient clearance techniques can make a bad day much worse. If you aspire to mediocrity, drive on with that technique and include hope.
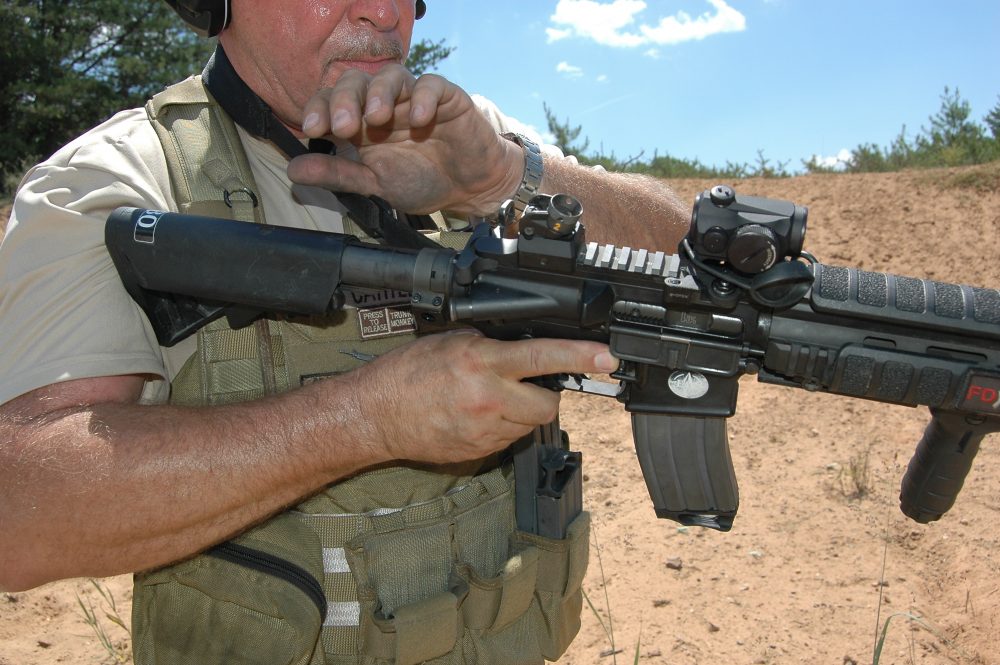
Understand also that the Standard Operating Procedure (SOP) for certain people armed with a pistol in addition to a carbine is that within a certain distance, Immediate Action is to go to the blaster. Ignoring the problem with the carbine and deploying the pistol puts a loaded, working gun in your hand. When your immediate problem is resolved, you can clear your carbine.
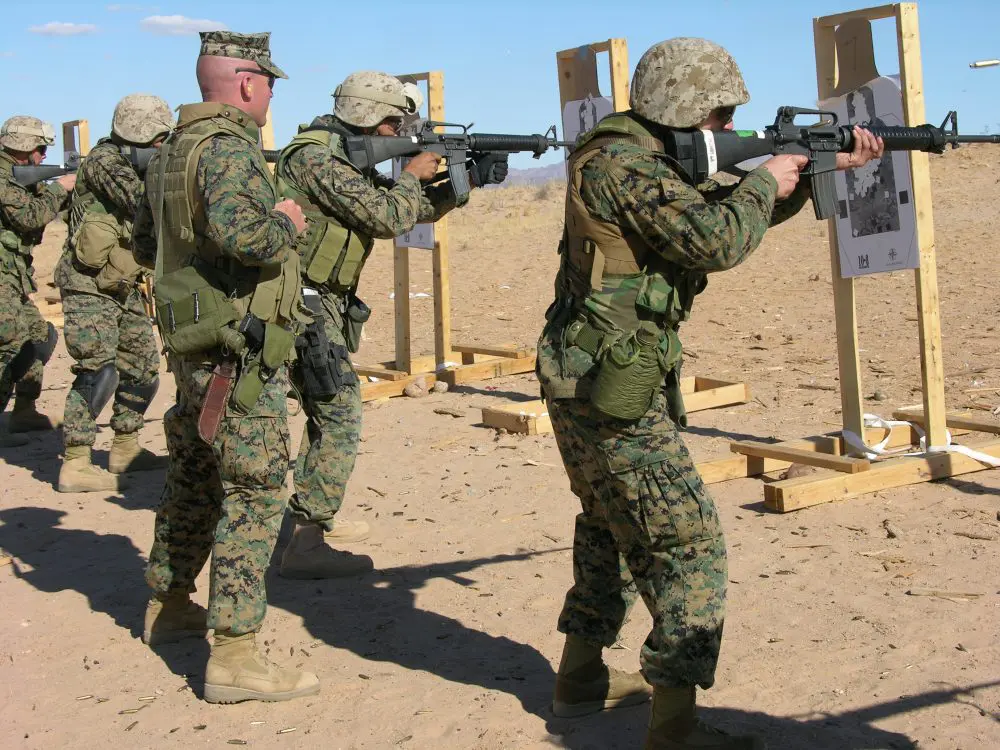
The information below is narrowly directed toward the M16 system. It may or may not be valid for other systems, and it is for information purposes only. You cannot learn how to do something only by reading. Seek training from those qualified to do so.
TYPE 1 MALFUNCTION: FAILURE TO FIRE
There are multiple causes of this, but in the majority of incidents it is operator error—failure to insert the magazine or failure to chamber a round. Other causes are primarily related to ammunition. These may include no primers, primers inserted sideways or upside down, no flash hole, or other issues.
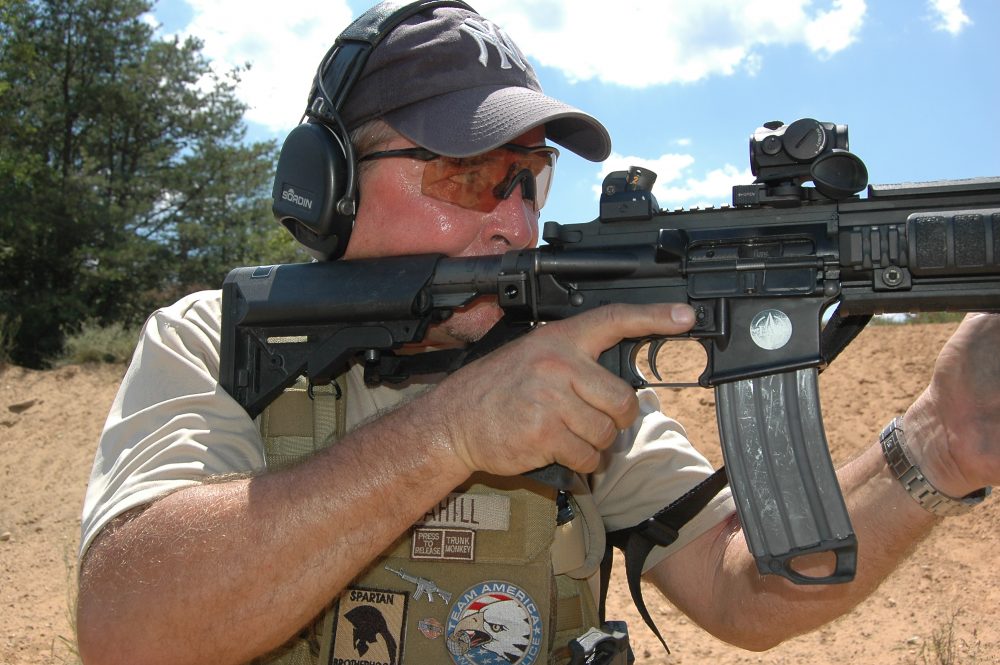
If you press the trigger and get a click or a mushy trigger, execute Immediate Action (IA), which is:
- Finger straight.
- Push/pull.
- Rack and roll.
- Get your head back in the fight.
Breaking it down into component parts, it looks like this:
- Trigger finger straight. Maintain a master firing grip with your strong-side hand.
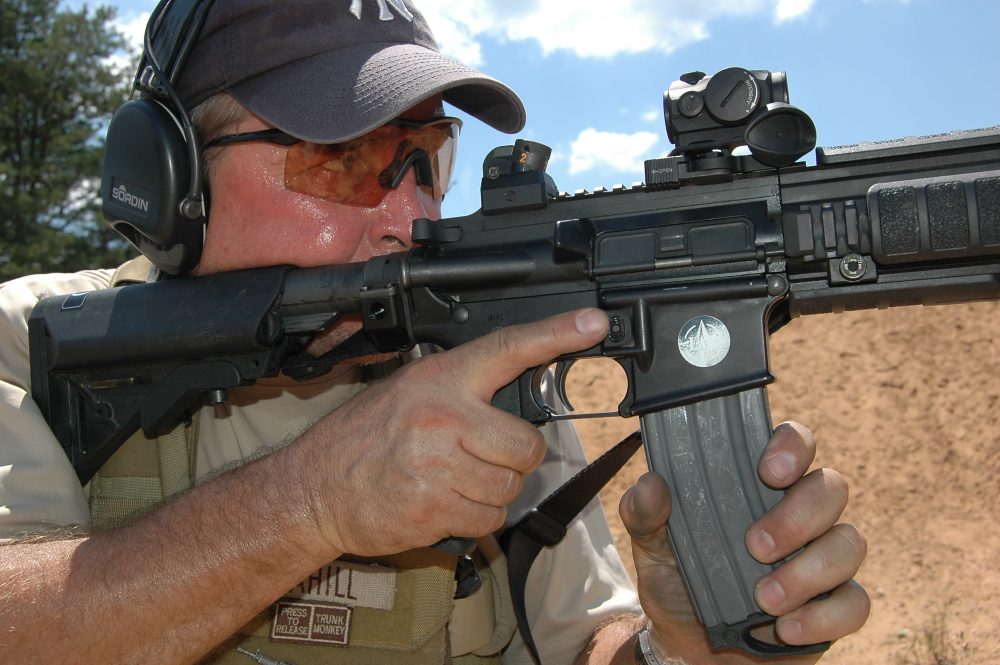
- With your support hand, push/pull on the magazine. Do not tap—it doesn’t accomplish much and fails to verify that the magazine is in fact seated.
- Roll the gun onto the right side—that is, so the ejection port is down.
- With your support-side hand, rack the action. You can use the knife edge of your hand, or pinch the charging handle (CH) between your thumb and forefinger. Pull the CH completely to the rear and release it.
- Get your head back in the fight.
TYPE 2 MALFUNCTION: FAILURE TO EJECT
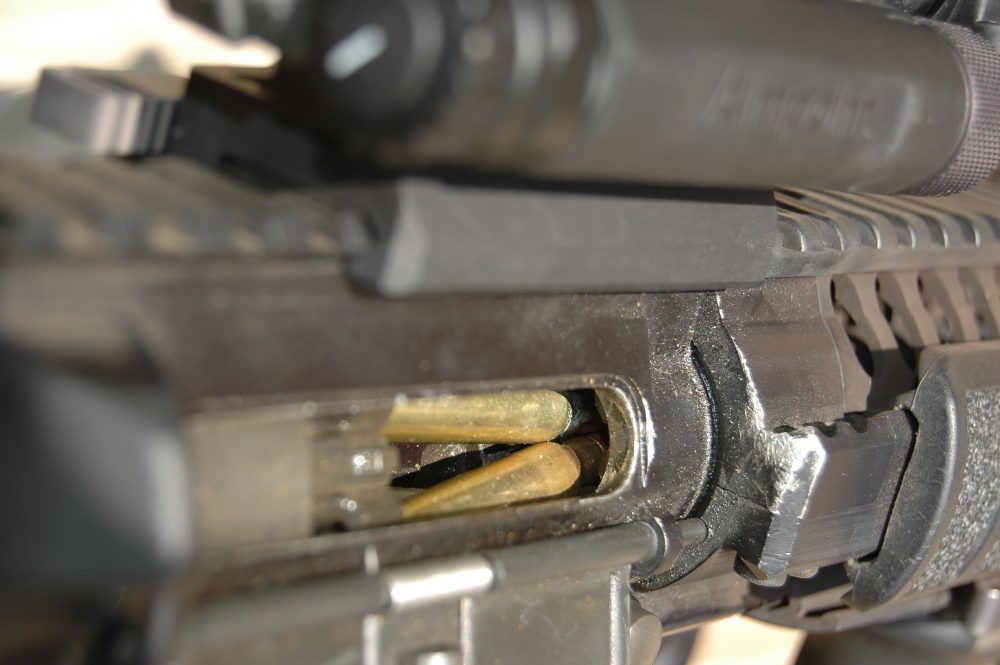
This is the classic stovepipe malfunction. The case is extracted but does not eject. It winds up stuck between the bolt face and the front of the ejection port. The cause is generally a weak extractor spring or bad extractor, though other issues may contribute to it.
A Type 2 Malfunction is reduced exactly like a Type 1—with Immediate Action:
- Finger straight.
- Push/pull.
- Rack and roll.
- Get your head back in the fight.
The reason for rolling the gun on the right side now becomes apparent. The stovepipe is identified by the case sticking out of the side of the ejection port. Of course, if you are doing IA (remember, non-diagnostic), you are not looking but responding to specific stimuli. In this case, the stimulus is a mushy trigger (the bolt is not in battery):
- Trigger finger straight. Maintain a master firing grip with your strong-side hand.
- With your support hand, push/pull on the magazine.
- Roll the gun onto the right side. If you have a stovepipe, this will place the partially ejected case closer to the deck and allow gravity to take over once you go to the next step.
- Work the CH as described above. When you pull back on the CH, the bolt moves rearward and releases tension on the trapped case. If the ejection port is down, it should fall out.
The key for IA is to remember that the ejection port is facing down. If it is facing up, proceed immediately to a Type 3 Malfunction. See Remedial Action for more excitement.
A while back, while working with a maritime unit, I watched a shooter run the IA Drills by turning the gun inboard, so the ejection port was up. It looked very cool, and he was satisfied by that (along with some other techniques that showed a lack of situational awareness).
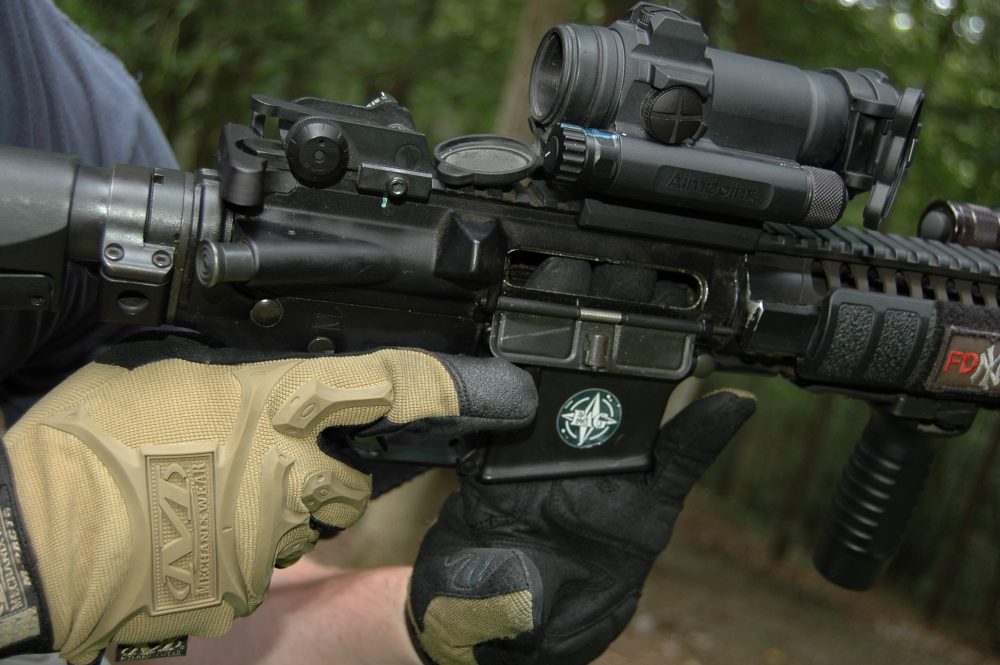
Eventually the god of payback smiled upon the range, and said shooter suffered a Type 2. He executed his IA, replete with ejection port up, and what we warned him about occurred. That case went right back into the upper receiver and caused a Type 3 Malfunction—a Double Feed.
I use this as an example of what not to do in class. Once during a malfunction clearance drill, I watched a student rotate the carbine with the ejection port up. I pointed this out to him, but he chose to ignore it. My karma was good and his bad, as he proceeded to the next drill and turned a Type 1 into a Type 3.
We had a “very special training moment”…
Immediate Action is exactly that—immediate. We are not looking at the gun to diagnose an issue. We are reacting to certain stimuli. Looking is nice and has its place, but fighting does not always take place across manicured lawns, in bright sunshine and among trees that give beer.
Other things going on have priority for your vision, maintaining situational awareness being at the top of the list. IA will cure probably 90% of your problems and doesn’t require looking at the gun.
TYPE 3 MALFUNCTION: DOUBLE FEED
A Type 3 Malfunction—a double feed—requires Remedial Action to reduce. There are two types of double feeds: one that has two live rounds trying to get in the chamber, and one that has a live round and an empty case. Both are handled in the same way.
Initiate your Immediate Action Drill:
- Finger straight.
- Push/pull.
- Rack and roll.
- Get your head back in the fight.
(Understand that how we continue will be predicated on our tactical situation—that is, alone, part of a team, etc. If you are alone and do not have a secondary weapon, you might consider other tactical options, to include departing the area forthwith. If you are part of a team, proceed according to your SOP. This may include seeking cover while simultaneously advising your teammates that you are temporarily out of the fight and they need to cover your sector of responsibility.)
5. Seek cover/grab a knee—there is no future standing erect in the middle of a fight with a nonfunctioning weapon.
6. Lock the bolt to the rear to remove pressure on the magazine spring follower—it makes removing the mag a lot easier. Push the charging handle forward to mitigate damage to the charging handle after time.
7. Remove the magazine. Unless it is your only mag, discard it.
8. Rack the bolt three times—all the way back each time. This may clear out the double feed. However, it may not.
9. Lock the bolt to the rear. Insert the fingers of your support hand into the mag well and feel for any rounds still in the upper receiver.
10A. Lock the bolt to the rear again.
10B. Take your support-side hand, with the thumb toward your nose. You will get more reach with your fingers doing it this way. Insert the fingers of the support-side hand into the mag well. If you feel rounds therein, work the lower one and it should fall out.
(As an alternative, some insert their fingers first and then rack three times. The theory is that by doing it this way, you do not risk further forcing cartridges together. That may be so, but the action spring exerts only so much pressure, and this way of doing it may be more feel good than reality—or not.
What we have seen is this. When setting up a Type 3 Malfunction Drill, it may clear by racking the action approximately 60% of the time. When a double feed occurs during the firing cycle, it may clear by racking the action approximately 85% of the time. We obviously prefer the first way, or we wouldn’t teach it.)
11. Insert a new magazine with push/pull, chamber a round, and get back in the fight.
You can take shortcuts and skip a step here and there, but you will only wind up with a Type 3 on Type 3, with a tad more aggravation thrown in.
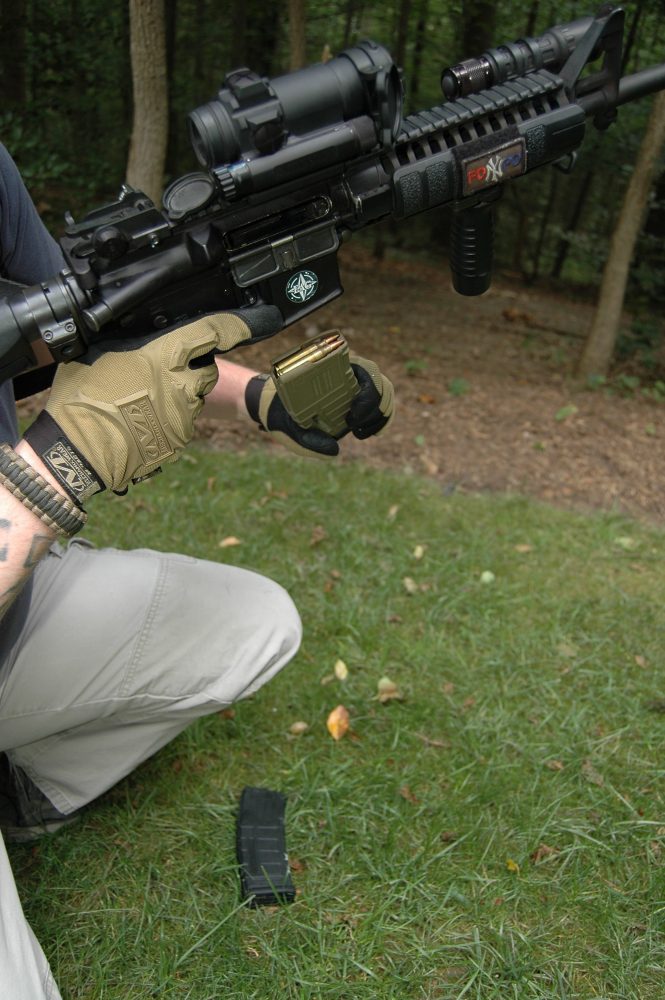
WHY WE DON’T PLAY SPORTS
As stated at the beginning, we do not use the military clearance drill SPORTS (slap, pull, observe, release, tap, squeeze), as it is ill-defined, offers no solutions to existing stoppages and, like much that the military does with weapons, is more suited to the square range than gunfighting. Let’s look at SPORTS and identify what it is and why we don’t use it.
SLAP: Slap the bottom of the magazine (generally three times). Slapping the magazine accomplishes nothing worthwhile. It certainly does not ensure the magazine is seated—only push/pull does that. What slapping can do is cause more problems. If the bolt is locked to the rear and the magazine feed lips are worn, you may wind up with a volcano of live rounds in the upper receiver.
PULL: Pull the charging handle to the rear. No problem there, but they insist on removing the strong hand from your firing grip and running the charging handle with that hand. Nonsense! You need to maintain a master grip. This is about fighting, not square range training. It goes no farther than pull, and you are to hold the CH to the rear while you…
OBSERVE: Observe for an empty case or cartridge. Terrific. But suppose your malfunction is that you failed to properly seat the magazine (see Slap above)? What will you see then? How about this: It’s night. It’s raining. 81mm illumination has ruined your night vision. Now what? Another issue is that if you observe, you are rotating the carbine so the ejection port is up, and gravity will work against you—not a good thing. Using a drill that requires seeing what is going on is an epic failure.
RELEASE: Release the charging handle. No problem with this.
TAP: The forward assist. As stated above, we don’t use the forward assist—ever. It accomplishes nothing except making a bad thing worse.
SQUEEZE: Squeeze what? The trigger? OK, we use the term “press” because it more accurately describes what we do, but semantics aside, why are we touching the trigger as an automatic response? How about maintaining situational awareness and getting your head back in the fight?
Having a malfunction during a gunfight can make a bad day significantly worse. You can reduce that malfunction and continue the fight, or you can stand in place, befuddled, and be crushed like a mudbug in the ooze of your own blood and bodily fluids.
Your choice.
The above covers the three most commonly encountered malfunctions. In the next issue, we’ll take a look at some less common—but more perplexing—malfunctions.

