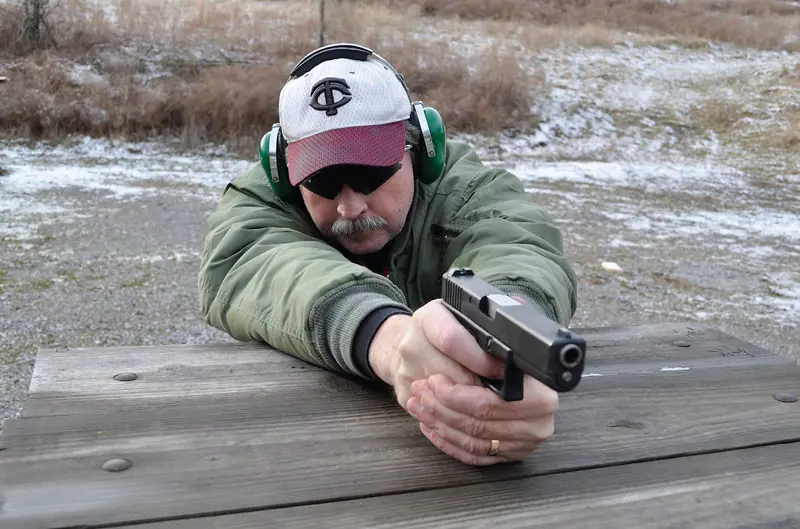
THE GLOCK pistol is one of the most successful handgun designs in history. It incorporated several revolutionary features, including a polymer frame and internal parts, simple design with fewer internal working parts, and the “Safe Action” internal safety mechanism. I purchased my first Glock, a Model 17, shortly after I attended the Glock Armorer’s course in the early 1990s. At the time, I was a gunsmith with a DoD contractor building small arms prototypes and performing R&D work, so I was not about to leave the pistol in its stock configuration.
Before I purchased the G17, my boss and I had travelled to the Bar-Sto facility and met with Irv Stone III. We were building 1911 pistols for the DoD and were considering switching barrels from a competitor’s product and going to Bar-Sto barrels exclusively. We spent a couple of days at his facility and were very impressed with the production and quality control of his operation.
It wasn’t too long after the trip that I purchased a Match Target barrel for my Glock 17. The accuracy I was getting from the factory barrel was adequate for a service pistol, but being an old Bullseye shooter with the Army Shooting Team, I wanted more accuracy than the factory barrel could deliver. Three to four inches at 25 yards with good ammo from a factory service barrel is ok, but I wanted to cut that in half or better and was sure the addition of a good target barrel would provide that.
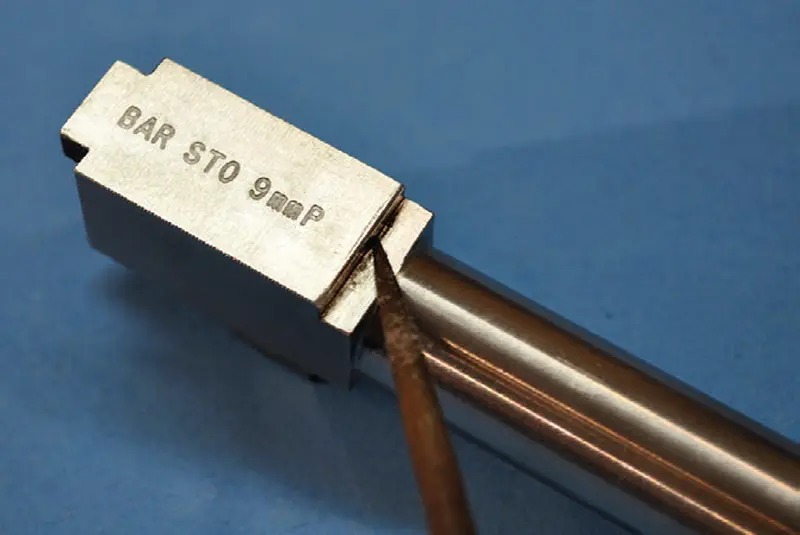
Table of Contents
BAR-STO BARRELS
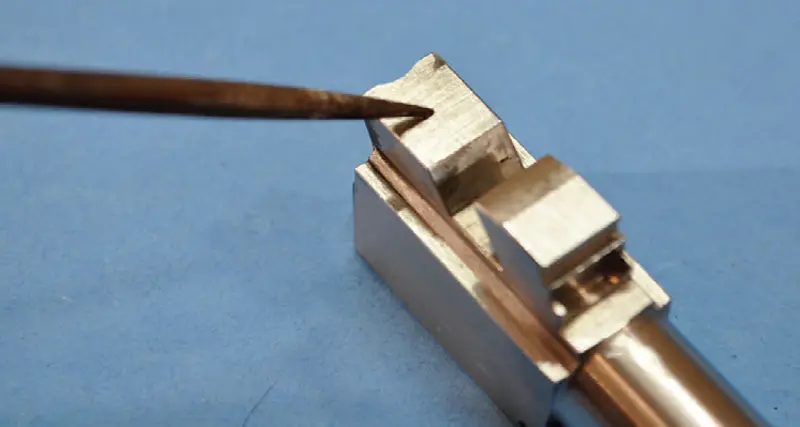
Bar-Sto offers stainless match-grade barrels in two configurations: Semi-Fit (SF) and Match Target (MT). Both come slightly oversized in two fitting areas for the Glock: the bottom locking surface and the length of the top locking area of the hood.
The SF barrel may or may not need to have any material removed. It probably won’t just drop in, though it might. It’s always best to check the fit before removing any material. The MT barrel has more material that needs to be removed for best fit.
Bar-Sto Match Target grade barrels typically give five-shot groups of one inch or better at 25 yards and 2½ to 3 inches at 50 yards. This is excellent accuracy from what is still essentially a service pistol. Their Semi-Fit barrels typically give 1½ inches at 25 yards and 3 to 3½ inches at 50 yards.
MT barrels have quite a bit of material to remove, but it’s best not to remove too much, which is why I don’t recommend using files when fitting these barrels. It’s easy to remove too much and then you have lost the advantage of installing the MT barrel.
The tight fit between the slide and barrel is half of the accuracy equation, the other half being the close tolerances of the land and groove dimensions and the precision manufacturing of the bore. Bar-Sto barrels are all broach cut, which means they have a mandrel with teeth on it that is drawn through the polished and honed barrel interior to create the rifling.
FITTING THE BARREL
When fitting the SF barrel, one of the first areas to look at is to see if the barrel will go up into battery in the slide. There should be a little bit of material that needs to be removed from the front part of the locking surface, but always check first. As mentioned earlier, the MT barrel will have quite a bit of material to remove.
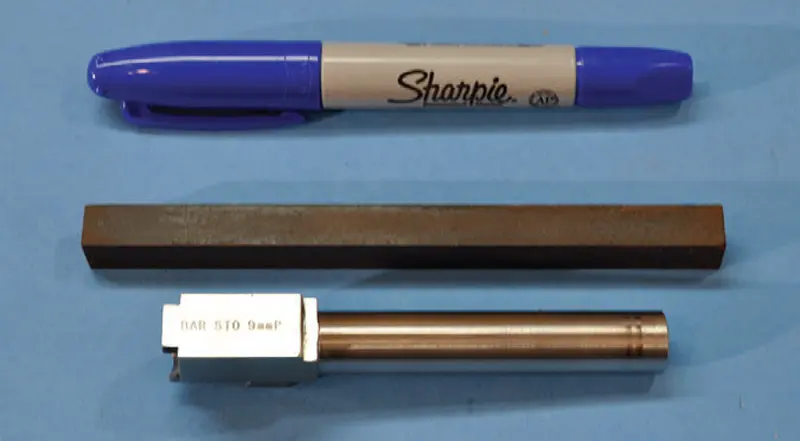
Basic tools are needed to fit either the MT or SF barrel. If you have experience in fitting close tolerance parts, you might want to use a #4 file, but I recommend using soft India stones for the majority of the fitting unless you are feeling bold. With both types of barrels, a good set of stones is essential to get good results: both the soft India and hard Arkansas stone.
You can’t replace metal once it’s been removed, so go slowly. Stone a little, then check your work. I always use a bench block or vise to hold the work in place, so I can apply even pressure and keep my work square.
You also need a blue marker to mark the high areas that need to have more material removed, good lighting, and a magnifying glass or optical loupe.
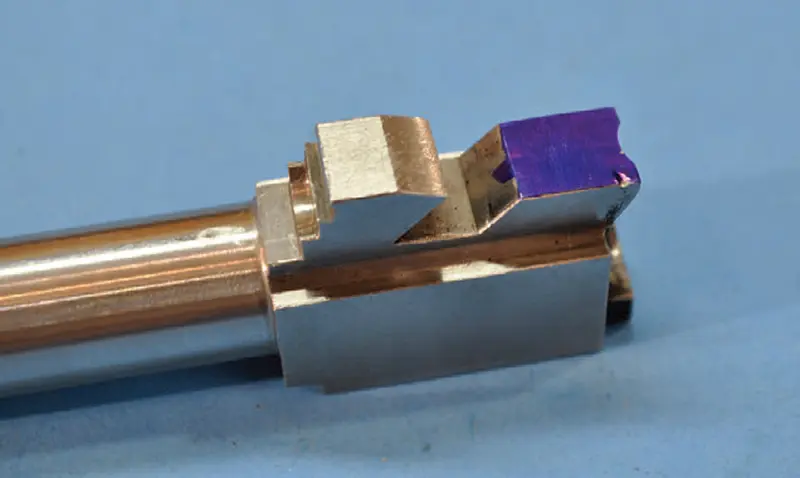
Once you have material from the front locking lug removed to the point that the barrel goes up into battery, check that the barrel is square in lockup. If it’s not, you probably have the sides of the barrel hood rubbing in the slide. Look to see which way it’s canting and, with the lug pointing down and the muzzle away from you, remove material from the side of the hood opposite the cant.
In other words, if the lug cants to the left, remove material from the right side of the hood. A good technique to check for hood clearance is to push the barrel up into the battery position and hold it up to the light to look through the slide/barrel area to see where it’s rubbing.
When you have the barrel fitted to the slide, fit the bottom pad where it sits on top of the locking block. Again, keep your work square and go slowly with India stones.
The SF barrel may have just a thousandth or two of material that needs to be removed on the two fitting surfaces. Check for high spots with the marker and only remove material where the marker is rubbed off. Stone a little, apply the marker, try to install the barrel, disassemble and look for high spots. This tells you where to stone or file and remove metal.
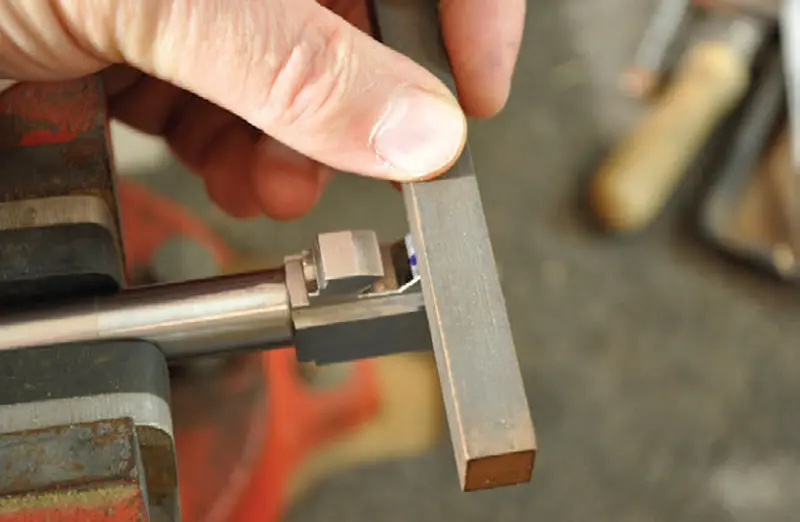
Once you have fitted both surfaces, touch up the edges with the hard Arkansas stone to break the sharp edges for a smooth fit.
Now that the barrel is installed, function test it with dummy ammunition. I usually load four or five dummy rounds and cycle them hard through the pistol. This will closely simulate the firing cycle and is a good test to see whether or not the pistol will function with live ammo.
RANGE TESTING
The last step is, go to the range! I take a variety of ammunition to run through the gun after a modification like this. Round nose ammo, hollow points, and loads from different manufacturers are all good to see which types of ammo work best.
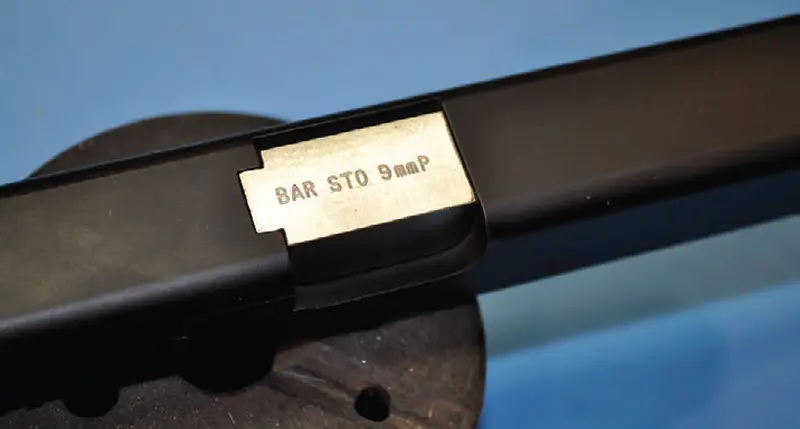
With the Bar-Sto barrel, Glocks normally work with a surprisingly wide variety of ammo types and configurations. If the gun is to be used for competition or defense, use the type of ammo you are going to use for whatever type of situation you anticipate you will be engaged in.
Twenty years ago, I fitted my Bar-Sto barrel to my Glock 17. It works with virtually every type of ammo I have run through it, including reloads, and still holds two inches at 25 yards when I do my part.
