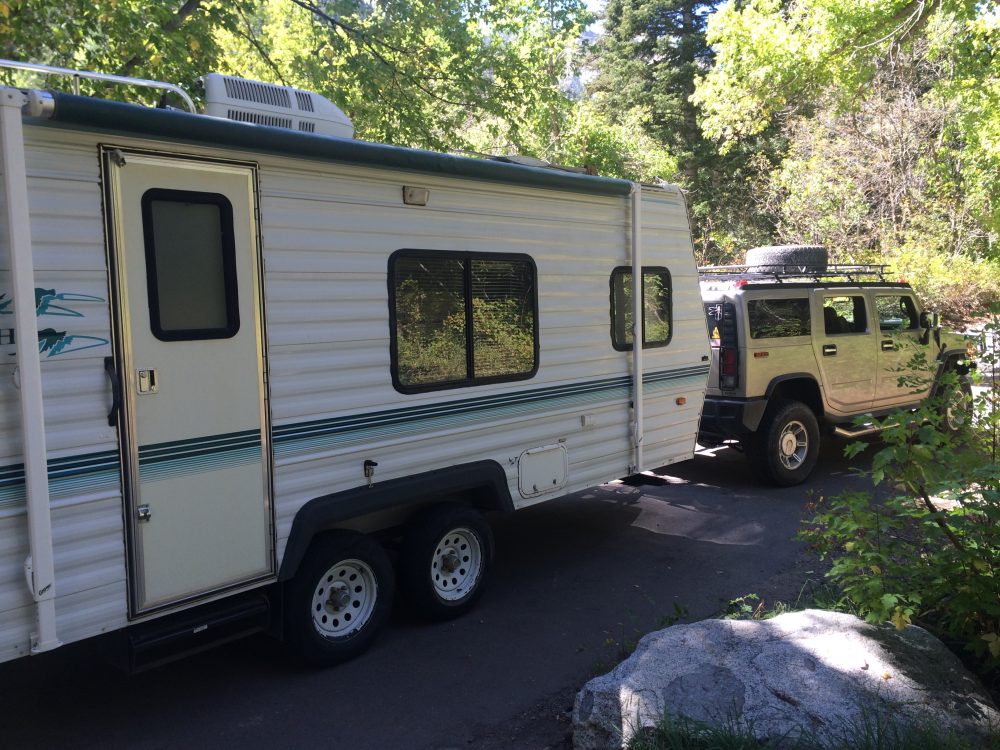
Bigger vehicles and bigger trailers are easier to overload…plan wisely.
Those of you who are into preparedness likely have Return to Home, Shelter in Place, and Evacuation plans for different emergency scenarios and contingencies. Bug Out Bags (BOBs), Get-Home Bags, and stored food and supplies give you the edge if you need to set these emergency plans in motion, and hopefully you’ve trained and practiced for those scenarios.
In most cases, it makes sense to hunker down and shelter in place, at least until the initial event has transpired. But if the disaster or emergency event requires evacuation from your home and neighborhood, are you ready to efficiently pack and load up to get out of Dodge?
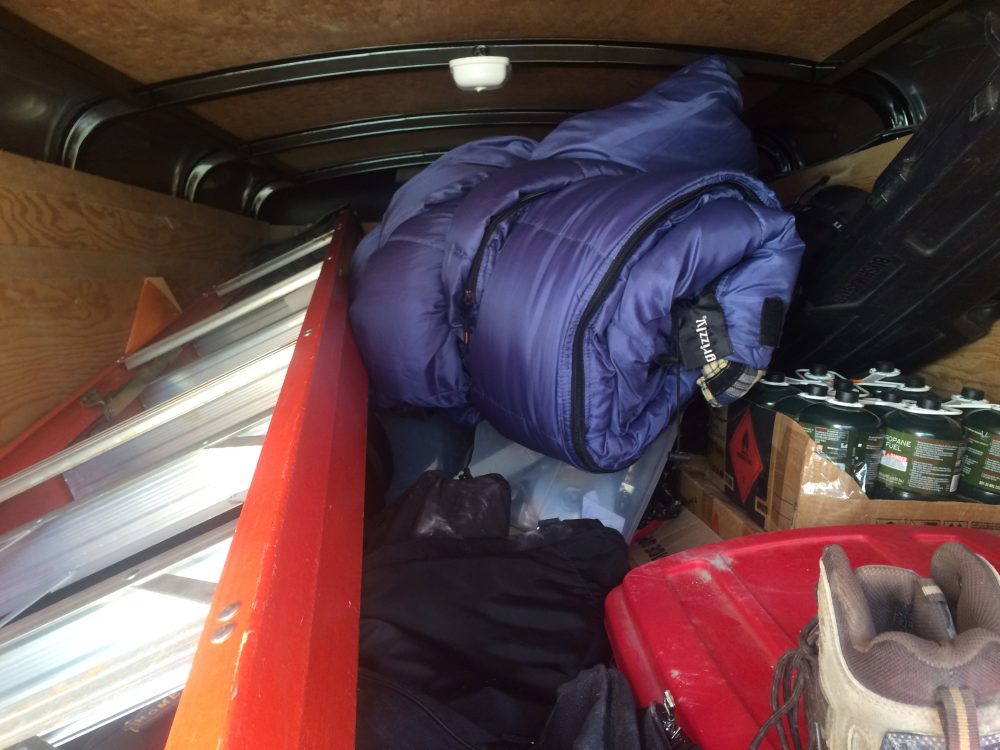
If your load-out looks like this, you can benefit from some preplanning and loading exercises.
Table of Contents
THE CHALLENGE
There’s been a regional natural disaster and you must move your family to a safer locale. You’ve got 30 minutes to pack your vehicle and be on the road: GO!
Without some preplanning, referencing an equipment and supplies checklist, and practicing the load-out a few times, you will likely take too long, forget vital items, and possibly miss the deadline altogether.
OBJECTIVES AND FIRST STEPS
In this scenario, plan on a standard 5×8 covered utility trailer as the primary load hauler. You could use a non-covered utility trailer or just the space in the bed of a truck. By preplanning what you’re taking, how much the supplies weigh, and where they need to go in the available space, plus labeling and pre-staging some of the supplies, you can mobilize, load and go much more efficiently regardless of the hauler’s size.
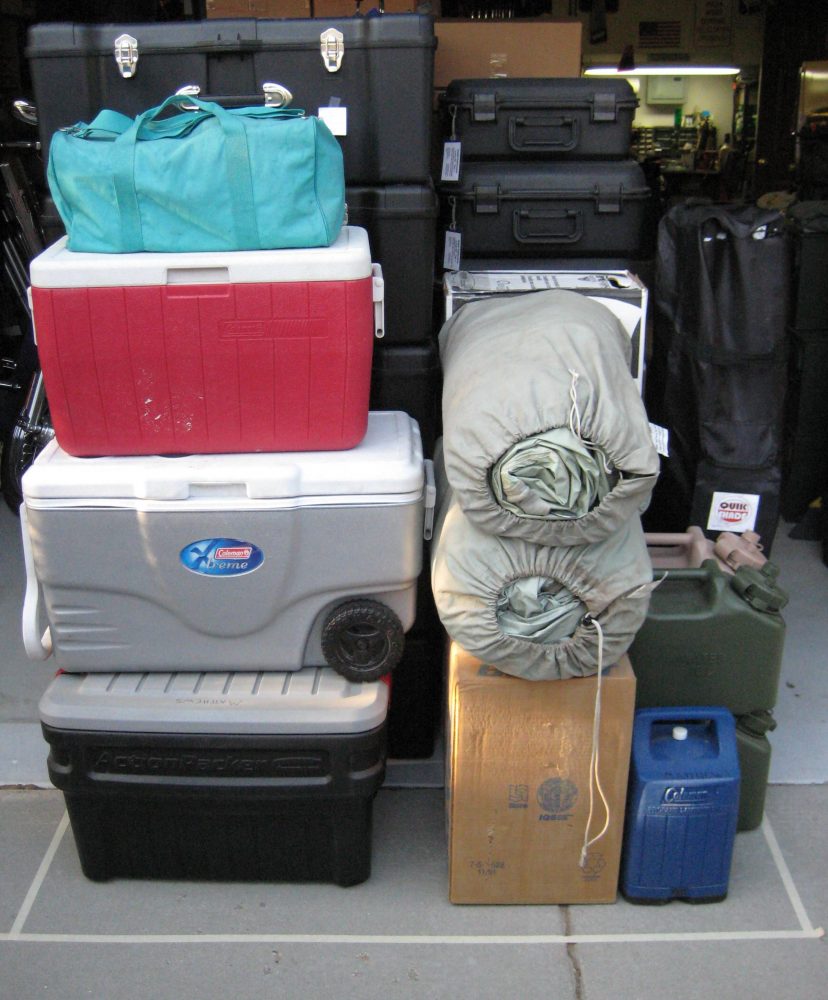
For planning purposes, tape out the floor space of the trailer with masking tape, which lets you work through many of the loading issues without needing the trailer right there. Then, when the list and loading sequence are finalized, practice with the trailer or specific vehicle you’ll be using.
Regardless of the load hauler, start by generating a prioritized equipment list for the evacuation. The items and amounts of specific supplies on the prioritized list are contingent on what you’re planning and preparing for.
For instance, your food and water load-out will be much different if you’re planning on a two-week event versus a three-day event. Likewise, if you have six people in your group, you’ll need a lot more for the same length of time than if you have two people.
Are you planning on support from local or regional governments, municipal entities, or church groups? Your needs will change dramatically if you’re temporarily housed in a school gymnasium as opposed to bring-your-own shelters in a field. And remember, just because you head out thinking you’ll be in a school gym, all may not go according to plan and you may need to be self-reliant regardless of initial intent.
Next, identify capabilities (weight and space) of the vehicle, trailer, ball hitch, and attachment point on the tow vehicle so you stay within safe handling limitations with your load. Then determine equipment load sequencing and weights so you can get the heavy stuff low and maintain a safe center of balance and gravity.
Using a standardized color-coding of the supplies and transport containers can help with easier identification and inclusion into the load process, minimizing confusion. During this preplanning exercise, identify additional equipment and supply needs, and finalize the transport containers you want to use. The bottom line is you want your supplies labeled and organized to enhance your ability to identify, load and move equipment rapidly.
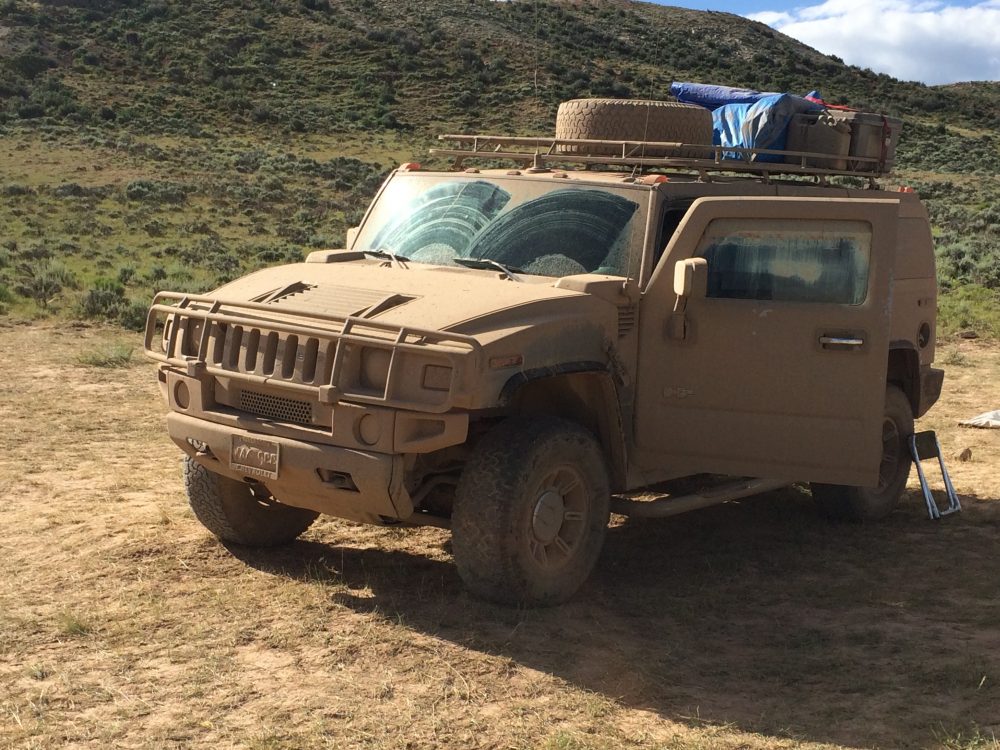
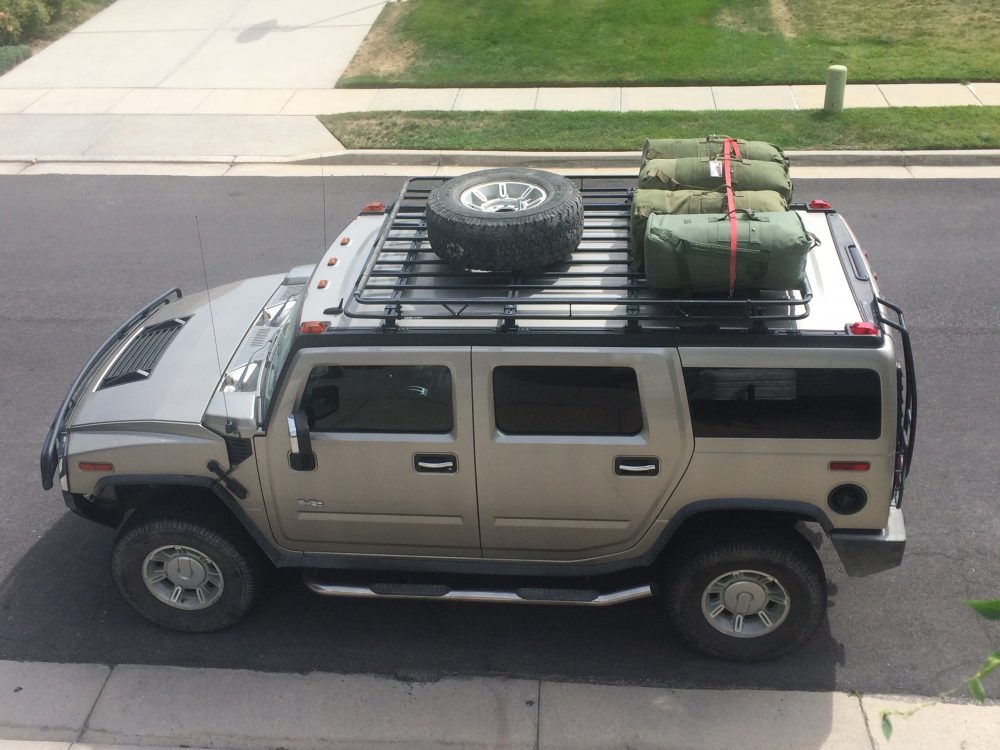
Your bug-out vehicle needs to be capable of varied terrain, loads, and weather conditions.
PRIORITIZED EQUIPMENT LIST
- Food: In this scenario, prepacked ready-to-eat meals make the most sense. With everything that will be going on, the last thing you want to worry about is complicated food preparation. MREs and freeze-dried meals rule here!
- Water: Many inexpensive and portable containers work for water storage. Remember the one-gallon-per-person-per-day rule as a minimum, and also plan for purification needs.
- Clothing: Each group member should have a backpack or duffle bag with heavy-duty cold-weather-capable clothing. Good boots, lots of socks, insulating layers of fleece and thermal underwear, weather-proof shells, hats and gloves will be worth their weight in gold if this event occurs during or overlaps into inclement weather months.
- Shelter: Tents, tarps, bungee cords, twine or cordage, extra tent stakes, and sheet plastic will be invaluable if you need to fabricate shelter for yourself. Don’t forget extra duct tape, small tools, nails, screws, and other little necessities. The tent-style portable shower/privacy shelters make it nicer to deal with a portable outhouse. All these supplies will also be useful if you end up in a shelter-in-place scenario and have any glass or structural damage to your home.
- Toiletries: Along with the portable outhouse shelter, pack toilet paper, baby wipes (cheap shower), paper towels, feminine products, baby/infant-specific items, spare contact lenses and glasses, solution, and any other normal-use items.
- Communications: Two-way radios (discussed later) help you stay in touch with other members of your group as you get out of town. Spare batteries, solar panels, and small generators can be very useful too. Throw in some extension cords and power strips just in case you end up being able to access some AC power.
- Medical: A good first aid and medical kit can save lives! If you don’t already have one, get one—and learn how to use what’s inside. Every member of your group should know where the med kit is and have a rudimentary knowledge of the contents and their use. Pack extra over-the-counter and prescription medications, and vitamins and supplements.
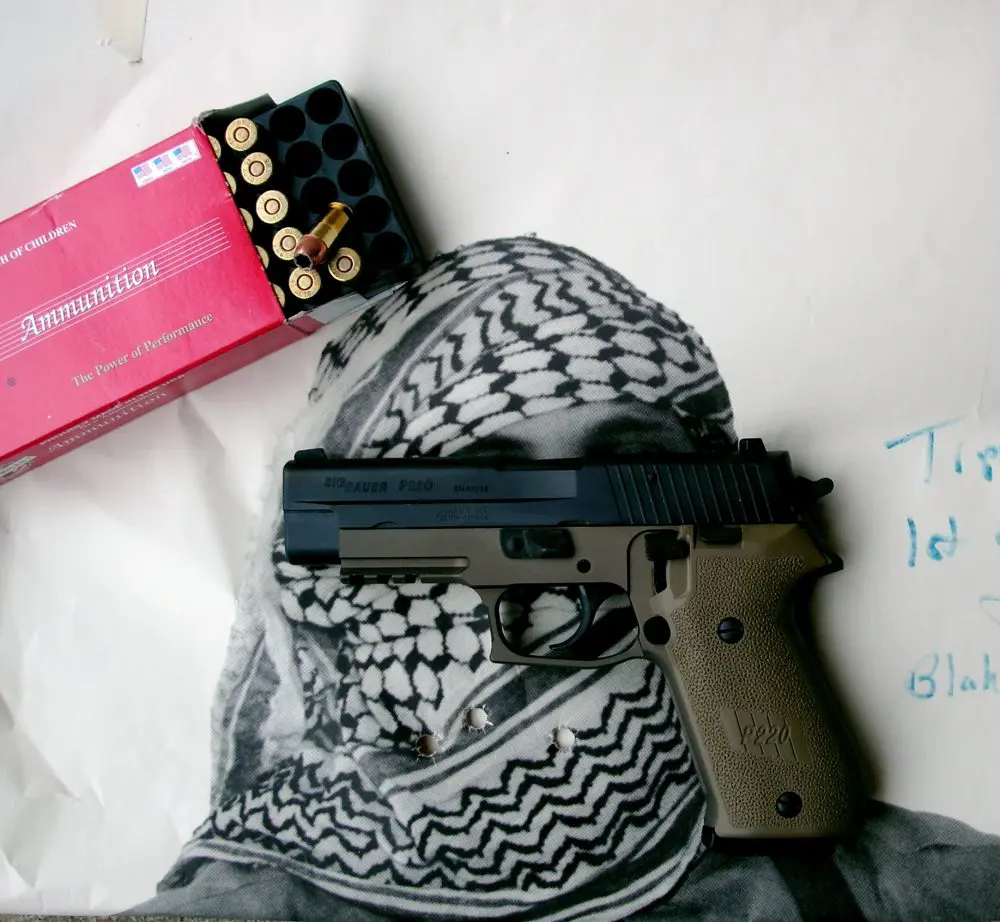
- Weapons and Ammo: Having the means to defend yourself and your loved ones is imperative in a disaster situation, as is being able to feed the weapons you have. Include extra ammo, magazines, cleaning and maintenance supplies, and a few spare parts. Don’t forget holsters, slings and some sort of load-carrying gear to help you stay functional.
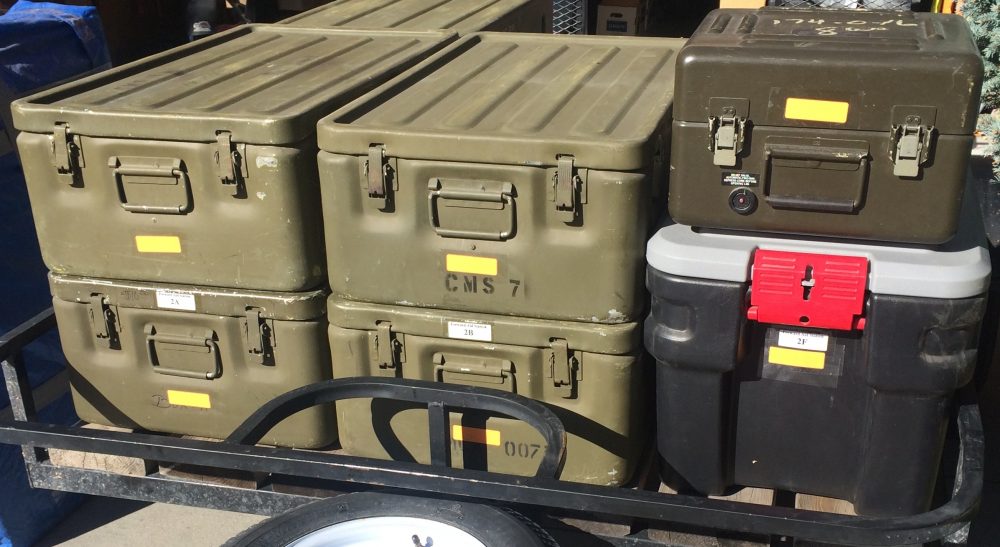
Coding containers with colored tape or labels makes quick identification for loading easy.
CONTAINERS
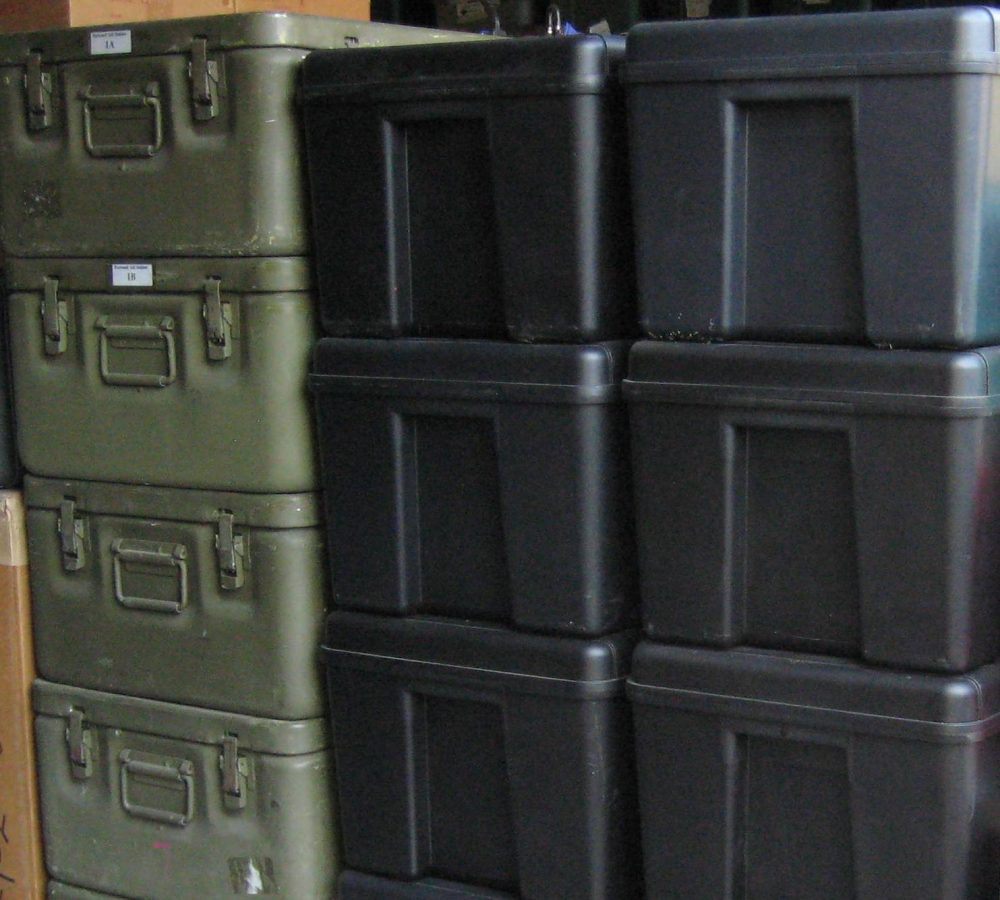
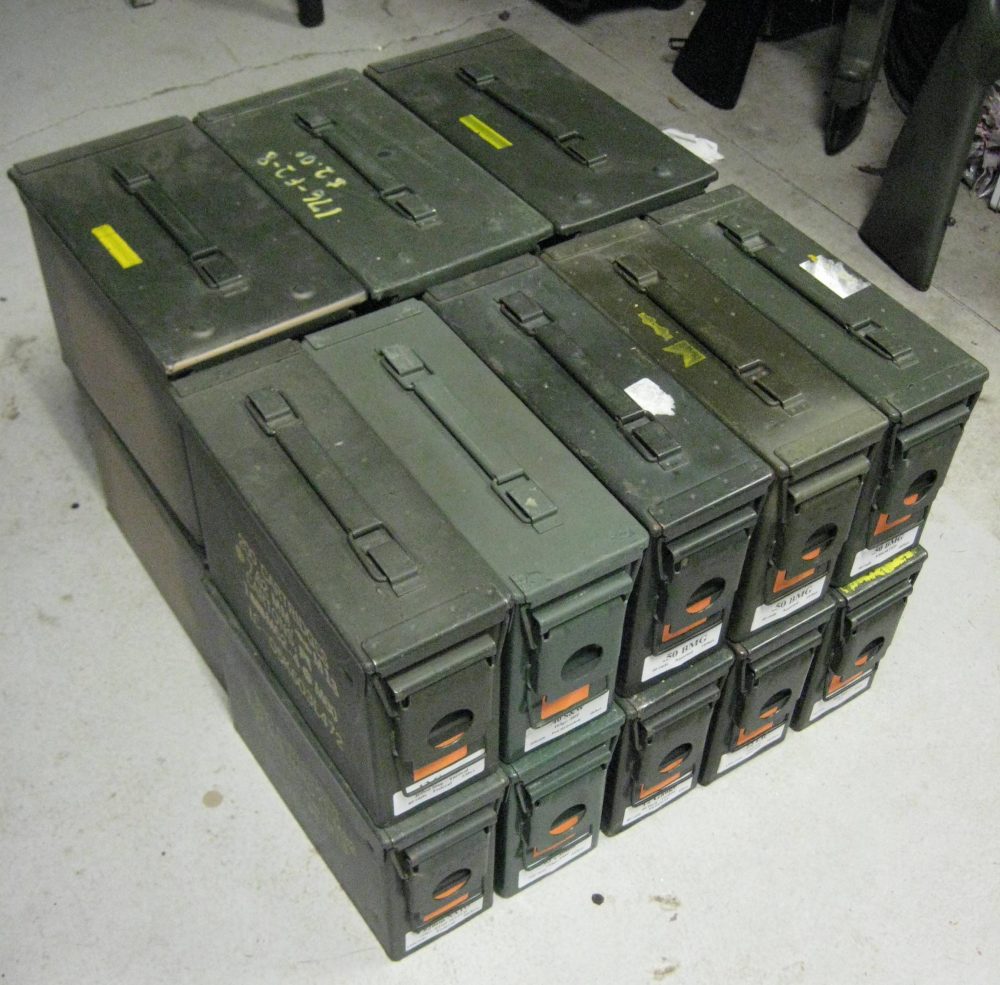
Military and commercial ammo cans and transport boxes make good travel containers, although often they are heavy. You don’t want to use valuable bandwidth in your weight limits just on containers.
Some of the inexpensive totes and footlockers available at big-box retailers can help you stay organized and make it easier to load. While these containers aren’t generally as heavy duty as the military ones, they are usually much lighter. Consider the trade-offs. Remember your labeling system and color-code containers and items for rapid identification.
VEHICLE PREP
Preventive maintenance can go a long way toward keeping your intended vehicle ready for emergencies. Spare tires, oil, fuel, and high-turn-over parts can keep you moving when the going gets rough. I’ve had a rash of flat tires while playing out in the desert lately, and it has driven home the idea of having two spares, not one. Remember the adage “Two is one, one is none.”
It makes sense to keep gas tanks closer to full rather than empty—a disaster is no time to get in line at the gas station. Fill up when you get to 3/4 of a tank.
A good rule of thumb is: the higher the load, the lighter the weight.
METHODS OF COMMUNICATION
After you hit the trail, you need to be able to communicate with other vehicles in your group. Cell phones, with all their wonderful bells and whistles, may be rendered nearly useless during a large-scale emergency. Even if the grid stays intact, cell towers will likely be totally overloaded by everyone trying to track down loved ones and come up with a last-minute action plan.
What does that leave? Two-way radios! The little FRS radios sold by big-box retailers will be useful but, like cell phones, will likely have dozens if not hundreds of people trying to use the limited channels. HAM radios (with appropriate licensing), UHF and VHF commercial radios, and CB radios may work well to keep groups connected.
Test your comms in scenario-based exercises so you know what kind of performance you can realistically expect. Do not trust the marketing hype on the little radio packages that tout a “24-mile range” with half a watt and a two-inch antenna—it’s not gonna happen!
Green military containers (left) are much sturdier than most commercial containers but also much heavier.
PUTTING IT ALL TOGETHER
Run drills with your family, friends or group. Nothing works out the bugs like a real-time function test. Each participant should have a preplanned list of the items they are responsible for. They should be able to grab these items and stage them for load-out.
A simple method of running your plan is to tape out the trailer size on a garage floor or driveway and then “load” the taped area. This will help you identify what you can fit in the trailer or vehicle, and whittle down your load to a realistic level.
Preplan ammunition calibers and quantities.
Remember to reverse load, meaning put the items in last that need to come out first. You don’t want to be tasked with setting up tents when it’s dark, raining, and the tents are in the front of the packed-tight trailer.
By running load-out drills, you can fine-tune your emergency preparations for an evacuation scenario.
Ken Matthews is a former SWAT team member with a Utah police department, fulfilling collateral responsibilities as a sniper and team medic depending on the mission. He has been an underground miner, EMT and Ambulance Commander, and a Flight Nurse and Air-Medical Program Director with over 1,000 patient missions.
