What’s a bivouac? It’s a temporary camp without tents or cover. If you travel in the outdoors long enough, whether hunting, hiking, snowshoeing, taking photos or just exploring, chances are you may become lost at some time.
That ice-cold feeling of shock usually sends people sprinting around the forest looking for the trail as if someone hit the fire alarm. Canyons seem to magically grow about 100 feet higher, while the forest closes in as it grows thicker and darker. This is one of the worst situations a person can find himself in.
When you’ve lost the direction you wish to go in, stop and rest. It’s reassuring to know that, once you realize you’re truly lost, you probably aren’t that far off your original path, so stop!
I would never say don’t panic, because that’s like telling a cut not to bleed. Instead, stop and sit for 30 minutes. Drink water, have a snack, look through your pockets or backpack and take an inventory. Chances are you have a cutting tool (knife, saw, hatchet) that can aid your situation should you have to spend an unexpected night out.
Give yourself at least two hours before dusk to locate and select the materials needed for building a camp. Knowing what you are up against and when the right time to start building an emergency shelter (bivouac) is will help with the next few decisions you need to make.
Table of Contents
BIVOUAC CAMPS
Making a bivouac camp just anywhere in the woods is about as useful as running aimlessly in the dark searching for a trail. There are a few things to think about and hopefully lock into memory as to what your goals are when making an emergency bivouac camp.
Pick up any book on wilderness survival and the chapter on shelter will most likely have a checklist of everything to look for in selecting a site to build a shelter, and the most ideal materials to build it with. You’ll probably see amazingly clever diagrams of the perfect shelters.
I’ve seen these elusive perfect shelters, but only in books! Instead, I will give a short and simple list of things to remember when making an emergency bivouac camp—the four Ws.
Water, wood, widowmakers, and wind make up the four Ws. In order to understand how these come into play, here are a few rules:
Water is the most important element for all living things. In fact, a book on camping and woodcraft written in 1917 states that all man needs to survive in the wilderness are water and tools. I would also like to add, a handful of skills.
Wood is needed for fire, which will aid in robbing the woods of their “spook.” Fire will boil water, cook your food, and get rid of mosquitos. You need a good supply of wood in any emergency bivouac camp.
Widowmakers are dead trees and branches that run the risk of crashing down in high winds or storms. They have been a major cause of wildernessrelated deaths. When selecting a place to build an emergency bivouac camp (or any camp), be mindful of danger.
Wind can dislodge widowmakers and also rob the body of heat. Selecting a place that has a natural wind block or making an improvised wind block is a must, especially in an area with canyons, through which wind is likely to be channeled at night.
THE COWBOY WAY
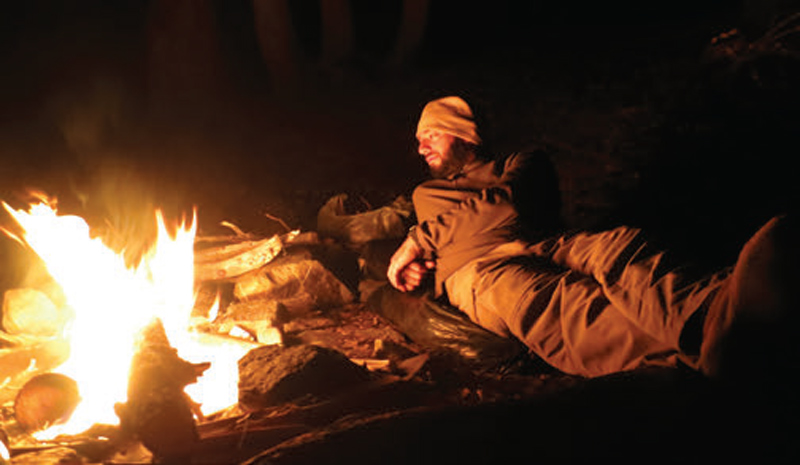
The easiest way to bivouac camp is the way cowboys did in the Old West, sleeping on the ground next to an open fire. However, they usually had a wool blanket and maybe a saddle blanket for a pillow. The more modern way of sleeping like this involves a plastic garbage bag filled with dry pine needles, dry grass, or dry leaves for insulation.
It’s as simple as doing yard work (a pair of gloves helps move this along by protecting the hands from thorns and sharp things in the woods). Fill the bag and tuck it under at the open end, then plop down. This will work well at fighting conduction from the cold ground and provide a comfortable night’s rest.
A fire one good step away from where you’ll be sleeping will provide enough warmth to get through the night if it is a long fire. A long fire is used to sleep next to at night in the wilderness and allows for a larger cook fire.
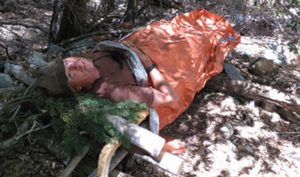
blanket, it will keep in precious body heat. This set-up is perfect for summer bivouacking.
LONG FIRE
To make a long fire, clear an area by kicking away forest debris. Make sure any hanging branches won’t be too close to the fire. Lay down long, dead dry branches to a span of about five feet long parallel to your body’s sleeping position. Both the fire and your body should be parallel to the wind to avoid a face full of smoke all night. Use long wrist-thick pieces of wood and thicker logs for placing on the fire during the night. Keep a handful or two of dry twigs and sticks nearby to easily restart the fire if it goes completely out, which it might sometime during the night.
If there is no natural windbreak behind you, lay your woodpile of night logs behind you to help reduce wind. Better yet, set up the garbage sack (with insulation) in front of a large log or boulder to block wind and put the long fire one good step away from you. This is one of the most comfortable night’s sleep you can get from simple natural materials using minimal tools.
RAISED HOLLOW CORE BED
If the ground is covered in snow or very damp from water, get up off the ground. Making a raised bed can be a simple affair even with just a medium-sized saw or small hatchet.
To make this type of bed, start by locating two thigh-thick logs for the head and foot of the bed. Lay them down roughly six feet apart and parallel to one another. Locate two wrist-thick poles about six feet long and put them on the thicker logs, about shoulder width apart. At this point, you’ve made a rectangular bed frame.
Duplicate the process with wristthick support poles the same width as the bottom logs and place them on top of the six-foot-long poles. On them, add one more pair of six-foot-long poles. Make a simple lashing at the four places where the last three wrist-thick logs all meet (at the Xs).
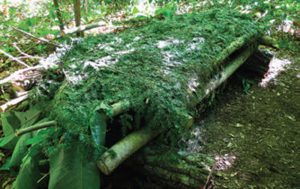
Fill the bed in with six foot or longer dry thin branches until there is a thick layer completely filling in the bed (the long way). Keep branches no thicker than finger thickness. This is the “box spring” and must stay springy. The last step is to add a layer of pine boughs or large green leafy material to cover all the dry sticks. Add this layer starting at the foot of the bed up to the head, and place them diagonally.
Combine this bed with a long fire and you will be roughing it no more!
