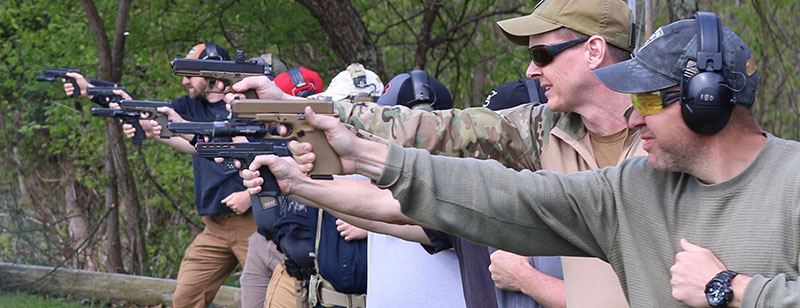
From the earliest days of the handgun, the weapon was primarily fired with a single hand. In retrospect, it is downright curious how little emphasis was placed on two-handed shooting as anything other than a last-resort contingency if the target were galloping away over the next ridgeline. Training manuals from as late as the muscle-car era still predominantly emphasized single-handed fire with the pistol or revolver.
Early practical shooting competition and Jeff Cooper’s writings ushered in a change that blossomed in the 1970s. Two-handed shooting is now the default mode of employment (a good thing) and has been for most readers’ lifetimes. In fact, the reliance on both hands is now so strong that many shooters are somewhere on the spectrum between not great and downright awful when shooting turns to single hand. We can fix that.
Pull up a chair and let’s sketch out some training approaches and drills to get that handgun hitting regardless of which hand is controlling it all by its lonesome.
Table of Contents
GET YOUR MIND RIGHT
Perhaps the most important first step is to calibrate your expectations. I hear shooters all the time with some variation of a statement to the effect that, “I struggle strong hand and suck support hand!” This is rarely said immediately before some steely eyed statement of determination to “fix” it, but rather in a flat pronouncement that suggests “why try” and leads to token effort on those fronts.
The most important shot you ever fire may be from a single hand. Be good enough to make it.
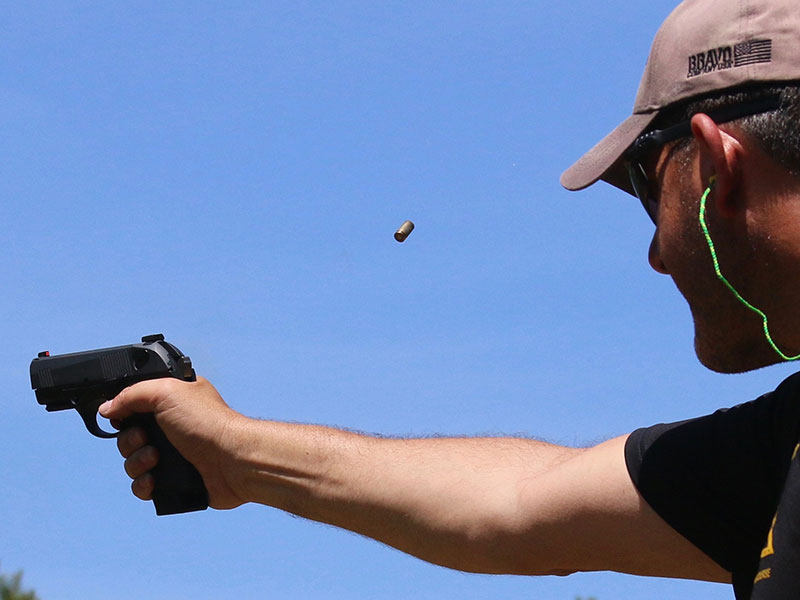
If you are an armed professional, you should be able to reliably hit with either hand at situational speed. Step one is acknowledging the requirement and deciding to take it seriously. There are lots of contextual reasons why you may have only one hand available, including injury; a hand occupied with a task, thing, or person that can’t be dropped; certain flashlight techniques, etc. I regularly tell students that anything worth doing is worth doing strong-hand.
Step two is acknowledging what is achievable. Strong-hand shooting is often not as fast or precise as two-handed, so don’t hold yourself mentally to that exact same standard or you will be disappointed. Support-hand-only shooting is usually not as fast or precise as strong-hand-only shooting. However, single-hand shooting can be fast and precise enough.
Too often I see shooters casually doing single-hand shooting that is so slow or sloppy that whatever training value it has is likely negative. Acknowledge you must be good enough, set appropriate standards, and have the patience to start building skill.
The key is to harness your competitive drive.
EVERYONE WANTS TO BE A WINNER
We’re all competitive—many of us ridiculously so. A while back, I stumbled onto a concept that helped me tighten up my own single-handed shooting. I simply have a one-man shoot-off and challenge my support hand to outshoot my strong hand. I find that in doing this, I never slack off and am constantly putting in real effort in a much more focused manner than simply doing some single-handed repetitions. The good news is that I always win….
But, you point out, most people can’t outshoot their strong hand with their support hand. And you’re right. To use the shoot-off technique, the shooter must handicap the drill. There are three different ways to do this, and we will go through each in turn. These are separating strong and support side by time, distance, and platform.
TIME
All things being equal, it takes me just a bit longer to get the same quality hit with my support hand that I can with my strong hand. Acknowledging this, we can build some appropriate skills drills.
The first is a fairly straightforward single-hand derivative of Ken Hackathorn’s “Half Test” (five shots in five seconds at 10 yards). For the single-hand version, we start with a B8 bullseye at seven yards. With the handgun starting from the ready, the shooter has seven seconds to fire five rounds from strong-hand only. Shooter notes the hits/score and swaps the pistol over to the support side. On the signal, he fires five from support-hand only but this time in 10 seconds.
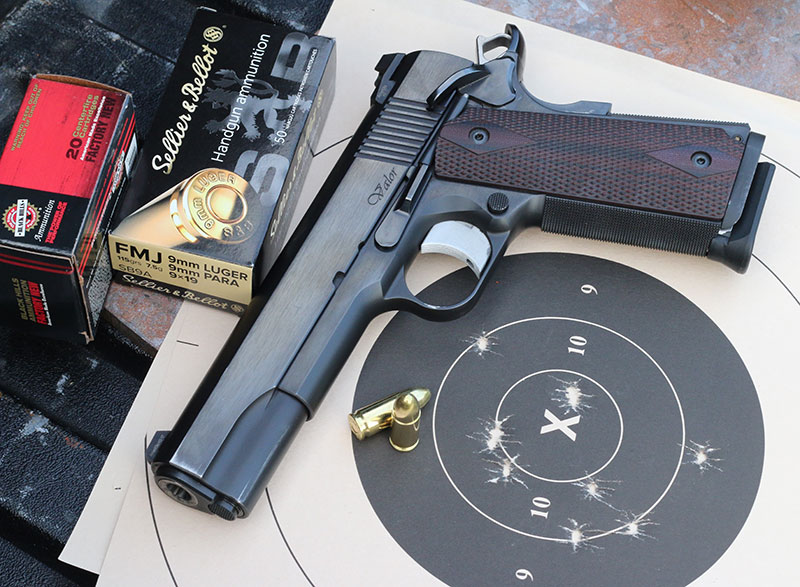
I find that in this drill, I am both competing directly against myself one hand to the other but also doubly focused on getting maximum score from the 10 combined hits. As a starting point, I like to see a student get most of the 10 inside the eight-inch “8” ring, with most of those hits in the black.
For an instructor-level shooter, I expect effort until all 10 are in the black, and of course the most advanced shooters are gunning for a perfect score.
Another variation on the timed approach is to again set up at seven yards with a B8, but this time simply shoot hit/miss for the black (or turn it backwards and trace a circle around the 9 ring). All strings have a three-second limit. The shooter fires one from the holster strong-hand only for the first string, followed by three strings of three shots from the ready. Ten shots total for a possible 10 hits.
The shooter then marks or refaces the target and shifts to the support side, where he fires five strings of two shots each from the ready. In this way, we are maintaining a fixed time limit (three seconds each) but getting in an extra hit with each strong-hand string to balance the difficulty.
DISTANCE
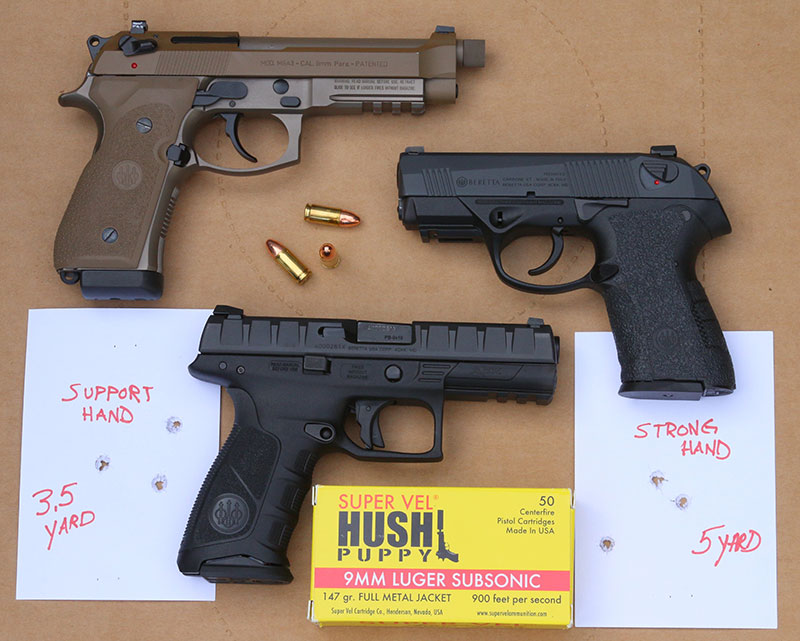
If you have a certain drill you use that is giving you an acceptable challenge strong hand, then get closer and run the exact same thing from the “weak” side. An acceptable ball-park starting figure is 70% of the strong-hand distance for the support side. So if you are running a 10-yard string from the strong side, 93% of the population will step up to the seven-yard line to shoot it left-handed. Other common yard lines, rounded as necessary, are seven strong and five support, five yards/3.5 yards, and 15 yards/10 yards.
A great example of this approach is Viking Tactics’ “Triple Nipple” drill. This has the shooter firing 10 shots to the A zone of a VTAC target in 10 seconds. This is done from 15 yards freestyle (using two hands), from 10 yards strong-hand only, and seven for the support hand.
One drill I occasionally use is to place a 3×5 index card and set up to fire three shots from the ready in three seconds; five yards for the hand I hold my fork in and 3.5 yards for the other one. You can’t get much closer, so if this drill seems too difficult starting out, consider scaling it back to a pair of hits or expanding the score-able impact to a B8 black.
After running this a couple times, I think you will see how similar the results and “feel” of the drill are from either hand at the different distances.
PLATFORM
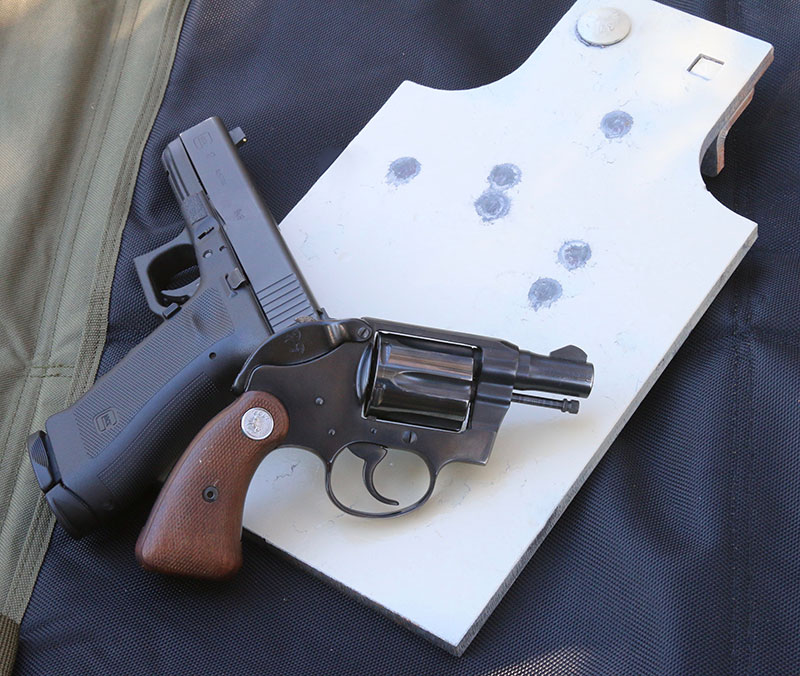
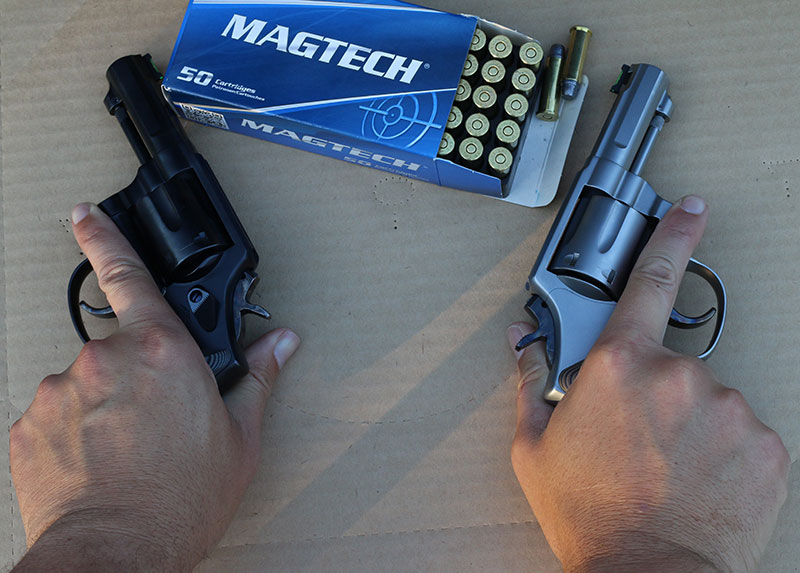
The third way to handicap the firing hands is to adjust the weapon platform. If you occasionally carry a subcompact or snubbie (or have a back-up gun on duty), this is a perfect opportunity to get practice on two often-neglected training items with the same drill. The strong hand gets the BUG/subcompact, and the support side gets the “normal” (and typically more shootable) platform. Then run the two hands/guns head-to-head in a drill. If you do this a couple of times, I think you’ll find you’re surprising yourself in just how well you can actually hit with the hideout as well as the support hand. It’s all about expectations, and a little friendly competition between limbs can unlock powerful optimism and focus.
Any of the drills mentioned above can be used with this approach—just baseline on the support-side start point and use it with each hand.
To further stretch my capabilities, I like to use this approach on single hits on steel under pressure. Any steel target and safe distance (typically 10+ yards) can work. I like to use a challenging and relevant size, such as either an eight-inch plate or my Defense Targets Noner and place them at a distance I know I can hit 90+% of the time with no pressure. Then I pick a par time that forces me to get everything right the first time with smooth, deliberate effort and fire a sequence of single shots from the ready at that tempo.
For many shooters, this would probably work out to an eight-inch plate at 10 yards on a three-second par time. The goal is five hits from each side. In any other context, many of you would be thinking, “yeah right,” but once you get four “dings!” from the support side with the primary pistol, I guarantee you will move heaven and earth to beat that with the J-Frame or Glock 43.
As it gets easier and 10 hits are certain, you can either decrease the par time or move farther from the steel. I work the Noner target at 20 yards gunning to break two seconds when I’m in a good training cycle.
QUICK TIPS
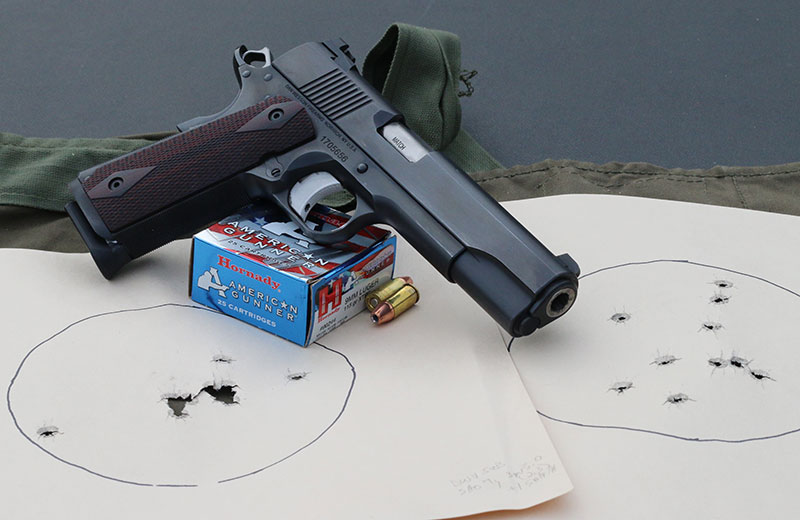
While you’re trying on these drills, consider these handful of tips to get that single hand under better control.
- Lean in. Aggressively. And then lean into it a lot more. If you look at any of the greats running a pistol single-handed at speed, you’ll immediately see a much more aggressive forward bias than when they are using a two-handed stance. It makes a huge difference.
- Lock the wrist. Recoil flows differently through the handgun into the body without the support side involved. Locking the firing-side wrist more than most do in two-handed fire dampens muzzle rise significantly. How much tension? As if you are hitting a punching bag is a good start point. The elbow maintains somewhat of a bend and medium tension.
- Feel the face of the trigger. Most shooters crank the trigger from an angle. They make it work but often push many shots to an inboard trend. This gets far worse without the counteracting pressure of the support hand to keep the pistol in place. Feeling the face of the trigger and registering that sensation (or correcting the angle if you distinctly feel predominantly the edge/side of the trigger) do two things. First, they help slow the shooter down just that .05 second required as he interrogates that shape and reacts. Second, feeling more of the face consistently translates to a better break.
On your next range trip, consider challenging yourself to a single-handed shoot off. You literally can’t lose!


1 comment