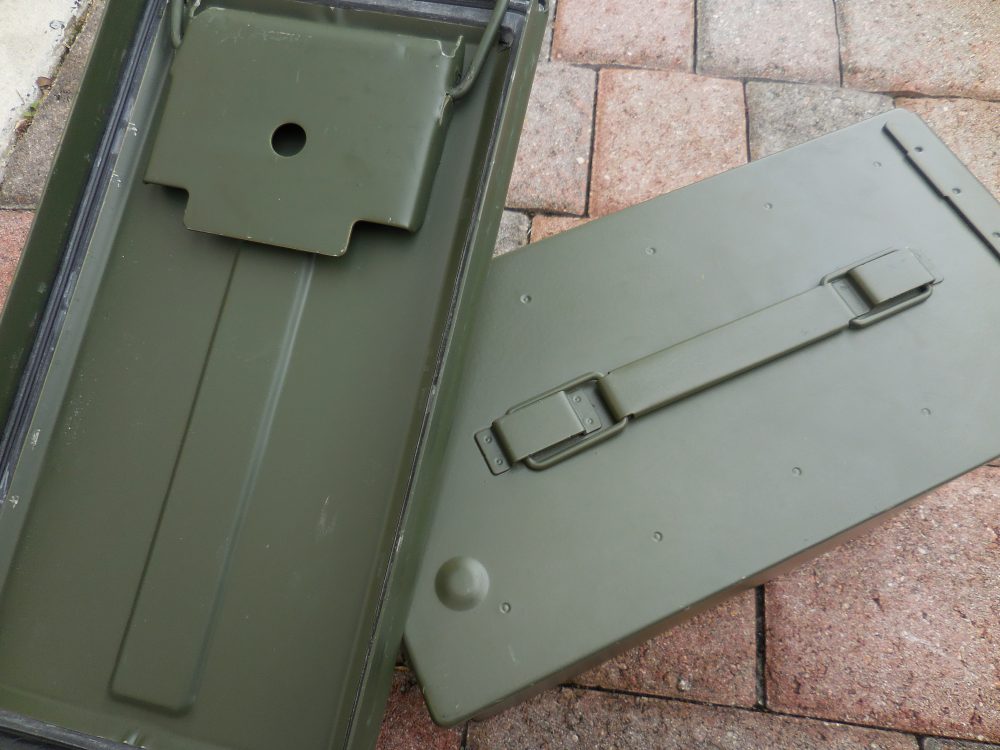
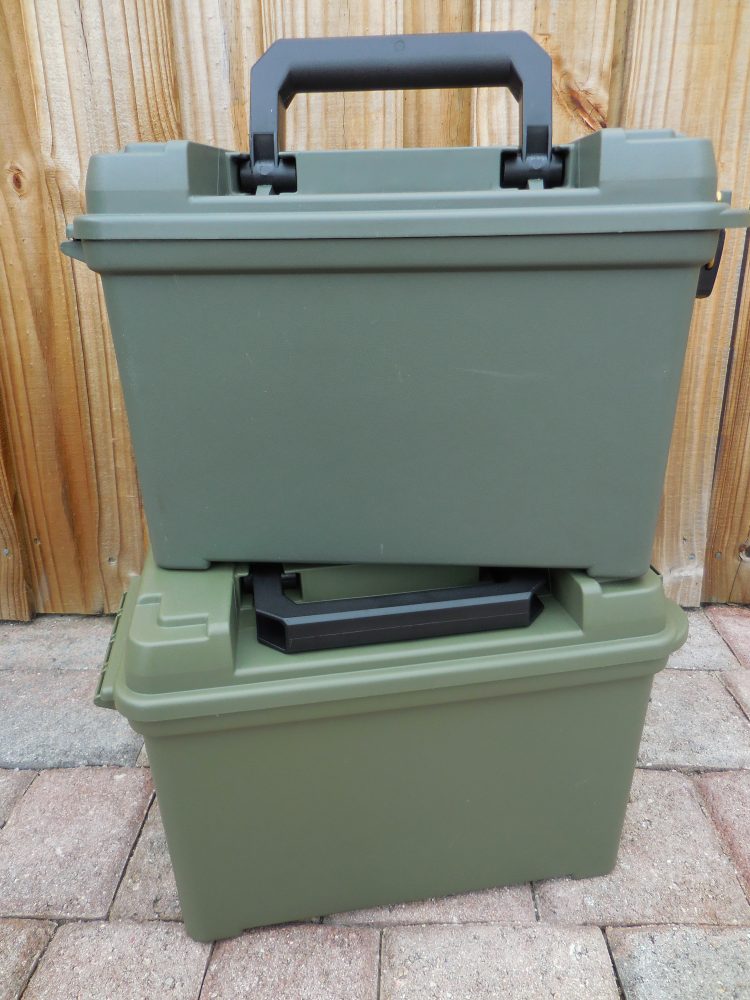
Steel ammo cans are very rugged and a good option for storage in dry conditions. They are usually airtight if seal is still good. Exposure to water and damp conditions may cause corrosion. Inspect seal on inside of lid.
By most estimates, the majority of the population is utterly unprepared for even a small-scale crisis. This is obvious every time there’s the threat of a natural or man-made disaster.
Once the last-minute panic starts, it’s only a few short hours before the shelves of many local grocers, convenience stores, and even big-box retailers are completely stripped of all emergency supplies.
First to disappear are the basics: shelf-stable foods, bottled water, flashlights, batteries, etc. Gas stations fare no better, as panicked motorists wait in long lines desperately trying to fill their tanks. Likewise, if you are expecting to walk up to an ATM to withdraw some cash quickly, you’re in for a shock.
All this unnecessary craziness usually occurs at the last possible moment. The prepared, on the other hand, look at these spectacles in disbelief and amazement. Why? Because the prepared have a plan, supplies and usually place a significant emphasis on learning the skills that may one day help keep them alive.
But is that enough? If a crisis struck while you were away from home, or if you were somehow separated from your main supplies, what would you do? After so much careful planning and stockpiling, the unexpected loss of your primary source of supplies could put you at a major disadvantage.
If only you had stored supplies and gear at alternate locations. Nothing elaborate, just some basic items to give you a fighting chance. Let’s look at the many reasons why you should consider having a survival cache, or maybe more than one.
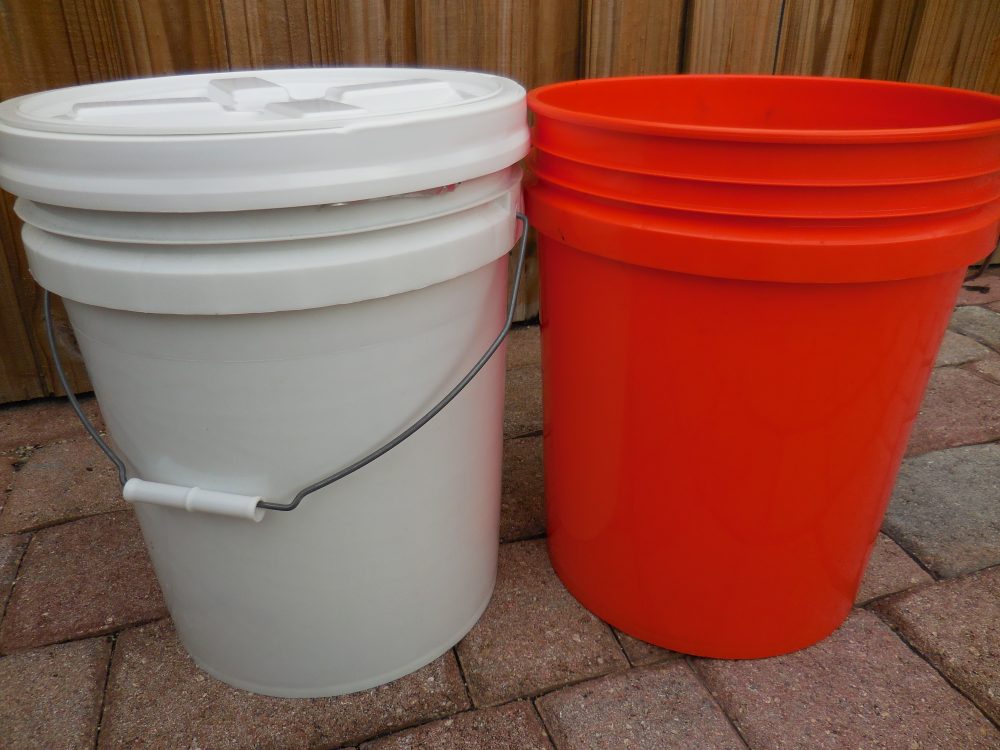
Food storage buckets with lids make excellent inexpensive cache containers. Close off with a standard or easily removable lid.
Table of Contents
WHAT’S A SURVIVAL CACHE?
A survival cache is a stock of supplies, gear, and other essential items that are discreetly and securely pre-staged in strategically advantageous locations for future retrieval and use. Consider it a higher level of pre-planning and forward thinking for those times when being prepared really matters.
The rationale goes like this. There are supplies that you may one day desperately need for your survival. Placing these items in a container and hiding that container in a carefully considered, secure location for future retrieval will provide you with options when and where you need them most.
In essence, a survival cache is a sort of lifeline that you pre-position to give yourself an extra level of assistance when the situation around you goes to hell in a handbasket.
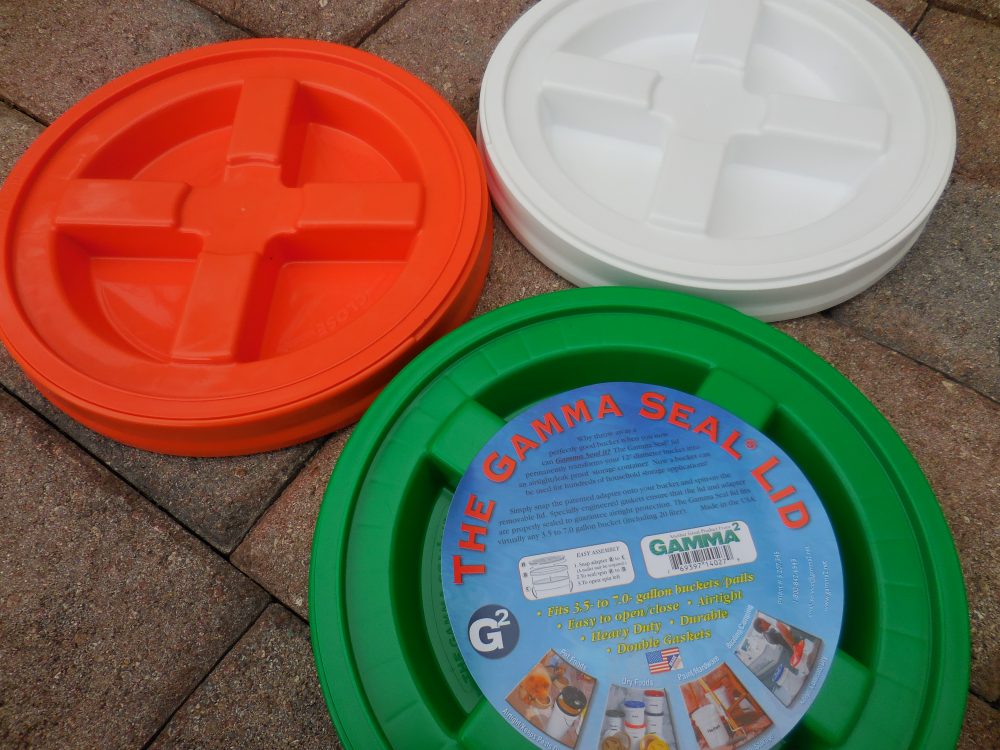
Gamma Seal Lid fits any 3.5- to seven-gallon plastic bucket and provides an easy spin-on, spin-off way to seal and reseal your stash.
WHY YOU NEED A SURVIVAL CACHE
Those of us who prepare take what we do very seriously. We do a considerable amount of research, calculate the risks, and explore our options. We formulate plans, test those plans, and then fine-tune our preparations as conditions change or when we see an opportunity for improvement.
We understand that knowledge and skills will always be more important than “stuff,” and we’re constantly looking for ways to expand our knowledge base. Finally, we stock up on the supplies we anticipate needing for survival. For many of us, a key part of our planning is the assumption that the majority of our supplies and gear will be available to us when we need them.
But imagine for a moment that all the supplies you have so thoughtfully accumulated were somehow lost or inaccessible. You still have your knowledge and skills, since no one can take those away from you. But in all honesty, would your survival plan still be viable without those much-needed supplies?
Having a survival cache is one way to make sure you have a fallback position. At a moment of desperation, a well-positioned survival cache will seem like an oasis in the middle of a scorching desert. It’s not difficult to imagine all the reasons you may one day be very grateful to have a survival cache.
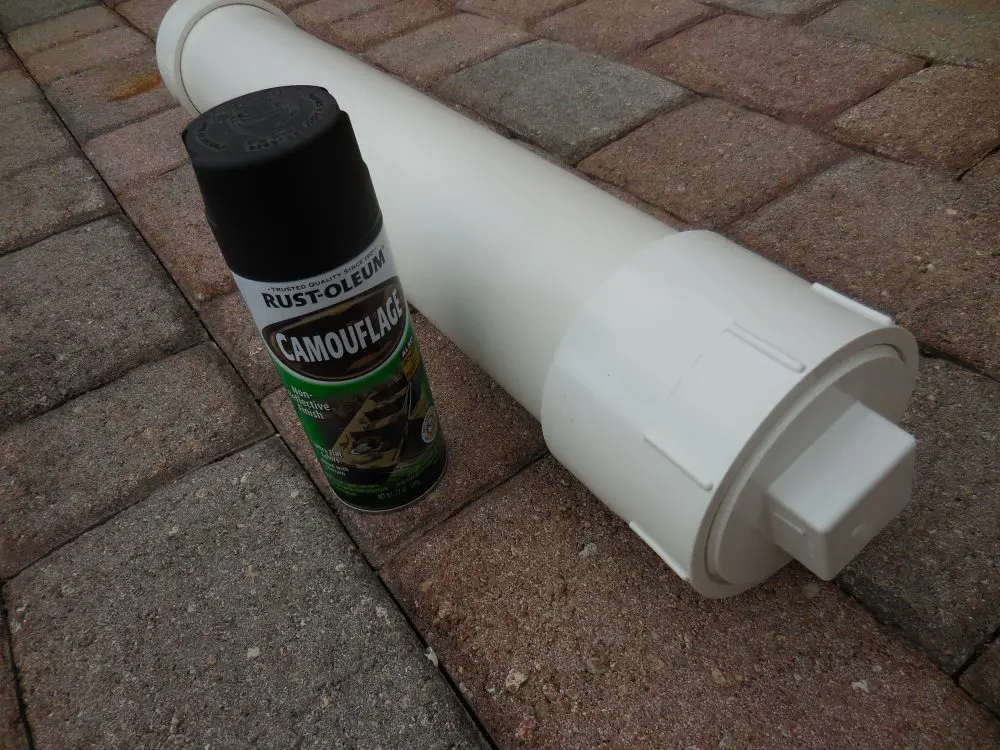
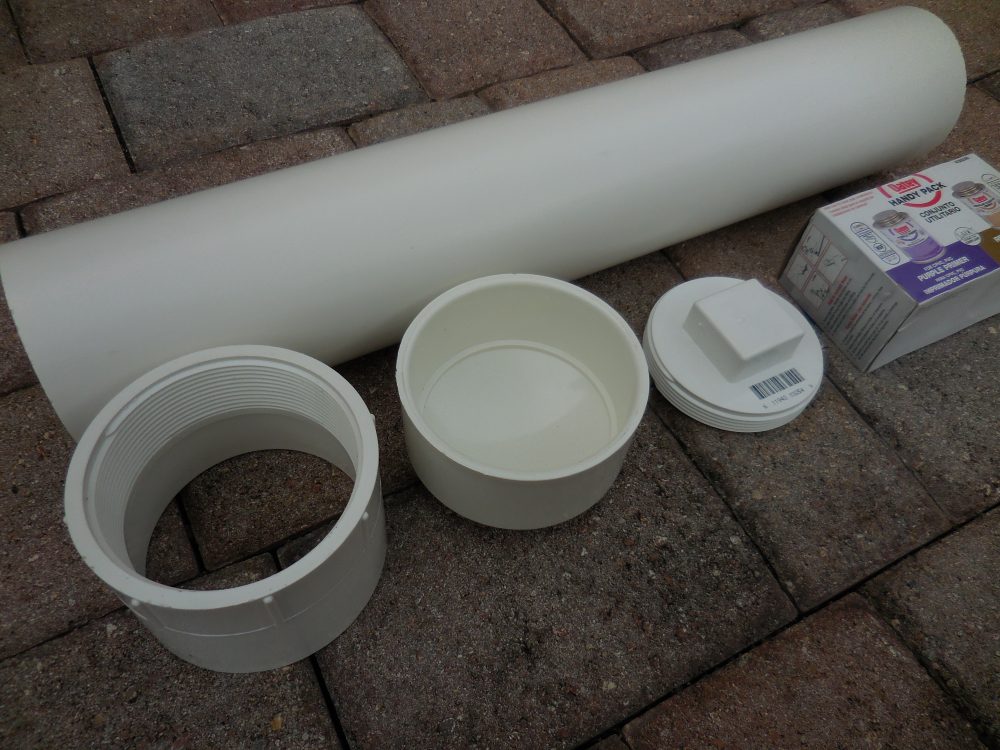
Simple watertight cache container can be easily made from PVC pipe. All individual pieces and parts are available at any home supply or hardware store. Total cost is under $30.
THE CACHE
If you were somehow privy to future events and had the opportunity to leave yourself a care-package, what would you place in it, and where would you leave it? Every situation is different, and we should always take the time to carefully analyze our individual needs whenever we make preparations.
Yet there will always be a number of broad overlapping categories dictated by logic and reason. In just about every survival scenario, we need the survival basics: food, water, first aid and medical, security and self-defense, and sanitation and hygiene.
Although having the survival basics is great, thinking beyond the basics is even better. This means including a reliable mode of transportation, fuel, communications, and shelter. All these items can be included in your planning and can also be cached. The idea is to anticipate your particular needs and pre-stage supplies and gear to address those needs.
CACHE CONTAINERS
Many available options exist for cache containers. In fact, just about any container can be used to cache your supplies, as long as it’s appropriate for the circumstances and environment. If you bury your supplies in a plastic garbage bag in a moist environment, do not expect the contents to remain dry. Ideally, your cache container should be able to withstand moisture, temperature extremes, rodents, insects, and the elements. Here are some suggestions to get you started:
- Plastic Food Storage Buckets: These buckets are inexpensive, waterproof, durable, and readily available. If you’re lucky, you can get some for free from a local restaurant or grocer. Regardless of how you’re planning to use them, avoid buckets that previously held dangerous chemicals or toxic materials. Instead look for buckets that were used to store food products. Top off your buckets with airtight lids or a resealable Gamma lid. These practical two-part lids transform a standard plastic bucket into a resealable, airtight, watertight, heavy-duty storage container that will stand up to tremendous wear and tear. The Gamma lid will set you back about $9. For an extra layer of protection, use a five-gallon Mylar® bag and heat seal it before closing the bucket. The five-gallon plastic bucket is one of the easiest and least expensive options.
- Steel Ammo Cans: These cans are extremely strong, airtight, watertight, and lockable. Incredibly robust, all-steel cans are available in different sizes and come fitted with a rubber seal to ensure the contents stay clean, dry and protected from the elements. A .50-caliber M2A1 can measures 12×6.0x7.5 inches and weighs just over 5 pounds. Long exposure in wet conditions may cause corrosion; otherwise they are a great option.
- Plastic Ammo Cases: Somewhat similar to steel ammo cans but nowhere near as strong or durable. Plastic ammo cans are lightweight, won’t rust, and the lid may have a rubber seal. But they won’t stand up to much abuse and will probably not be airtight. Nonetheless, a sturdy plastic ammo case can be used to secure contents that have been sealed in a Mylar bag, since the plastic case just offers the Mylar bag an added layer of protection.
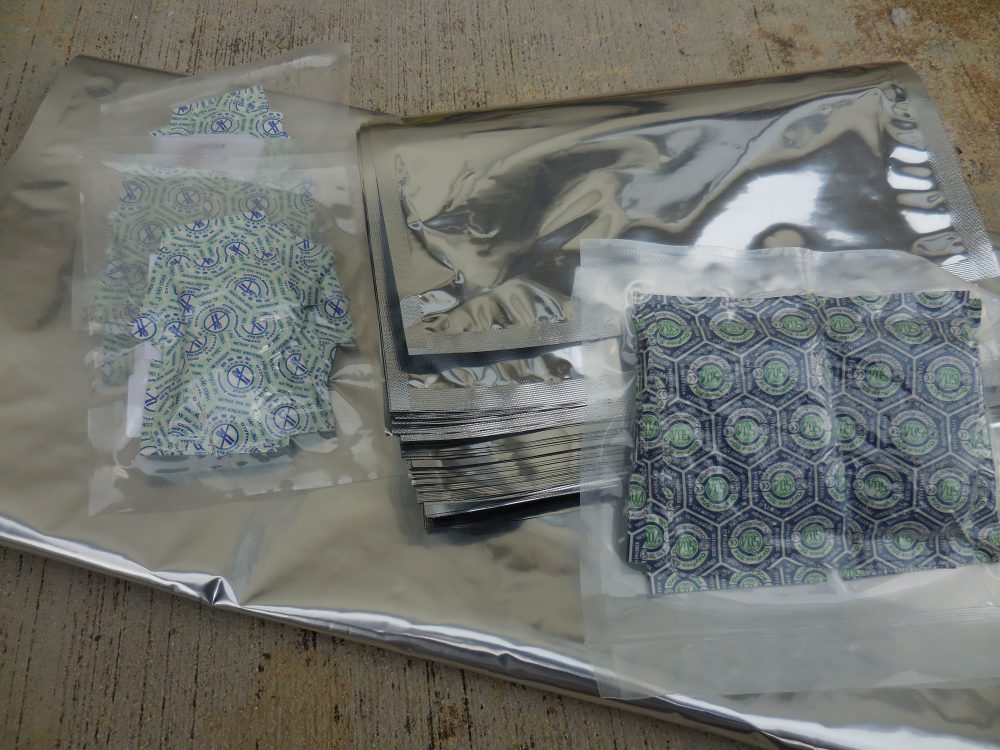
- Mylar Bags/Oxygen Barrier Bags: Mylar is a clear material made from polyester resin laminated to aluminum foil, creating a flexible tin can of sorts. The more layers of Mylar and aluminum foil, the stronger the bag. Mylar can be used to store food, important papers and documents, electronics, ammo, money, or just about anything you want to protect from light, moisture, and oxygen. I recommend a bag that is no less than 4.0 mil. Once you have filled your bag, push out as much air as possible and seal it with a hair straightening iron. To store food, make sure to add an oxygen absorber before sealing the Mylar bag. Although Mylar bags are incredibly strong, they are not puncture proof. It’s a good idea to place the sealed Mylar bag inside a plastic or metal container.
- PVC Pipe Container: A highly effective and practical survival cache can easily be made using a section of PVC pipe and fittings. Everything you need can be found at your local hardware store for under $30.
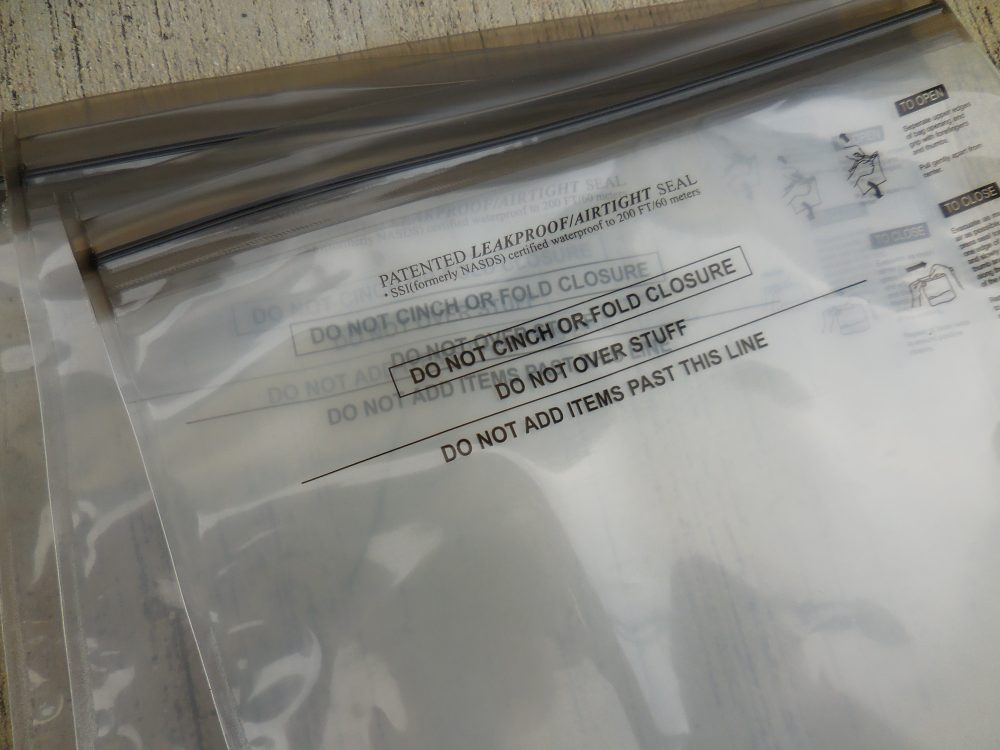
- Waterproof LOKSAK Bags: Ultra durable, lightweight storage dry bags with waterproof closure seal, they come in various sizes and can be used to keep just about anything sealed up tight and protected from the elements. The transparent bags are flexible and puncture resistant. The big advantage with these bags over other sealable options is that they can be opened and resealed over and over again. Consider these bags for storing ammo, important documents, wallets, cell phones, or a small supply of energy food. LOKSAK bags are made in the USA by OPSAK.
Finished PVC container can be painted with a dark-color flat spray paint.
WHERE TO STORE YOUR CACHE
The location where you store your cache is just as important as the type of container used—and for many people, it can be a real challenge. In today’s urban environment, there are few truly isolated places to hide anything.
And while a common misconception exists that a cache must be buried, nothing could be further from the truth. A cache must be well concealed, secure, protected from the elements and pests, accessible and strategically located, but it doesn’t need to be buried to accomplish any of these objectives. Here are some suggestions:
- A Friendly Location: This can be part of a reciprocal agreement to exchange cache containers with a trusted individual. The rationale is that two separate locations are unlikely to be affected by the same crisis at the same time. There is a good possibility that this alternate location can also serve as a retreat location for you and yours. Make these arrangements well in advance with a reliable person, and update your cache periodically and as conditions change.
- In Plain Sight: Sometimes the best place to hide something is out in the open. Your cache can be disguised as something else. This deception allows you to effectively hide your supplies, yet maintains easy access and retrieval.
- An Isolated Area: Look for areas that are not well traveled but still accessible.
Mylar bags come in different sizes to suit your particular needs, and can store almost anything you want to protect from the elements. When storing food items, don’t forget to add an oxygen absorber before sealing the bag.
This should give you a general idea of some places to hide your cache. Many possibilities exist: consider which work best for you and your situation. I have purposely avoided specific details so this article does not serve as a roadmap to people who would seek to defeat your hiding place.
Lastly, make sure to keep a detailed inventory of what’s in your cache and where you left it. A cache is useless if you can’t find it.
Made in the USA, LOKSAK waterproof bags offer resealable, reuseable, flexible storage for just about anything you need to protect from the elements.
WRAP UP
A well thought-out survival cache requires planning, time and effort, but the payoff can be huge. Analyze your needs and look for items that address those needs. Be imaginative and consider all available options for placement and retrieval. Stay safe and be prepared.
Richard Duarte is an urban survival consultant, writer, and firearms enthusiast. He’s the author of Surviving Doomsday: A Guide for Surviving an Urban Disaster, and the Quick-Start Guide for urban preparedness. For the latest news and updates, connect with Richard on www.quickstartsurvival.com.
SOURCES
GAMMA2
www.gamma2.net
LOKSAK
(239) 331-5550
www.loksak.com
WHAT TO PUT IN YOUR SURVIVAL CACHE
- Self-Defense and Security: Firearms, extra magazines, and ammunition.
- Water: Bottled water, compact filter, and water disinfection supplies.
- Shelf-Stable Food: MREs, dehydrated foods, and canned goods.
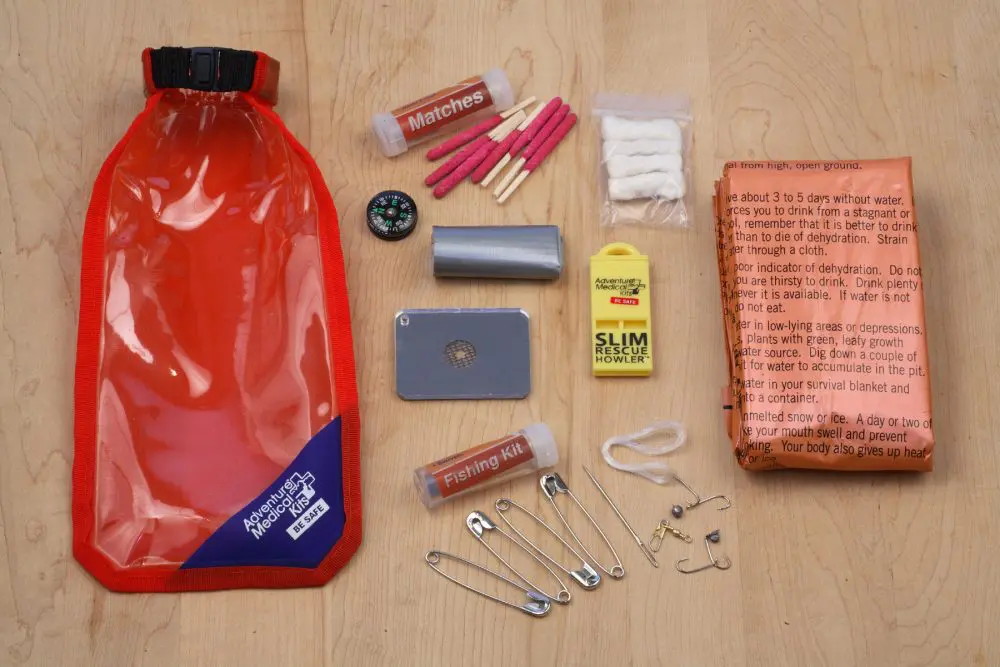
- First Aid Kit: Portable kit with a supply of the most used items.
- Prescription Medication and Glasses: Small supply of medication and a spare pair of prescription glasses.
- Knife and Small Tools: Conserve weight and space with multi-purpose items and a compact sharpener.
- Extra Clothes: Items suited to the environment and time of year.
- Cash: Small bills and some coins.
- Light: LED flashlight and extra batteries.
- Fire: Lighter, waterproof matches, and kindling.
- Shelter: Blankets, plastic tarp, rain poncho, duct tape, and 550 paracord.
- Navigation: Compass and map of expected travel area.
- Communications: Small hand-crank radio.
- Important Papers: Password-protected thumb drive with scanned copies of important legal and financial documents.
- Fuel: If possible and practical, a resupply of stabilized fuel for your transportation.
PVC CACHE CONTAINER PARTS LIST
- Two-foot section of four-inch diameter PVC pipe.
- Four-inch diameter PVC pipe cap.
- Four-inch diameter PVC pipe threaded clean-out plug.
- PVC pipe cleaner and cement.
- Dark color flat spray paint.
Pre-assemble all pieces to make sure they fit as intended. Lightly sand and wipe clean inside of PVC surfaces to be joined. Apply PVC cleaner and allow to dry. Next, apply PVC cement according to manufacturer’s instructions and join individual pieces together one at a time. Do not apply any cement to the threads of the clean-out plug. Set aside to dry. Paint as desired.
