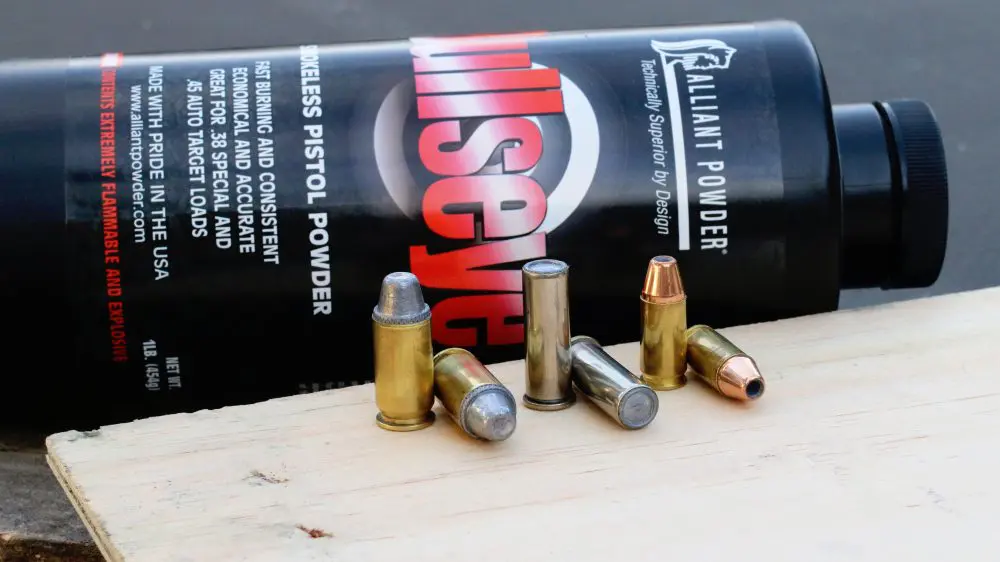
Outside of initial equipment cost, the single biggest expense for reloaders is bullets. With the current rampant panic buying, nothing is inexpensive. The days of figuring a penny per primer and a penny for powder for each loaded round are long gone. But reloading still beats the price of factory ammunition.
Presently the price for premium jacketed bullets is running about $47 per hundred, and cast lead bullets are around $17 per hundred. For the purposes of this article, let’s stick to cast bullets.
Right now a reloader can figure about five cents for a primer, three cents for powder and 17 cents for a bullet, bringing the total cost for each load to a quarter. Compare that to anywhere from 70 cents to $1.00 (or more) per factory round, and it becomes readily apparent that you can shoot three to four times as many rounds by using cast bullets.
This can be even more cost effective if you cast your own bullets.
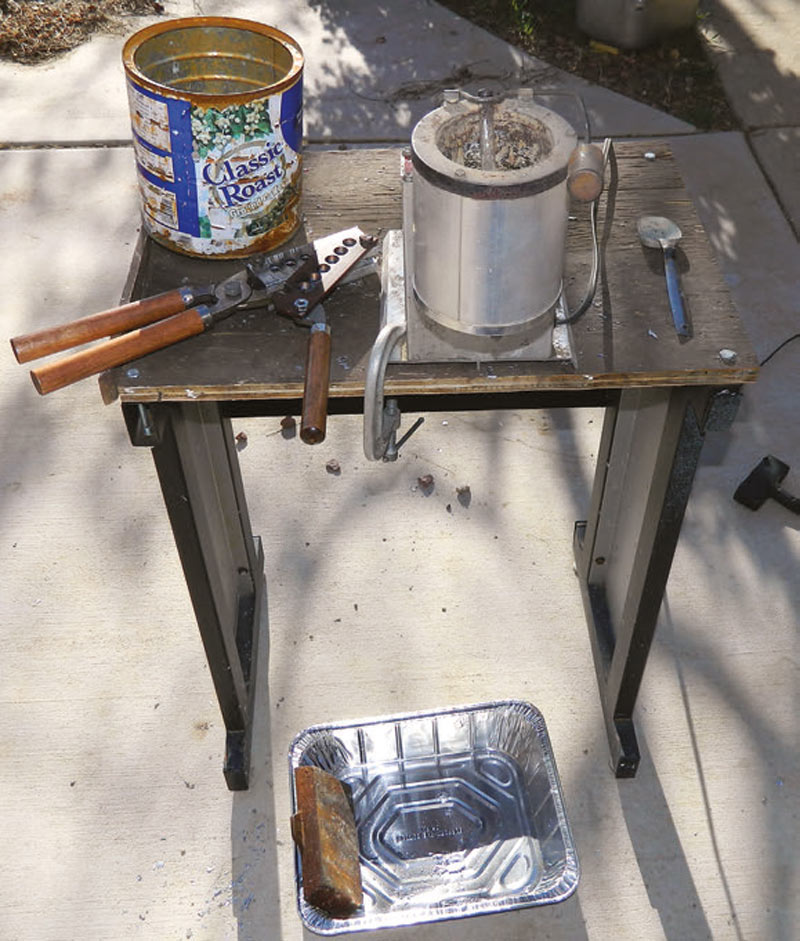
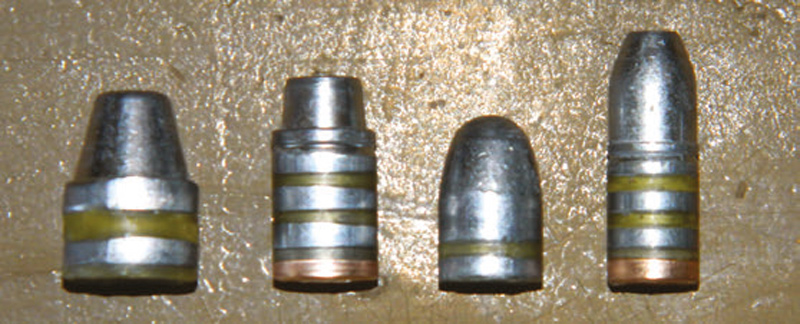
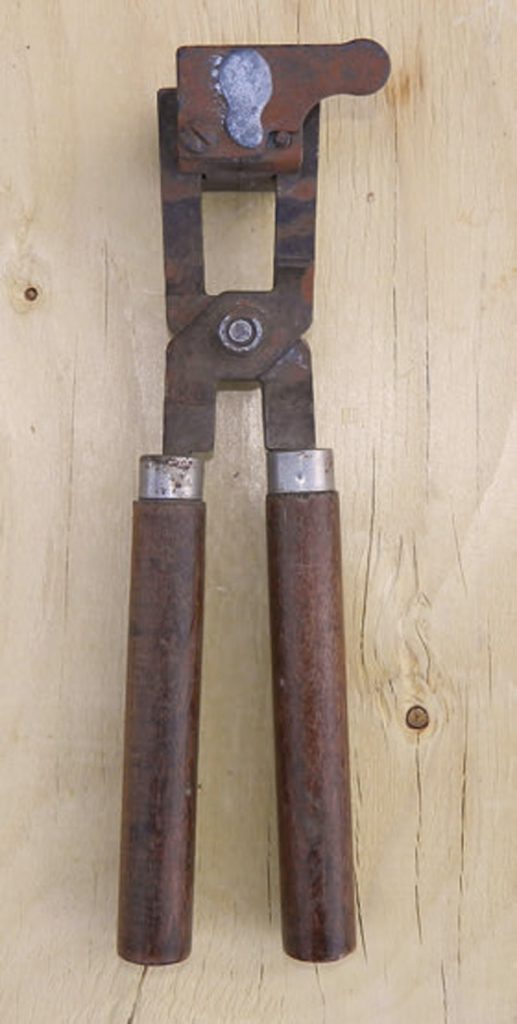
Table of Contents
EQUIPMENT NEEDED
As with almost any endeavor, there will be an initial outlay of cash. You will need a pot or furnace to melt the lead, molds, ingot molds (optional), a sizer/ lubricator, and have a source for lead.
Furnace
Our forefathers melted lead in a steel pot and used a ladle to fill the molds. You can too, but there is a better way: an electric furnace designed for bullet casting.
There are two types of furnaces. One requires the use of a ladle, and the other has a handle and pours lead from a spout at the bottom of the furnace. A furnace that requires a ladle will set you back around $50, plus another ten spot for the special lead ladle.
I much prefer the type that pours directly from the furnace. Most have a thermostat for keeping the lead at a constant temperature, and the bottom pour speeds up the casting process.
Usually available in either ten- or 20-pound capacity, the cost ranges from around $80 (Lee) to over $400 (Lyman). I used a Lee Precision Production Pot for over 15 years until it finally gave up the ghost. I replaced it with a Production Pot IV and it has been in service for many years.
Molds
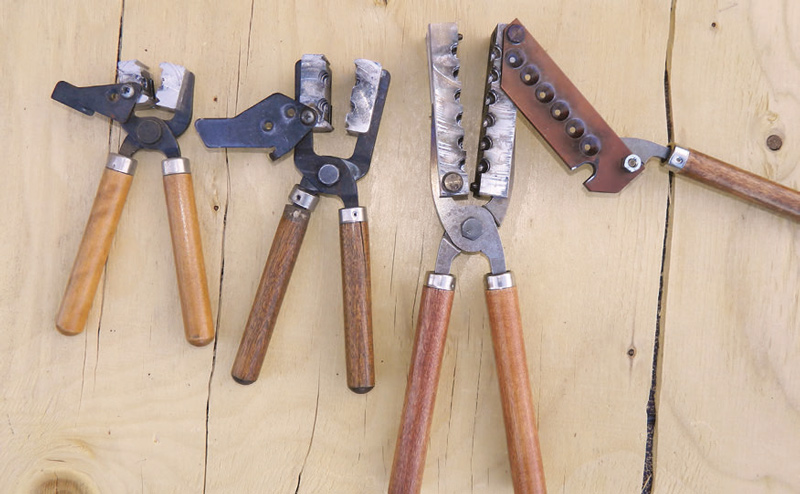
Generally molds come with single, double, four or six cavities. An exception is the Lee Precision Buckshot molds, which will throw 18 pellets (either 00 or #4 buck) with each filling. Molds are available in steel or aluminum, and each has their pros and cons. I have both types—Lyman steel molds and Lee aluminum molds.
Steel molds are more durable, but can—and probably will—rust. To keep the interior of the mold rust-free, leave the last bullet(s) cast in the mold and don’t knock off the sprue (the piece of lead left on top of the mold when the cavity is filled). Other disadvantages of steel molds are they take longer to get up to temperature, and because of their weight—especially with multiple cavities—are more tiring to use.
Aluminum molds are less durable, but with care will probably last longer than you will. The advantages of aluminum molds are that they require less time to bring up to temperature to cast perfect bullets, and are usually less expensive and less tiring to use, even when using a six-cavity mold. Finally, lead will not stick to aluminum.
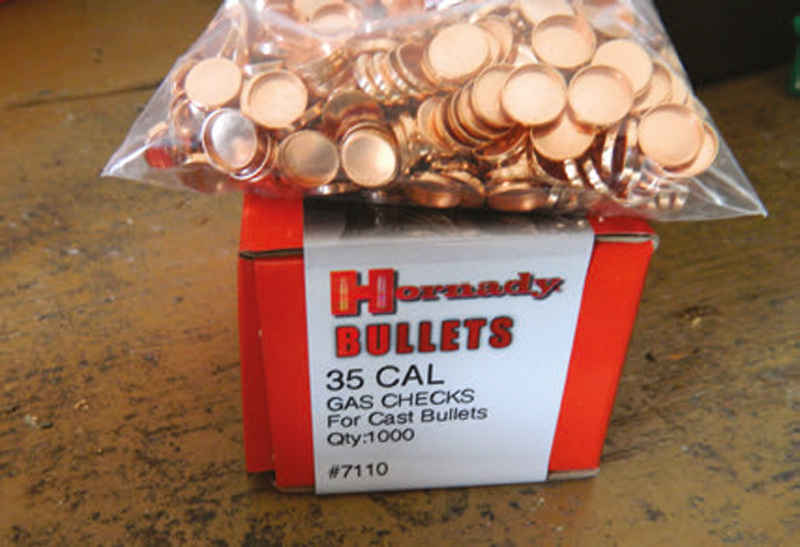
Some molds have a recess on the base of the bullet for placing a gas check (a small copper disk) during the resizing process. A gas check will help prevent barrel fouling (also known as “leading”) because the copper disk does not allow the hot gasses from burning powder to melt/distort the base of the bullet. Gas checks are especially useful with bullets driven at higher velocities. Contrary to popular belief, they do not “scrape” out lead.
Sizer/Lubricator
In my experience, cast bullets will always be slightly larger in diameter than what a manufacturer claims and will need to be resized. Generally speaking, you want to resize a thousandth over the nominal bore diameter. For example, a .45 ACP bullet is .451 inch in diameter, so a lead bullet will be resized to .452, a .357-inch .38-caliber bullet will be resized to .358, etc.
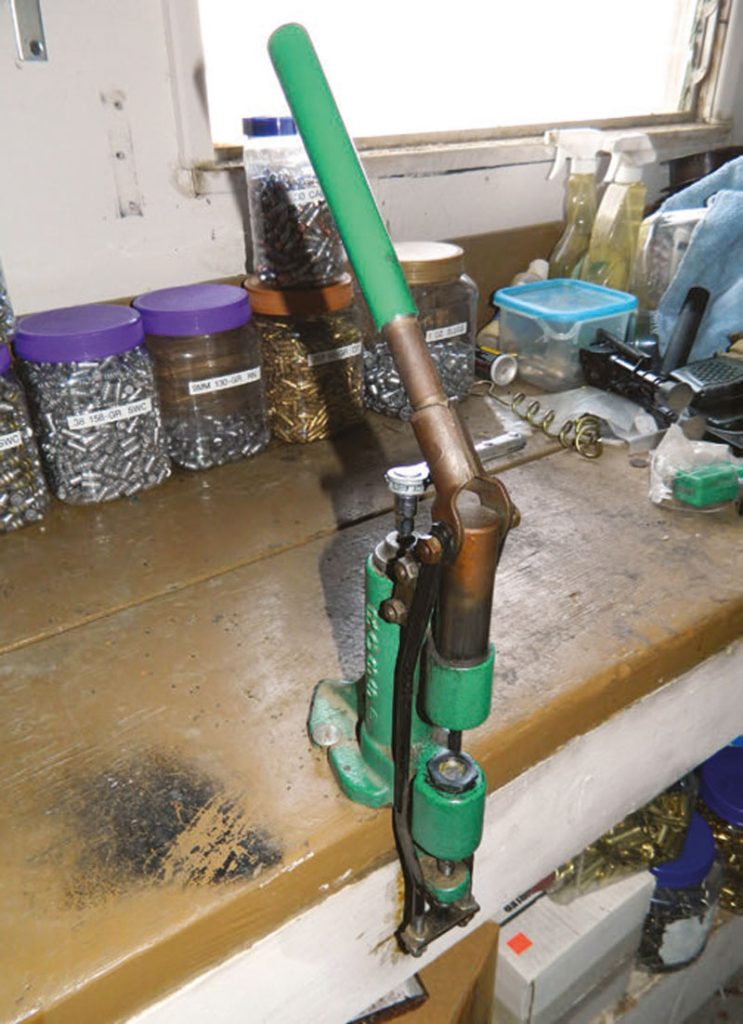
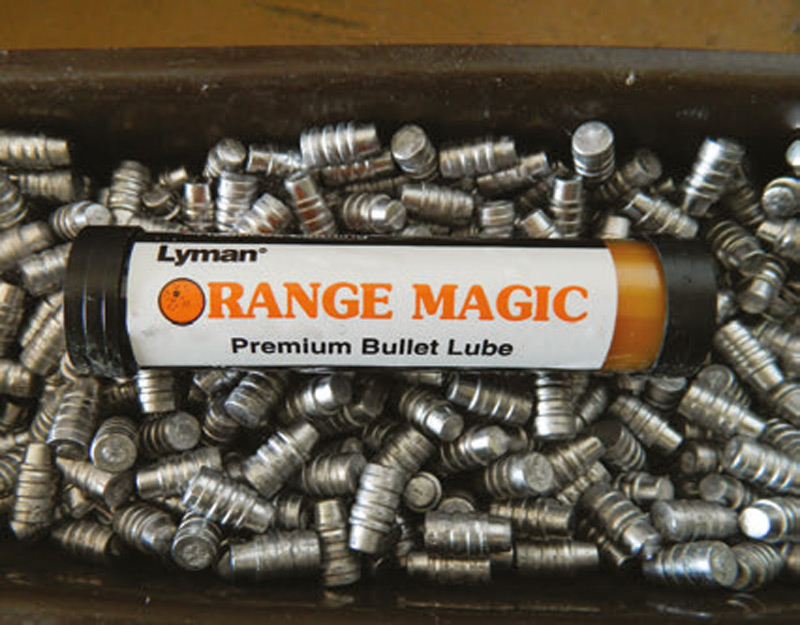
A sizer/lubricator is a press that will push the bullet down into the correct sizing die and press bullet lube in the “grease” grooves on the down-stroke of the handle. On the up-stroke, the bullet will be forced out of the sizing die. A handle on the top of the sizer/lubricator is used to keep pressure on the lube contained within the cylinder of the sizer. The top punch, which pushes the bullet into the die, should fit the type of bullet you are sizing, e.g., semiwadcutter, round nose.
If you have a mold that uses gas checks, the gas check is simply placed on the die before the bullet and is seated and crimped in place on the downstroke of the sizer’s handle.
Lead Alloy
When we talk about lead bullets, we are in reality talking about a lead alloy. The addition of tin and antimony make the bullets harder and also fill out the molds better than pure lead. Pure lead is also heavier than an alloy, which changes the weight of the bullets cast.
The most popular alloy for pistol bullets is from clip-on wheel weights, as they contain the almost perfect mixture of lead, tin and antimony. Tape-on wheel weights are almost pure lead and not suitable for pistol or rifle bullets but are suitable for shotgun slugs, buckshot and swaging operations.
In this article, we will simply refer to it as lead.
LET’S BEGIN
The first task is to melt the lead. This should be done in a well-ventilated (read: outside) area. When it becomes molten, flux the lead with beeswax or common wax lead to remove any impurities. I use small wax tea lights because they are cheap and the little metal cups keep the wax in place. When fluxed, the pot will smoke and the impurities float to the top. This is known as dross and needs to be skimmed off. I use an aluminum spoon (remember that lead does not stick to aluminum) and place the dross in an old coffee can.
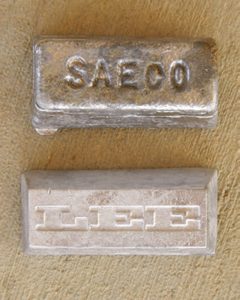
To keep pure lead and bullet alloy separate, I use an ingot mold from Saeco for pure lead and an ingot mold from Lee for the alloy. Since the manufacturer’s name is imprinted into the ingot, I can tell them apart at a glance.
Next, bring your mold up to temperature. If the mold is too cold, wrinkles can be seen in the bullet. With steel molds, this will probably require filling the mold and dropping imperfect bullets numerous times until the mold becomes hot. With an aluminum mold, simply dip one corner of the mold into the molten lead for about 30 seconds. It is likely that the first bullet you cast will be perfect.
After filling each cavity of the mold, knock on the sprue plate with a piece of hardwood to remove the sprue, open the mold and release the bullets. I keep a cardboard box handy to catch the sprues.
As a general rule of thumb, if a bullet has wrinkles in it, the mold is too cold. If the bullets have a frosted appearance, the mold is too hot.
To catch the bullets, many drop them in a cardboard box with a towel on the bottom to prevent the still-soft lead from becoming deformed. A better alternative is to drop them in a five-gallon bucket filled about halfway up with water. This accomplishes a couple of things.
First, the bullet will be immediately quenched and will not become deformed when it comes in contact with another bullet. Second, it will make the bullet harder. How much harder will depend on the temperature of the mold and lead, and the speed at which you cast. Caution: Keep the water at least a few feet away from the furnace, because even one drop of water on the molten lead will cause it to explode and shower you with molten metal. At best, you’ll receive some nasty burns, and at worst you could be blinded. Always wear safety glasses when casting.
To remove the bullets from the water, I use another five-gallon bucket with hundreds of holes drilled in the bottom and simply transfer them from one bucket to another, letting the water drain away. The bucket with the holes does double duty as my “poor man’s” tumbler media separator (OFFBEAT: Do-It-Yourself Brass Separator, February 2007 S.W.A.T.).
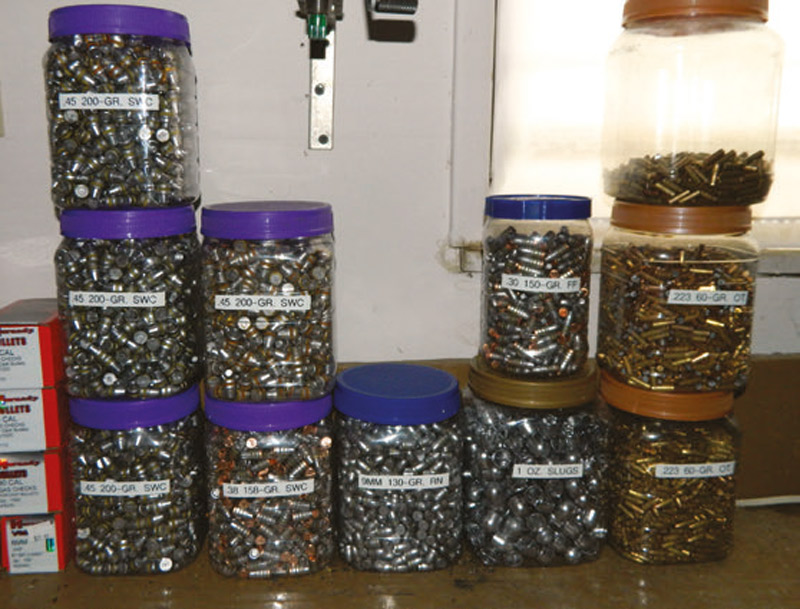
Next, put the bullets through the sizer/lubricator, attach gas checks if needed and place them in a labeled container for future use.
I use pure lead to cast one-ounce 12-gauge shotgun slugs and #4 buckshot. I also use pure lead to cast the cores for jacketed .223 and .243 bullets made from fired .22 cases using Corbin swaging dies (FREE BULLETS, December 2008 S.W.A.T.).
IS IT WORTH IT?
Is it worth buying the equipment and taking the time to make your own bullets? That will depend on how much you shoot. If you only fire 100 rounds or so a year, the answer is probably no. However, if you fire 100 rounds or more a week to retain your skill sets or just to have fun, the equipment will pay for itself in a couple of months and anything after that—besides powder and primers— can be looked at as virtually free.
Finally, with the current shortage of bullets, you may even want to consider turning a relaxing hobby into a parttime business.
Give it a try. You’ll be glad you did.
