THE expression “simple is best” works for many situations in life. When it comes to refueling the body in an emergency situation such as bugging out or a fast-moving backcountry expedition, it should be as simple as possible.
When time is of the essence, it’s best to stick with foods that are either non-cook or only require water for rehydration. This article deals mostly with food requiring only a metal container for boiling water to add to packaged dehydrated foods such as rice, pasta, mashed potatoes, soups, and hot drinks.
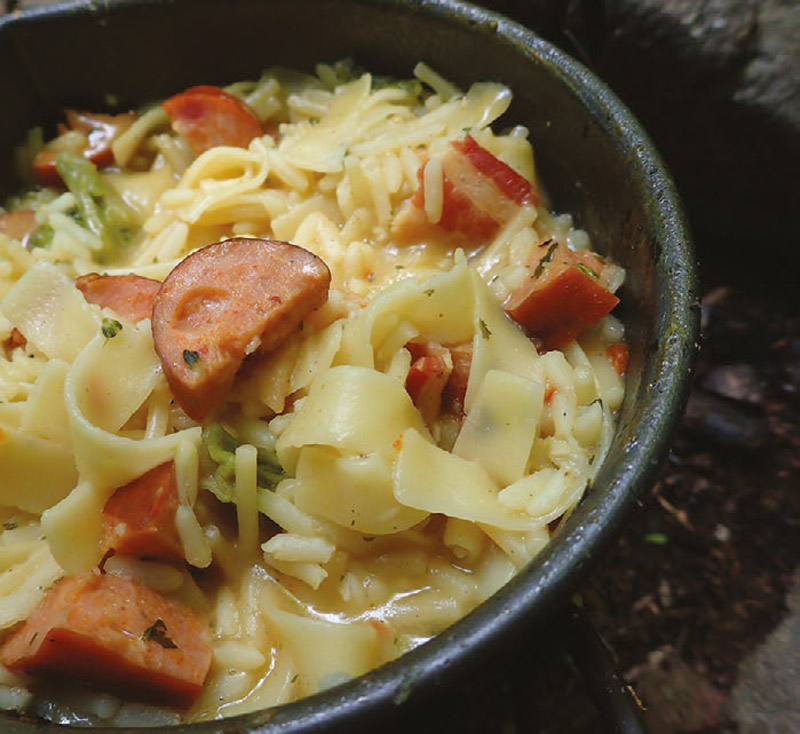
Table of Contents
NON-COOK
In my years of backcountry travel, I have always been on the lookout for not only the lightest equipment I can find, but also for the easiest way to eat on the go without having to bring a lot of kitchenware. Although many food products have been made for the military (MREs) and backpackers, none of them are especially cheap—or great!
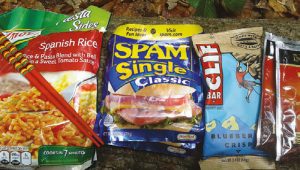
Among the foods associated with backcountry travel that do not require cooking are: bread, cheese, salami, nuts, energy bars, cooked ham, cooked sausage, packaged tuna, and a variety of canned meats. Raw vegetables are also an option.
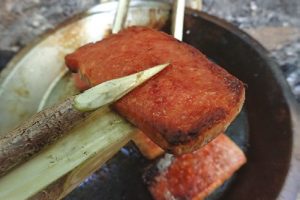
As for canned meat, a variety of brands come to mind, but they are all similar. I remember a scene from the 1995 movie Waterworld where a type of canned meat called smeat was thrown out to crowds of people. This type of meat is usually referred to as luncheon meat, and is a combination of pork and other byproducts. This is the kind of food that almost everybody ate at one time in their lives, yet denies ever liking. But it is fully cooked and easy to buy at any grocery store. I prefer to fry or broil it over a campfire. Everything tastes better over an open fire—especially in the backcountry!
JUST ADD WATER
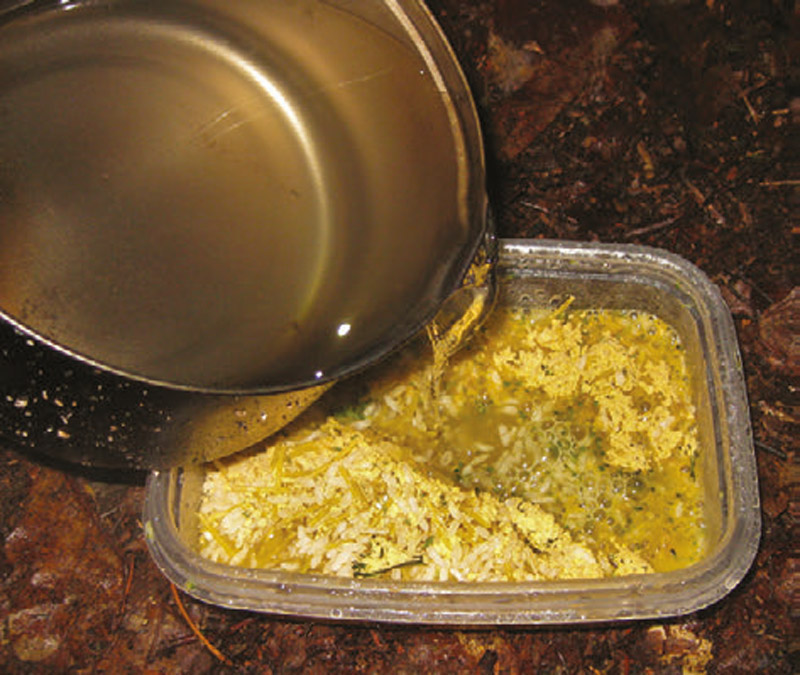
As a cheaper alternative to the dehydrated foods marketed for the backpacking community, I found some simpler, better- tasting foods that are a fraction of the cost. While brand names vary, I like to bring some kind of rice and mashed potatoes with me into the backcountry. Although the package calls for hot water and margarine or butter, I’ve found that hot water alone is good enough.
The package can normally be used as the apparatus to rehydrate the food in, as well as the container to eat from. This is an added benefit because it does not require any mess to deal with or water to clean pots with. Each package provides enough food for three to four people and usually costs less than $2.
The rice or mashed potatoes can also be put into a pot or separate container as a communal dish by adding water and letting others dish-up from there.
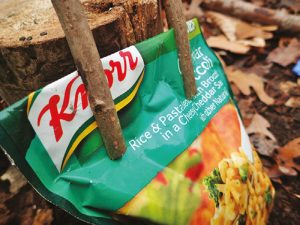
One trick I like to do when eating from the package involves two or three finger-length green sticks. With a knife, I split the sticks about two inches down the middle, making an improvised clothespin. This helps keep the hot water inside the package, thus sealing in the heat. About seven to ten minutes is usually required for rehydration.
Boiling in the package also lends itself well to adding either vegetables or some kind of meat to the contents, then clamping it closed to let it all heat up together.
Soups are also a good choice for quick on-the-go meals or snacks. There are many types of soups to choose from, ranging from the kind that require utensils to be eaten to the type that are easy to drink from their own container.
I’ve tried them all, but lately I’ve been taking instant Japanese miso soup with me on trips because it’s easy to drink without needing a fork or spoon. As for utensils, using chopsticks is my favorite way to eat food when I’m outdoors. They weigh almost nothing and can be used to pick food up as well as to poke food, much like a fork.
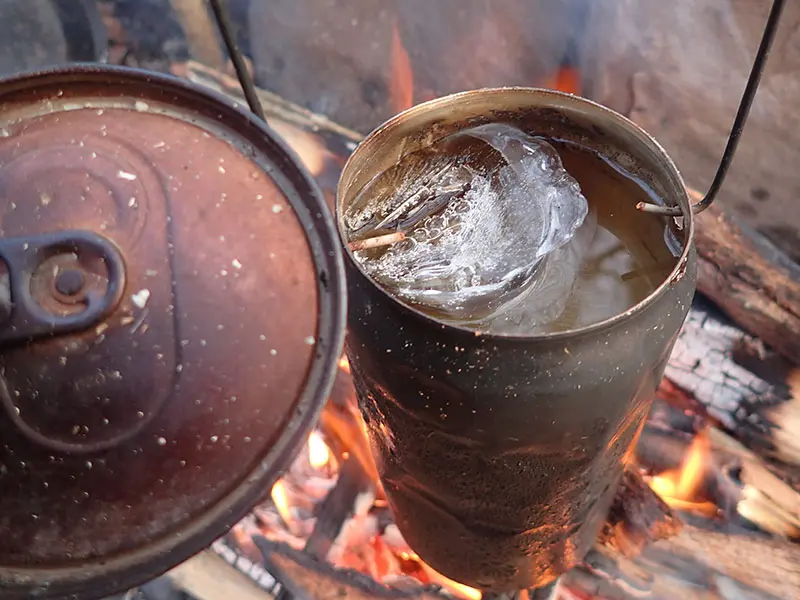
The beauty of this type of cooking is that it only requires hot water. I don’t use a conventional backpacker’s stove, so I need a small fire to boil my water. Most any metal container can be put straight into a fire or hot embers in order to bring water to a rolling boil. Small woodburning stoves are also an option, but not always suitable.
SUPER CAT STOVE
Although small backpacking stoves are considered lightweight, another option is even lighter and more compact: an alcohol stove. It is ideal for situations when a campfire is not possible or in a bug-out or stealth camping scenario.
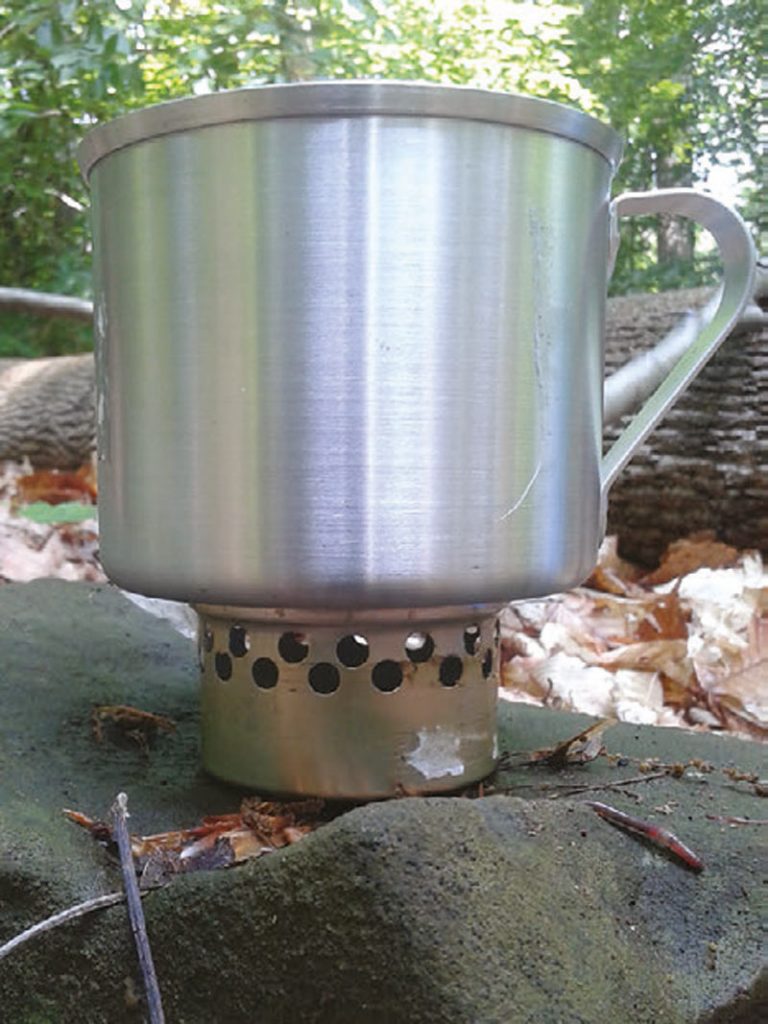
Alcohol stoves are very simple and efficient. They are usually made from aluminum cans, but my favorite is made from a small 69-cent cat food can. This type of stove is commonly referred to in the backpacker’s community as a Super Cat stove. It’s easy to make and a perfect piece of equipment for any outdoor adventure.
The fuel required for this type of stove can be found in just about any paint or hardware store or at selected gas stations. I use denatured alcohol as my fuel source, though pure methanol, pure ethanol (Everclear), antifreeze, and rubbing alcohol can also be used.
The Super Cat stove is made of a small cat food can, which serves as the holder for the cook pot as well as the burner and reservoir for the fuel, which is poured directly into the small can and lit with a match, lighter or spark from a ferrocerium rod.
Making a Super Cat stove is easy. Clean out the can, remove the label, and use a paper hole puncher to make a total of 16 holes around the top of the can, in two rows. It is important to keep the two rows of holes as high up toward the rim as possible, to allow the largest volume of fuel in the stove—usually about one ounce. Burn time is approximately seven minutes, which seems to be about the time it takes to boil two cups of water. When the fuel burns out, it doesn’t leave any residue or mess.
Next issue, I’ll cover preparing and cooking food using only natural materials like rocks for frying and moss for steaming vegetables, and how to make a few useful utensils in the backcountry.
