The argument, or should I say discussion, over traps vs. hunting has been going on since the dawn of time. Yes, there is a certain mythic allure about getting geared up, be it with the latest and greatest high-powered rifle and sophisticated scope or a spear and grass skirt.
Hunting requires silent movement, concealment, predicting animal behavior, and reading the natural environment, which are all practiced skills most survivors from urban backgrounds do not have, yet all prey animals do.
Let’s say we are chasing an animal through the forest. Whether we catch it or not, we expend calories—hundreds or even thousands of calories. If we catch it and it happens to be a squirrel, is it enough to make up for the number of calories initially spent? I’m a “glass is half empty” kind of guy, so let’s say we don’t catch the animal. Think for a minute what psychological effect that would have on a person lost in the bush.
Making traps does a few things for a person’s well being in a survival situation. It keeps the mind occupied and focused. It can be done from a relaxed sitting position, thus saving calories. Food is low on the priority list in a survival situation, but for argument’s sake let’s assume we have already met the main priorities. Even so, the worst time to practice making traps is when we need them. It must be practiced beforehand so as not to waste any time making them.
Traps are out working for us while we are tending to other camp chores.
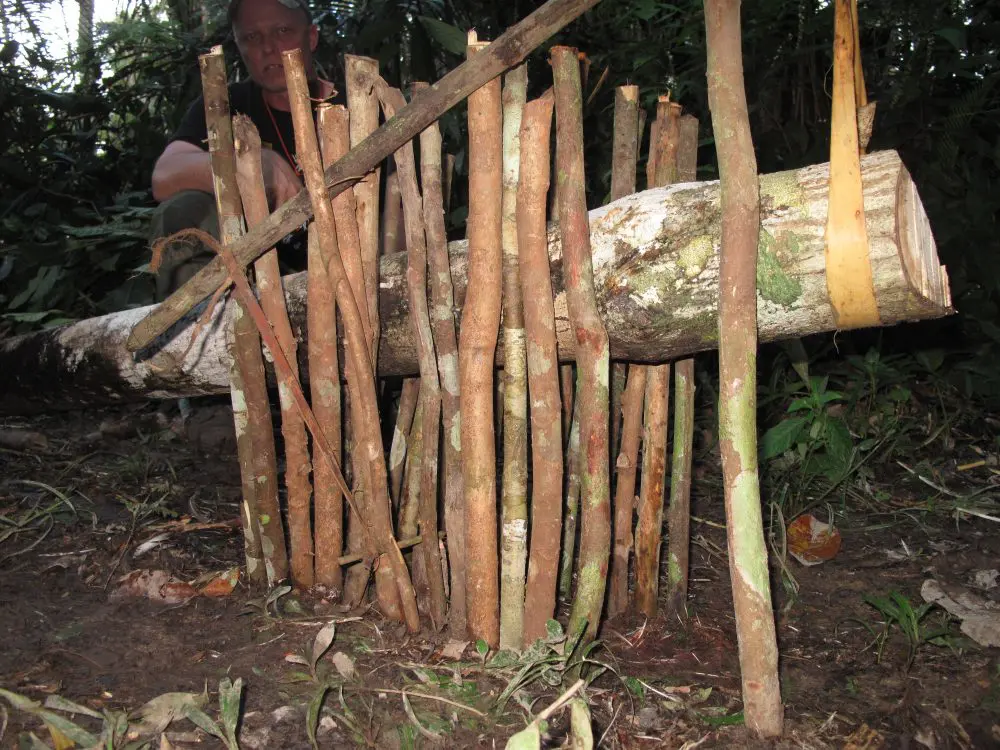
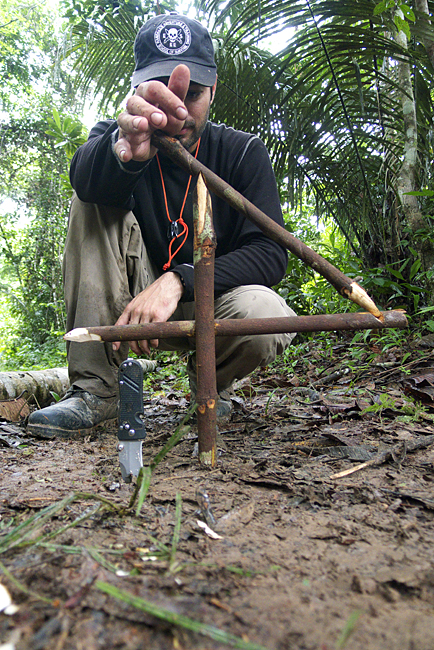
In Peru, Jeff Randall explains one of many deadfalls set up for instructional purposes. All materials are natural and abundant.
Table of Contents
TYPES OF TRAPS
There are several types of traps, including:
- Mangle: Deadfalls or crushing-style traps.
- Strangle: Any type of trap that uses a snare.
- Dangle: Any type of trap that can take the prey into the air, via sapling or rubber tube as an engine. When used with a snare, it both strangles and dangles.
- Tangle: Nets found commercially or made from natural material tangle the prey, leaving it up to us to do the killing.
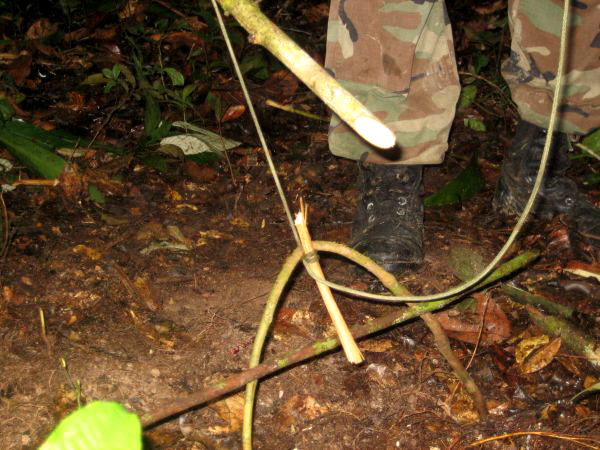
Twitch-up trap before adding false platform.
RULES FOR TRAPS
Make your traps strong. A weak, poorly constructed trap is useless. As with all types of camp craft, it is advisable to avoid short cuts. Do it right the first time. Unlike some people, animals will fight for their lives and struggle until the very end. Animals have been known to chew off a limb in order to survive.
This type of struggle can and has resulted in the loss of a meal or worse, a lost trap with an animal still in it. This is a death sentence for the animal, as it will most likely die from predators or the inability to eat or drink water. That being said, it is the trap setter’s responsibility to make the traps secure, so nothing is wasted.
Avoid disturbing the environment. For years I practiced making traps and setting them in the woods. What I didn’t understand at the time was that a well-made trap set correctly is useless if the other rules are not followed. I would sometimes make the trap near the actual place I wanted to set it. On top of that, I may have been talking to someone at the time, giving even more warning to whatever animal I was after—in this case a squirrel.
Hide scent. Minimize your human scent by handling the trap and anything in the area where you plan to set the trap as little as possible. Holding the trap parts over the smoke of a campfire is one way to hide human scent. If a campfire is not feasible for whatever reason, rub the trap parts in some dirt—it’s better than nothing.
Camouflage. Attempt to cover the trap with natural materials found in the specific area the trap is going to be set. Avoid freshly cut pieces of wood, be it green or dry. They often give off a brighter look at the break and draw attention to the new landscape you have just created.
Simple is better. Don’t set one trap and deem it a victory. Set many, maybe four or more, traps—the more the better. For this reason, it is important to set them as simply and efficiently as possible. There are no extra points given for fanciness in survival.
The traps described here are meant to catch small game because they are easier to trap, transport, and prepare.
TWITCH-UP SPRING TRAP
The most commonly used lifting trap is the twitch-up trap, which is used all around the world under various names. The effect is the same: the animal is snared and lifted off the ground, usually by a bent green sapling or branch. There are several ways to make this trap, but the simple way always works best in the end.
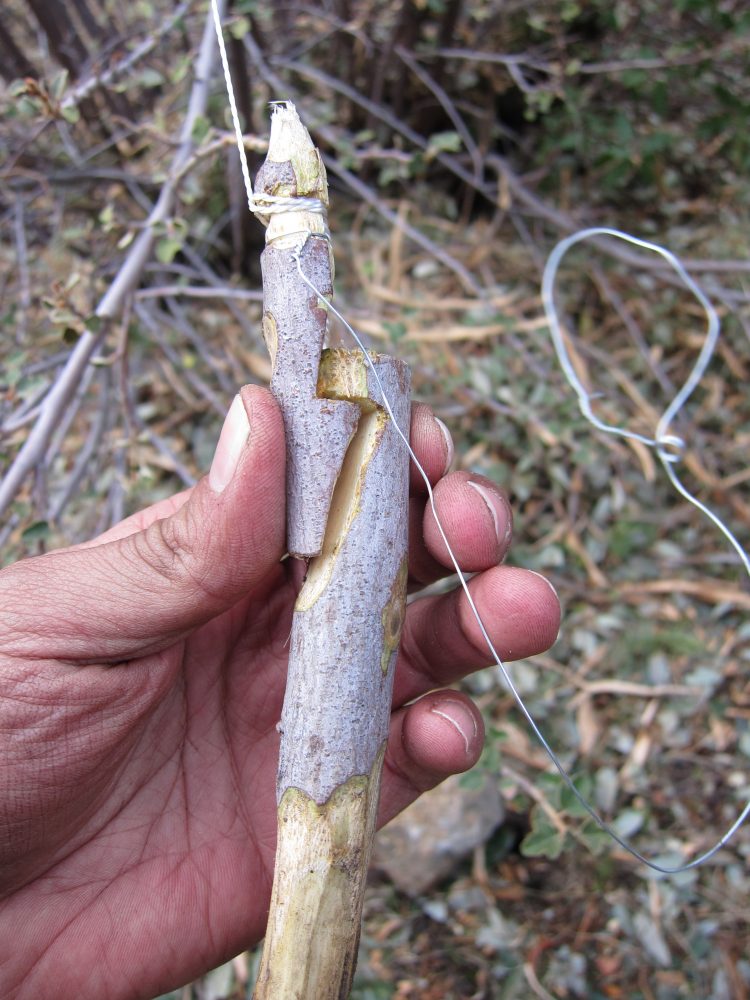
Required materials are a bent green sapling or flexible green stick about five feet long, vines (or any kind of cordage), two L7 trigger parts, and a snare loop.
To construct it, select an area with a well-used animal trail. Look around for flexible green saplings. If you can’t locate any, find one someplace else in the forest and test it by bending the sapling about 90 degrees and letting go.
You are testing for the sapling’s ability to spring back to its original position. Some green branches or saplings will develop a memory and be slow to spring back to their original position, or won’t spring back at all. Once a suitable sapling is located, chop it down low with a machete and finish the rest of the trap before taking it back to the selected area. This is part of avoiding disturbing the area.
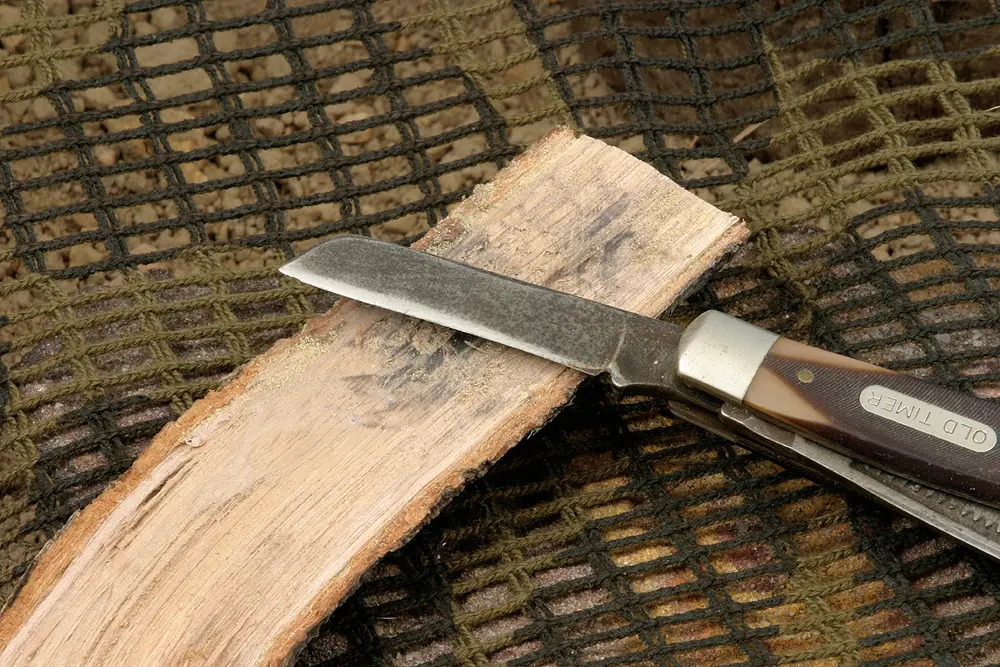
Make a two-pin toggle trigger by using a machete or knife to carve out two notches that will lock together under straight-line tension. These notches are often referred to as an L7 trigger because that is what they look like when the pieces fit together. Take the trap back to the game trail you have already located and set it up as quickly as possible by hammering the part of the trigger that looks like a 7 into the ground.
Since all the pressure will be exerted on this piece, make it about six to eight inches long so it is secure and won’t pull out when the trap is set up and under tension. The part of the toggle that resembles an L should be made from a smaller piece of green wood. It is considered the “free end” of the trigger. This piece must be tied to the sapling or branch that will act as the engine. A snare noose must also be tied to the free end (L piece) so that when the trap is triggered, the free end attached to the spring-loaded sapling will lift the animal up and strangle it at the same time. The snare noose should be made about fist wide.
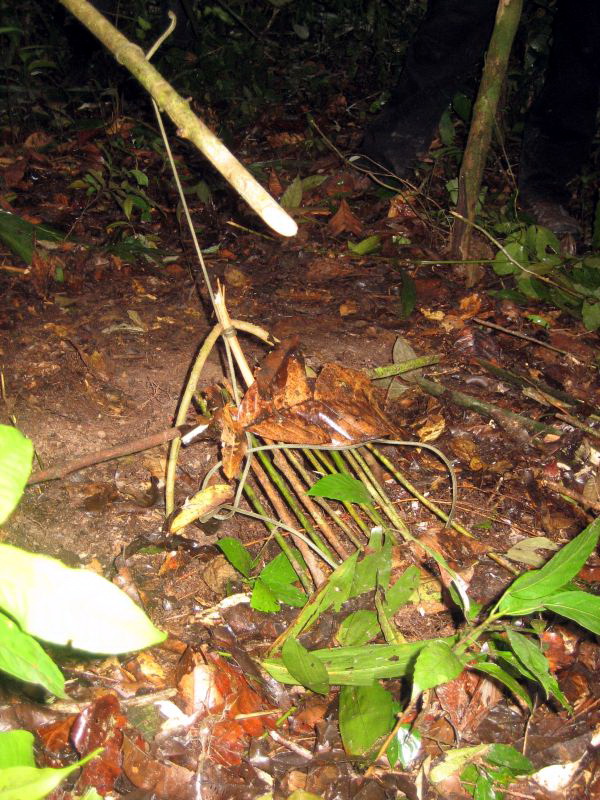
A variation of this trap is to forgo the L7 toggle and tie to the sapling a small stick about three inches long that will be used as the engine. This little stick also has the snare attached to it. It is held in place by an upside-down Y-shaped stick wedged in the ground, or a green stick bent like an arch. The small piece is set on the underside of the Y-shaped branch vertically at one end of the small stick, and a long, thin stick that holds it in place and under tension is placed parallel under the other end of the small stick.
From this parallel stick, which is also held under tension, a small platform is made with very light twigs. The snare noose is laid on top of the platform so that, when an animal steps on it, it is caught.
DEADFALLS
A deadfall can be used to procure food from both small and large game. In the jungle, I have seen many intricate deadfalls for small deer and jaguar. Sticking with small animals, the classic Figure Four trap can be used for armadillo and the best jungle meat I have ever had—rat!
Trapping is a good exercise in observation, awareness and patience. Remember, “If you kill it, you have to eat it, and if you kill it, you’ve got to need it!” (Ron Hood, Woodsmaster Series Volume 5) Whatever way your trap is constructed, once it is set up—get out of there!
