When a disaster beats a path to your front door, it’s reassuring to know you’re prepared. That means having gear, a plan, and skills. Many of us have the gear part covered, somewhat, but skills do not get nearly as much attention. Developing skills is actually a two-part process— learning the “how-to” part from a book or other resource, and then the hands-on part, where you do it yourself, get it right, and then practice the skill often. Once you’ve learned one particular skill, move on to the next. Knowing various ways of accomplishing your goals gives you options. By having redundant capabilities, you can usually obtain the desired results under many different circumstances.
As a bonus, this knowledge becomes part of your mental everyday carry and goes with you everywhere. Here are eight important survival skills that may one day help keep you alive. This list is by no means complete. Think of it as the first steps in a process that will hopefully become a lifetime of learning.
Table of Contents
DISINFECT WATER
At first glance, this may sound like something you only need to know for outdoor or wilderness survival situations. But it’s a valuable skill no matter where you are, for two important reasons: 1) Unsafe water can be found just about anywhere and 2) Drinking suspect water can make you very sick and possibly kill you.
It’s not unusual for urban water sources to be contaminated after a storm, flood, or other natural or manmade disaster. Before you drink suspect water, make it as safe as possible. Learn the following methods and commit them to memory. You want redundant methods in your survival toolbox, since you never know which hand you’ll be dealt.
Clear water can be made safe by the following methods:
- Heat: Boil water for at least two minutes. Set it aside to cool.
- Chemicals (Bleach): Add two to four drops of chlorine beach for every U.S. quart and let it sit for at least 45 minutes.
- Chemicals (Iodine): Add five to ten drops of iodine, 2% solution, for every quart and let it sit for at least 45 minutes.
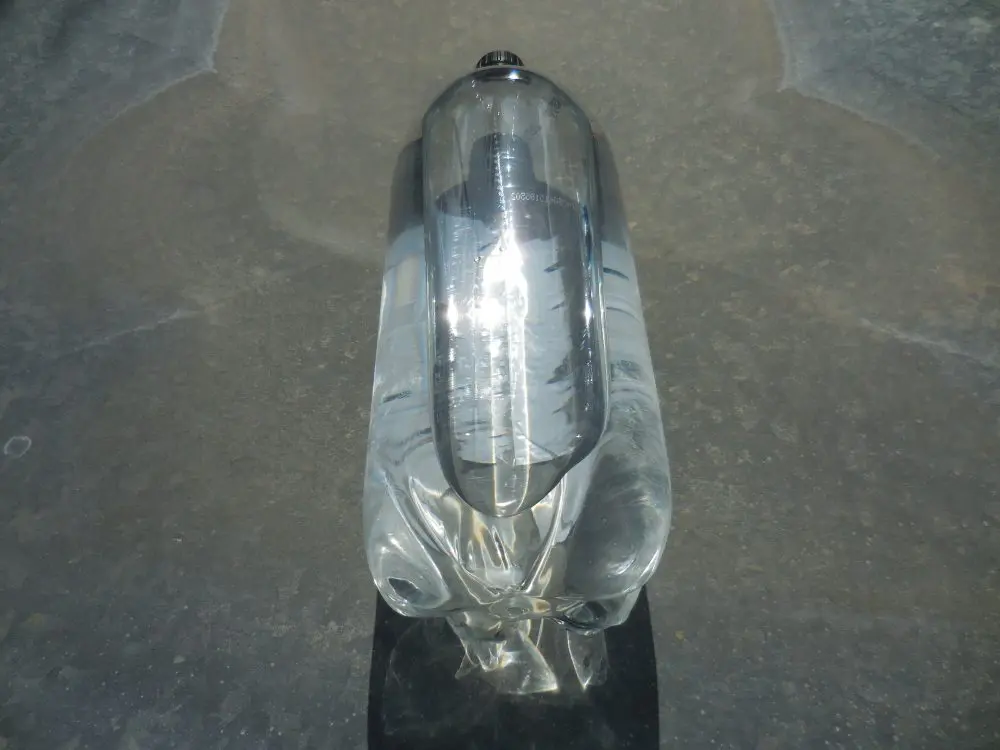
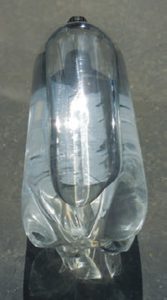
- Solar Radiation: Place water in a washed clear-plastic two-liter container and let it sit in full direct sunlight for a minimum of six hours. (Remove all labels from the plastic container to expose the water to the maximum amount of direct sunlight.)
For cloudy water, let it sit so sediments settle at the bottom. Run resulting water through a clean cotton cloth or coffee filter to remove debris. Repeat until water runs clear, then disinfect as detailed above. These disinfection methods will not remove pollution or the chemical contaminants commonly found in urban water sources.
BASIC SELF-DEFENSE
Violent crime is everywhere and can affect us at any time. But we are especially vulnerable during a disaster, since outside help may be delayed or altogether absent, and the criminal element is likely to be out in force.
While it’s usually better to avoid violent confrontations, sometimes there’s no choice but to fight. By basic self-defense, I mean just that—basic. Most of us will never achieve any high-ranking martial arts status. But that doesn’t mean we can’t defend ourselves.
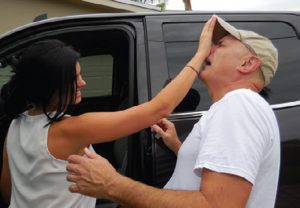 The key to quickly disabling an attacker is knowing the most vulnerable body parts and how to strike them for maximum effectiveness. These are valuable skills even if it’s just to buy you enough time to escape the threat. Vulnerable body parts include:
- Testicles/Groin: A solid strike to the groin is a very powerful motivator. If a strike is not possible, grab the groin, twist and pull down with all your strength.
- Eyes: Applying pressure to the eyes with your thumbs causes tremendous pain and temporary blindness.
- Ears: Cup your hands and forcefully clap your open palms over the attacker’s ears. (This may cause the ear drum to rupture and could render the attacker unconscious.)
- Nose: A sharp upward blow to the bottom of the nose using the heel of your palm can be very effective.
- Throat: If an attacker can’t breathe, he can’t attack you. A blow to the throat can cause severe damage to the airway. While he’s catching his breath, you can be running away.
- Knees: A solid kick to the front or either side of the knees can quickly force an attacker to the ground.
There are many other vulnerable body parts, but these are the most accessible. Once you disable the attacker, get away as quickly as possible.
NAVIGATE
Navigating with a map is a skill that has largely been lost. Today people rely heavily on GPS and other electronic navigation systems. During a disaster, these systems may be unavailable.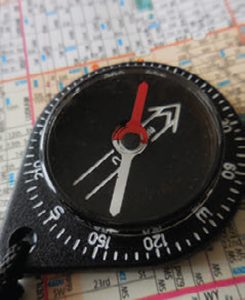
While navigation and map-reading skills are outside the scope of this article, it’s well worth your time to research and learn at least the basics. Here are some tips to get started:
- Get a high-quality compass and learn to find north and to orient the map accordingly.
- Use the map’s index and grid numbers to find certain locations.
- Learn to locate prominent landmarks and to use them to navigate.
- Learn how to read and use the map’s legend.
- Learn how to plan a route between two points on the map.
- Collect paper maps of your immediate vicinity and any anticipated travel areas.
USE BASIC TOOLS
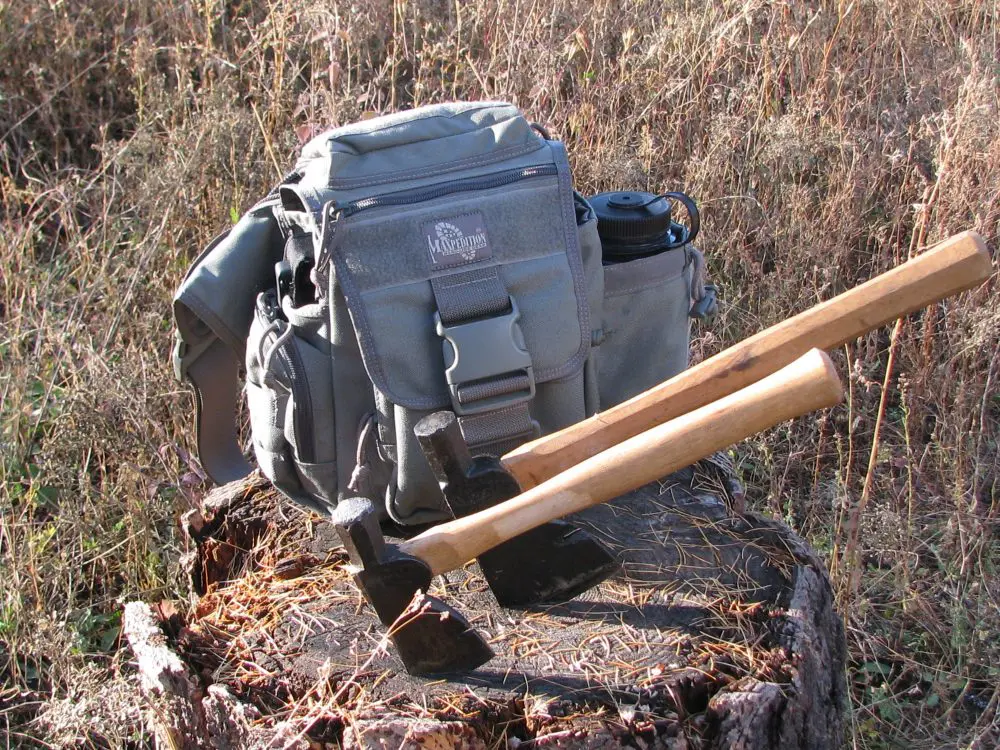
During a disaster, you will often be required to use tools to secure, or possibly repair, structures in or around your dwelling. I’m always shocked to see how many people have difficulty using simple hand tools. Improper use of even small hand tools can cause serious injuries.
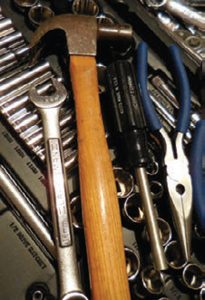 Injuries are the last thing you need during a disaster, especially to your dominant (shooting) hand. Having good tools is always important, but knowing how to use them safely and effectively is even more important.
Always use the right tool for the job and its intended purpose.
Never extend your reach beyond a comfortable distance to control the tool you’re using.
Always wear work gloves and safety goggles.
Don’t use tools with greasy or oily hands.
Secure your work material in a vise or clamp.
START A FIRE
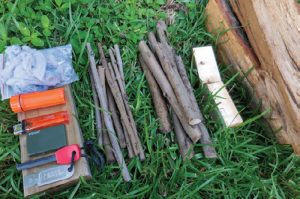
Modern society has lost its connection with fire. Today many of us consider fire a risk to be avoided rather than a lifesaving tool. But in a survival situation, fire can be a trusted ally to help keep us warm, disinfect water, and provide light, protection and comfort.
You need to know how to get a fire started. While there are many different ways to start a fire, and it sounds simple enough, I’ve seen people struggle for hours trying to light a fire even when they had matches. The trick to building a fire is preparation—start small and feed it slowly. Here’s what you need:
- Ignition Source: Matches, lighter, rubbing two sticks together, etc. Make life easy and always have a lighter as part of your EDC.
- Tinder: Dry tinder catches the initial spark from the ignition
 source to let you transfer it to the kindling. Use dry leaves or grasses, shredded paper, cotton, dryer lint, or wood shavings for tinder.
 - Kindling: This is the next step in the process. Use dry twigs, cardboard, or small pieces of wood. Look for materials with surface area and room for controlled air circulation.
- Fuel: Logs or scrap wood pieces.
Build a safe platform for your fire and take precautions to contain it. Create proper ventilation and avoid building fires indoors.
Always have a nearby bucket of water, sand, dirt or some other appropriate substance to quickly extinguish the fire if necessary.
USE A KNIFE
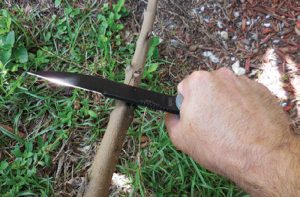
A knife is a must-have tool in just about every survival situation, but using this tool incorrectly can bring you a world of trouble.
Always cut away from the body and keep your fingers far away from the blade.
Keep the knife sharp. A dull blade is dangerous because it can cause you to exert more pressure.
Use your knife for its intended purpose. It’s not a screwdriver or a pry bar. And use the right knife for the job. Don’t use a huge survival-style knife for a small cutting job.
Keep the handle clean and free of slippery substances.
Once you’re done, store the knife safely in its sheath.
These suggestions may seem obvious, yet people injure themselves all the time (even some so-called experts). During a disaster, a knife wound can become infected and create a life-threatening situation.
SHOOT A FIREARM
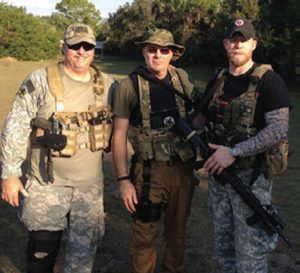
The first priorities in most survival situations are security and self-defense. No amount of food, water, or supplies will do you any good if you’re dead. Knowing how to use a firearm is critical under these circumstances.
Seek out a firearms instructor you’re comfortable with, and who teaches in a way that suits your needs and style. If you decide to add a gun to your survival plan, it’s your obligation to be well trained. The best way to learn is to spend the money and take classes with professionals.
FIRST AID
During a disaster, medical help may be delayed or completely unavailable. Accidents and injuries will happen no matter how careful you are. The only thing you can do is be ready with the skills to render immediate assistance. Here are some tips:
-
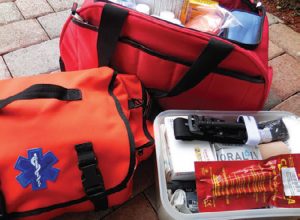
Learn first aid basics and be prepared to assess and stabilize an injured person until help arrives. Have a quality first aid kit well stocked with basic emergency supplies and medications to help you treat common injuries, burns, cuts, and trauma. Just as important is knowing how to properly use those supplies.
- Take a basic first aid class. If possible, have at least one member of your group be trained to deal with pre-hospital trauma.
- If you encounter a medical situation and are unsure what to do, it’s often best not to do anything that will end up causing more harm.
- Talk to your doctor and make sure you are prepared to attend to members of your group with known medical conditions that may flare up during a crisis.
WRAP UP
Skills and knowledge are integral parts of any viable survival plan. In a disaster, you need supplies, but you also need the ability to perform the tasks that will keep you and yours alive and safe. The skills you learn today are an investment that someday may pay huge dividends. Stay safe and be prepared.
